For today’s Tips, Tricks & Techniques I have a sewing tutorial… yes, I said sewing. ;D One of my challenges a while ago was to color on something other than paper and I chose to do fabric. The whole time I was asking myself, how do emphasize this was colored on fabric? I tried to think of the many ways I could incorporate other fabrics onto a card but still didn’t think it would stand out. I finally decided I had to sew something… and what would be better than another bag? He he he. So today I’m going to walk you through making these simple bags!

This will be a 12-step program, and if you take it one step at a time, I’m sure you’ll make it to the end. 😀 Just click on the images below to zoom to that step or scroll down the post to catch them all. If you want to learn more about sewing, head on over to Grandma’s Pearl for some quilting lessons. She’s starting at the basics and will help you through to a finished quilt! Plus there is loads of information throughout that can be used by any seamstress.
One |
Two |
Three |
Four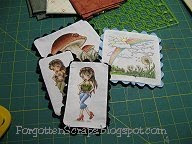 |
Five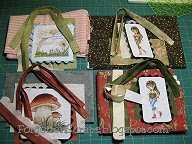 |
Six |
Seven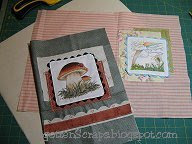 |
Eight |
Nine |
Ten |
Eleven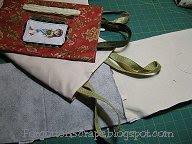 |
Twelve |
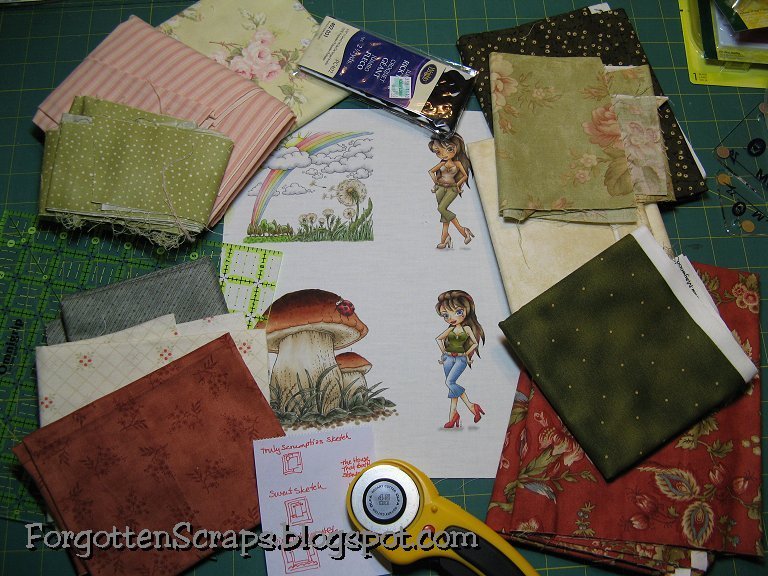
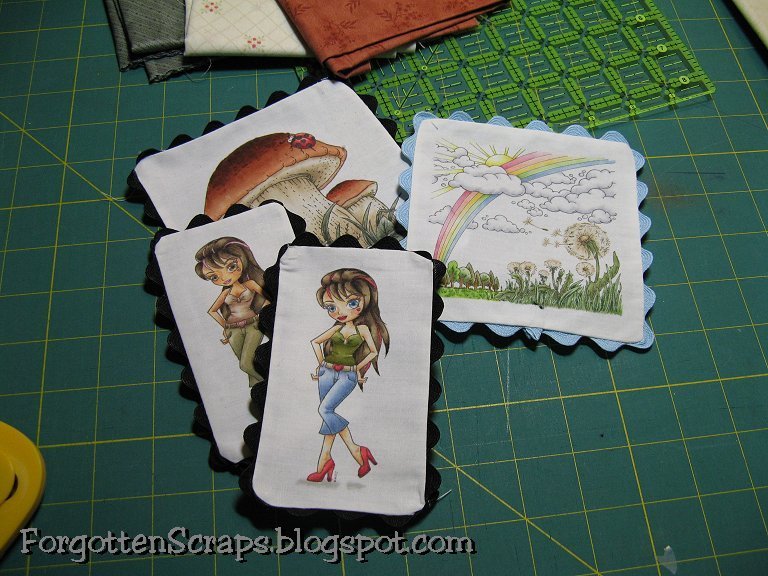
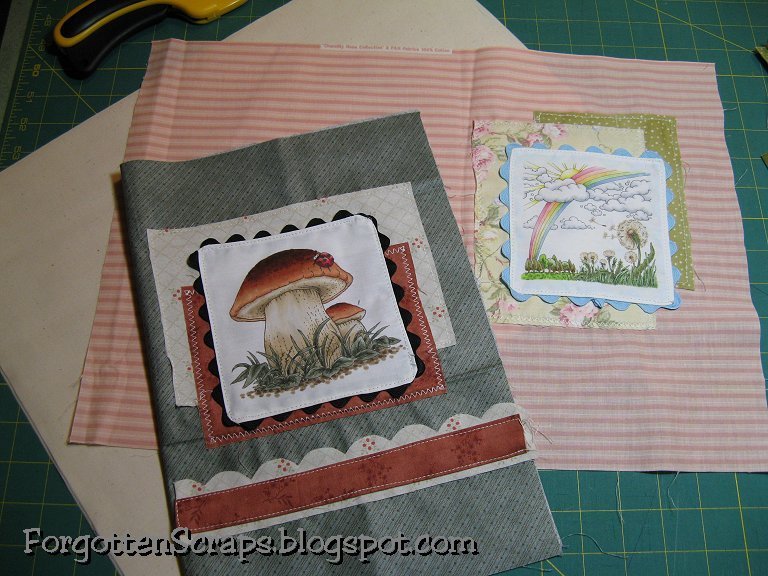
I always like to select my papers first, in this case fabrics, before I coloring the images. This way I can match up the image with the colors in the fabric. I selected one background fabric, which will be used for the bag, plus two accent colors.

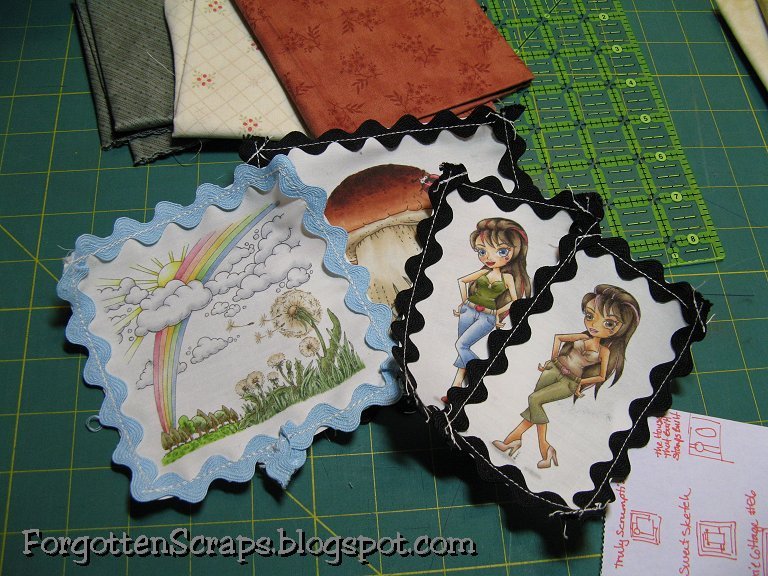
I then cut out the images leaving enough white space around the border so I could sew ricrac around the edges. Printing four images per sheet gave me just enough room to do this.

There are different ways to finish the edges, but for my bags I decided to sew ricrac around the edges. Ricrac can fray easily so make sure the ends will be secured somehow, either through sewing or with Fray Check. I sewed the ricrac on the top with approximately 1/4″ seam allowance.

In this next step I pressed the ricrac around to the back with a hot iron. Through experimenting, I found that the heat doesn’t ruin the Copic markers so I was able to iron it without any problems. There was a faint odor present so I didn’t leave the iron on it too long.

After I had my center pieces finished, I use the “flinch” method to cut out my accent colors. I treated these the same way I would a card and found a fun sketch to follow. Then I cut the strips and squares to the approximate size I thought they should be, sometimes cutting a little more here or there until I liked the result. (Sketches are listed below with the details.) I planned to keep most of the edges raw so they would fray and therefore didn’t need to worry about a seam allowance. The bags were also cut at this time including a Muslin fabric lining that will be the same size. Basically figure out what size bag you want and double the width – then add 1-2″ to the length and width for a cutting size.
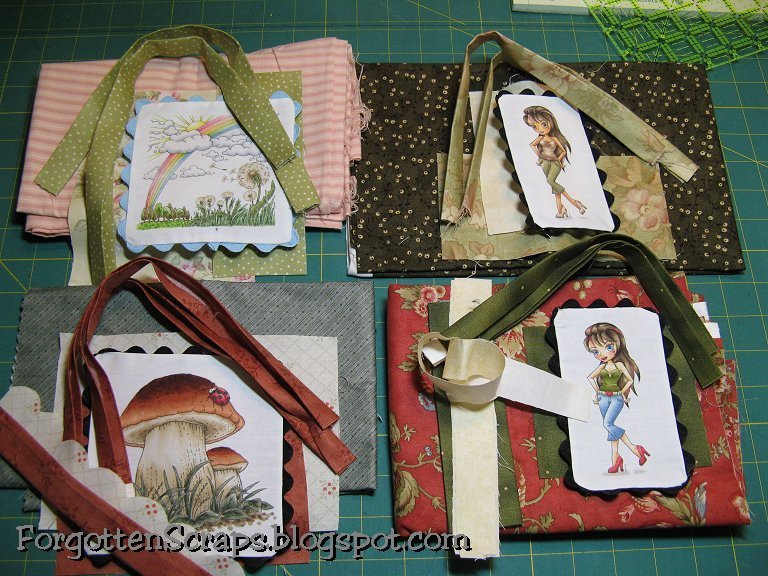
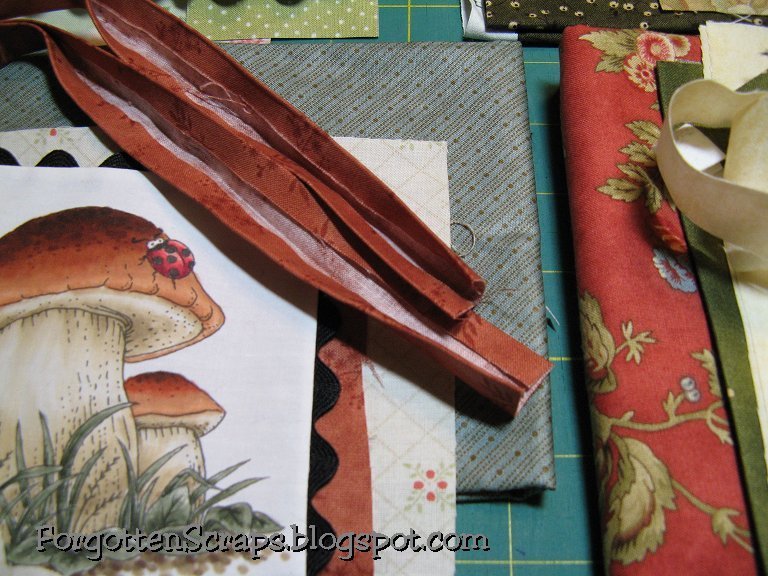
For each bag I cut two extra long strips, about 2.5″ wide, which will be used for the handles. How long you might ask? Well, if you like long handles then cut them longer, and if you like short handles then cut them shorter. ;D But you probably don’t want to cut them any shorter than 10″ long. I then pressed each of the handles in half, tucking in the edges, so when I sewed down the long side, the raw edges would hidden.

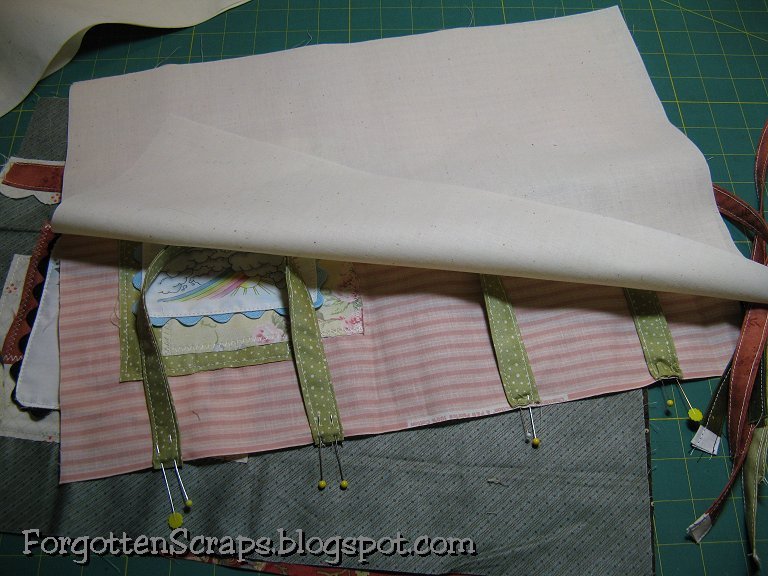
The next step was to sew on all the elements to the bag, the front part only. To get the positioning right, I folded the fabric first to layout the elements then pinned them down so they wouldn’t move. If this is too tricky, you can also use iron-on transfer paper. Starting with the back layer, I sewed most of my elements on with a straight-stitch or a zig-zag. Make sure that you only sew on the top layer of the front bag. 😀

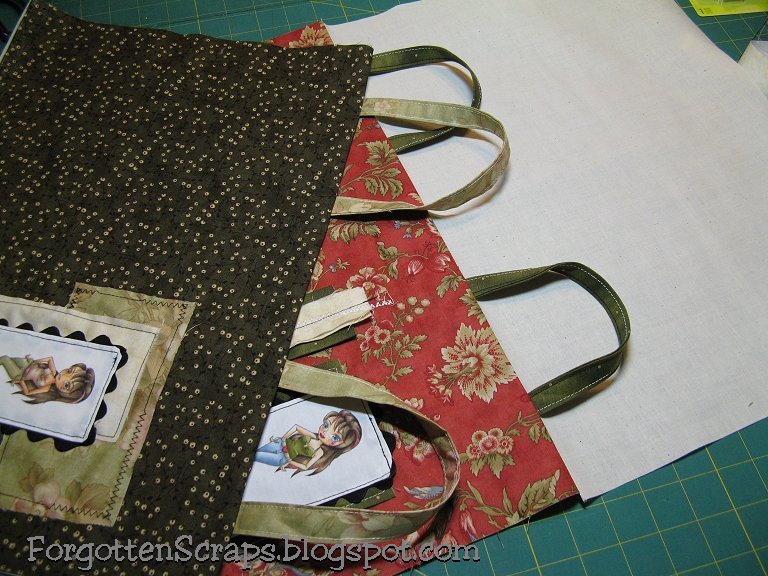
The handles were stitched on both sides lengthwise and because I pressed them like bias tape, there was no need to turn them inside out. I then pinned the straps onto the top. With the bag folded again I’m able to line them up. Remember to shift the handles slightly towards the folded side to compensate for the seam allowance on the other side.

Here’s a better view of how the straps are pinned onto the top. I then covered the front of the bag wit the Muslin fabric, the liner, and stitched across the top only.

After stitching acrosss the top, I used the iron to press the seam, first with both layers flat then together as they would be finished. This is important and will help keep the top part of the bag straighter with the next few steps.

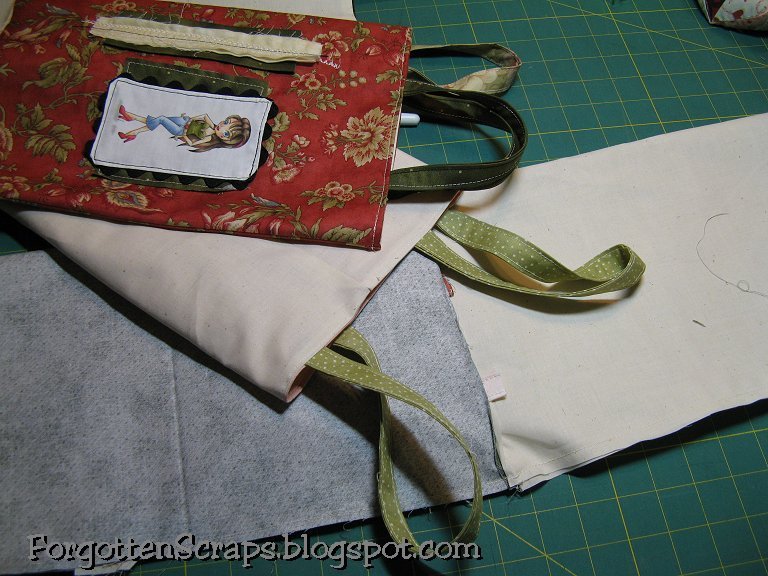
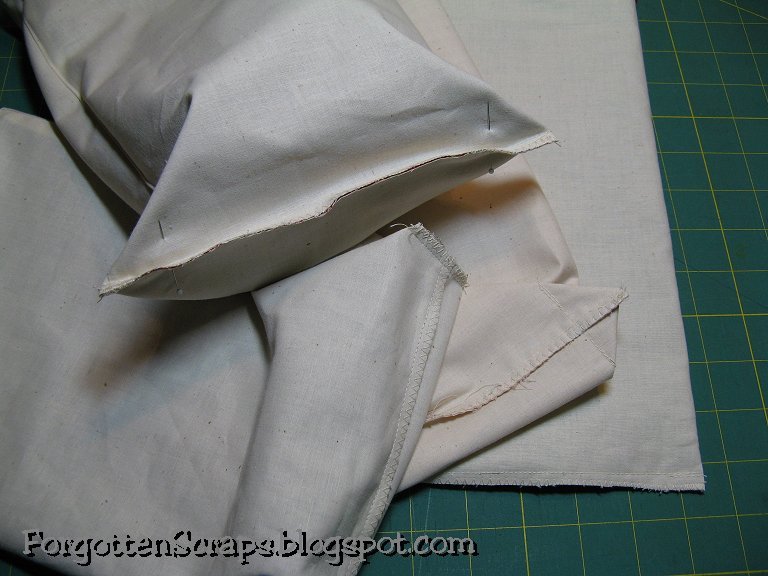
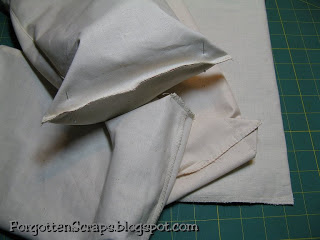
Are you still with me? We’re almost finished but the next two steps might be a little tricky so make sure you study the pictures well. With the top part of the bag sewn and pressed together, I unfolded it and refolded it the other way, lengthwise. This puts the same fabrics together with the handles on the inside. (See the bottom bag in the picture.) I then sewed down the side of the bag giving myself a slightly more generous seam allowance when sewing down the inside, the Muslin fabric. That way the inside of the bag will be just slightly smaller than the outside and will help minimize bunching. Be careful to not sew the ends of the bag, the parts that will be the bottom of the bag. If you want, when this step is finished, you can turn the bag right-side-out and top-stitch around the top. I find this helps reinforce the handles and also helps the form of the bag. (The red bag in the picture shows the top-stitch.)

For the last step, the bag needs to be turned inside-out and use an iron to press it flat. With all four layers pressed together, sew across the bottom edge of the bag to close it up. Because this will be an expossed edge, I used a stright-stitch with a zig-zag but you can use a Serger sewing machine. (See the bottom bag in the picture.) At this point the bag is now a bag but I always like to tuck the corners to give it a bottom like most handbags are. To do this, open the bag and flatten the bottom slightly then pressed down the corners until they meet with the sides. I like to come up about 2″ from the corner’s tip and pin it. (See the top bag in the picture.) With the bottom and sides together, sew across it from side to side which will make a triangle flap on each side. You can cut this off and Serge the expossed edge, handstitch the corner to the side, or just leave it alone. (See the middle two bags in the picture.) I cut them off on one bag but left them alone on the other three.
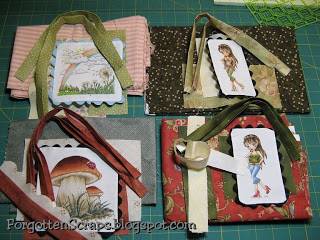
You did it – now turn the bag right-side-out and it’s finished! If you want, you can add other embellishments such as flowers, charms and ribbons just like you would a card or scrapbook page. These bags turned out to be the size of a coloring book and box of crayons, however, lots of other stuff can be added too!

Supplies Used
Here are the details on the stamps and the Copic colors used for each handbag. The thumbnails are really small so you can click on the pictures to view a larger image of the coloring details. If you have any questions, just leave me a comment and I’ll come back in and add the answers below this section. Enjoy and I hope you have fun making a bag or two! 😀
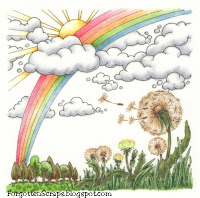 Main Stamp: Rainbow Dandelion (MiC)
Sketch: Truely Scrumptious – Challenge #50 (sketch)
Colored On: EQ Printables Inject Fabric Sheets.
Copic Colors:
-rainbow: R81, R83, R85, R000, R11, R12, Y000. Y11, Y23, G40, G82, B91, B93
-clouds/sun: C0, C1, Y000, Y11, Y23
-dandelions: E40, E41, E43, G40, G82, G85, YG91
-other: YG91, YG93, YG97, G40, G82, G85, YG97, YG93, YG91, E35, E37
 Main Stamp: Violet (MiC)
Sketch: Sweet Sketch Wednesday – Challenge #88 (sketch)
Colored On: EQ Printables Inject Fabric Sheets.
Copic Colors:
-skin: E000, E00, E11, E13, R11
-hair: E41, E43, E44, E47, E49, R81, R83
-clothes: E40, E41, E42, E43, BG93, YG91, R81, R83
Main Stamp: Violet (MiC)
Sketch: The House That Stamps Build – What if? Wednesday #911 (sketch)
Colored On: EQ Printables Inject Fabric Sheets.
Copic Colors:
-skin: E000, E00, E11, R12
-hair: E42, E43, E44, E47, E49, R35, R37, R39
-clothes: R35, R37, R39, B91, B93, B95, B99, E40, E42, E43, YG93, YG95, YG97
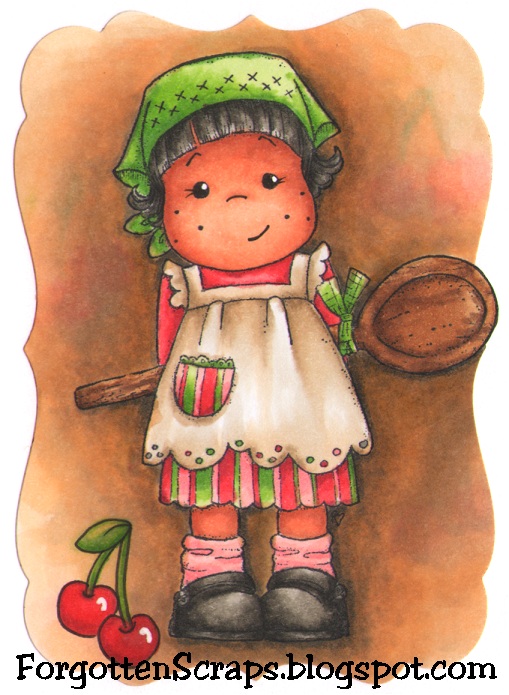
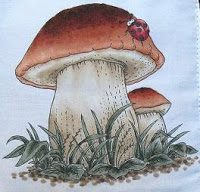 Main Stamp: Whimsical Mushroom (MiC)
Sketch: The Pixie Cottage – Challenge #56 (sketch)
Colored On: EQ Printables Inject Fabric Sheets.
Copic Colors:
-grass: BG93, BG96, BG99
-ground: E43, E44, E47
-mushroom: E40, E41, E42, E43, E11, E13, E08, E19, E18
-bug: R32, R35, R37, R39, W7
Questions Answered
A: I colored a test image and soaked the fabric in cold water but see any noticable bleeding of colors. The Copc colors used were G29, V17, B97, R46, Y17, E44, RV13, W10, C3 and E00.


 We’ve made it to the second experiment in The Paper Project! For this test I used the little fairy stamp from The Greeting Farm in a set called Neverland.