Baby Fairy Flora

I had such a wonderful time at the Texas Coloring Retreat that it’s easy for my new pals to convince me to organize another!  So start marking your calendars for next year and we’ll be having another.  😀  For the next two weeks I’m going to post all the things we colored and did at the activity and share the fun.  But first, I need to photo graph everything.  This isn’t one of them but it’s something along the same lines… faces!

This image is Baby Fairy Flora from Mo Manning which had a face but there were two lines that looked like the bottom parts of eyelids so I went with that idea.

Here’s the image before it was colored.  This is a rubber stamp that I have but I think it also comes in a revised digital form.

I think the eyes are a bit too far apart but she still looks cute, I think, and better with eyes.  I added a couple extra bees around the edges to fill out the white area.  I hope you like it and thanks for dropping by!  Have a great mid-week and come back soon, ya’ll hear!

Blossom Tree and Candy Floss

Blossom Tree and Candy Floss?! What a combination but they work together when putting these two projects together.  I have used Blossom Tree from Make ti Crafty along with Candy Floss from Mo Manning (plus a few buttons of my own) to re-create these pencils.  I had a few logo pencils to use, you know, the unsightly ones with the business logo or moto on them?  Very boring and they needed some pizzas!

I printed my images out on regular printer paper and sized it to what I thought pencil would be, giving a little extra fudging room.  Then I colored it using Prismacolor pencils and cut it down to size so I could roll the new paper on the pencil.  On one side, I left a little extra white paper and that’s the part I glued down first on the pencil.  Then when that was dry, I added a little more glue to the paper and rolled the rest of it on the pencil using the table to make sure it was a tight roll.  Be careful with the glue too – you’ll want enough to glue all the paper to the pencil but not too much to make it messy.

Lastly, take care in sharpening them.  I found that if the paper is loose then it really tears it up at the bottom.  But if the paper is tightly attached to the pencil then an electric pencil sharpener worked well.

Little Avatar Navi Scene

Here’s a fun project I wanted to share using two images, Baby Fairy Flora from Mo Manning (Stampavie) and Anthuriumns Garden from Make it Crafty. I had recently watched the Avatar movie and wanted to color something using the bright fluorescent colors from that world.  So I had used a bit of creativity and decided to color up the fairy rubber stamp and the large flower background.

This was one of those coloring jobs where I went over everything about a hundred times and wasn’t sure what it would look like until I was nearly finished.  It was a new challenge and touch and go for a while.  LOL  To get the Avatar look, I colored with blues, green, blue/greens and even some yellows to create the skin tone and strip pattern.  Then once the skin was finished I added the white dots with the gel pen.  The eye were colored with greens and yellows and the lips were colored with a little bit of pink/purple.  Here’s a before and after slice of the fairy.

At first, I wasn’t sure what color to do the clothes but decided to bring in some neon purples and pinks which coordinated well.  The hair was done by dotting the gray tones and was a lot easier than I had anticipated. 

The background image is one that I’ve colored using some blues (BG and B).  For this one, I wanted a bright fluorescent type color of blue so I blended in some green (YG and G) on the tips of the leaves and some purples (BV) for the darker parts of the leaves.  I like how the effect really changes the blue/green color.

I wanted to keep the ground the same neon colors as the flowered background but I also wanted grass.  So I later went in and added green strands for grass and then placed my fairy image on top of that.  The mixture is a little different for me and I’d probably go for all green/grass the next time.  But I think in the end, this might be considered a “happy accident” which is always a bonus!  LOL

Finally the last thing I needed to do was place the images on a card – this was a challenge all in itself! But I managed to find some scraps that didn’t fight with the image and chose to go with something very basic and simple.  I hope you like it and maybe you’ll be trying a little Avatar Navi image in your future! Yes?!

I’d like to enter this into the following challenges:
DP2 Challenge E217 – “Something New” (coloring blue skin)
Card Mania #38 – Anything Goes
Make it Monday #175 – Anything Goes

On the Pot Girl

One thing I’ve learned while growing up is a saying on the wall is more nagging that a Mom could ever be!! I remember two in particular that my Mom would have hanging on the wall and everyt time I’d pass it I would read it. Even to this day, they still pop into my head!! So that’s why I decided to use the same tactics on my kids and created these signs…


The images I used are On the Pot Girl S and On the Pot girl C from Mo’s Digital Pencil which are unusual but perfect for the task. ;D I place them inside the parchment paper which is actually an altered version of the Treasure Map digi from Make it Crafty. On the first one, above, I thought it would be fun to draw in push pins only afterwords did I realize the paper curled at the top and it looked silly so I had to alter that corner a little. 😀 You can see the difference when you look at the second one below.


I’m sure your curious by now… what were the two saying that I remember from my childhood? The first one was in the kitchen and it said “You have two choices for dinner – take it or leave it.” The second one was in the family room or hallway and it said “Use it up, wear it out, make it do, or do without.” I’m lucky to have both of them hanging in my own hous today… only after I found out that my Mom hated the reminder just as much as us kids did. LOL


So this is just your friendly reminder… next time you find yourself in the bathroom, make sure you FLUSH the toilet and WASH your hands!! 😀

Kai in the Rain

Are you ready for another challenging challenge? This week at Make it Colourful we want to you experiment coloring something that looks wet! It’s actually not as hard as that sounds and there are many wonderful examples on the challenge blog that you don’t want to miss out on.


On my project I used “Kai in the Rain” from Mo Manning and Pebblestone Patch from Make it Crafty. I also used one of my new dies to make the clouds and because it was raining I took the opportunity to use my gray felt too! 😀


The water on the coat was actually simple and I found it much more difficult to make the raincoat shinny – after all, that requires me to leave a part of the paper uncolored! Gasp! But after I colored the raincoat then I went in with a white gel pen and colored in the water droplets. Then I used a darker shadow of the yellow to give the water droplets a shadow – easy peasy!


I even tried to color the water splashing in the pool of water in front of the cobblestones but gave up after four tries… so if you look closely you can spot those around the bottom of the image. ;D The rest of the journal page was decorated with the usual regiment – brads, chippies, and a metal frame journal tag. Hope you enjoyed and good luck with your water project this week!

Mary Tapping

Clowns, Fairy floss, sticky fingers, squeals of delight and of course complaints of sore feet near the end of the day… Where are we? THE CARNIVAL!! Welcome to Mo & Zo’s Super Carnival Blog Hop!!

You should have arrived here from ZOE’s,
but if you didn’t you can start at JAK’s where this incredible Carnival hop begins!

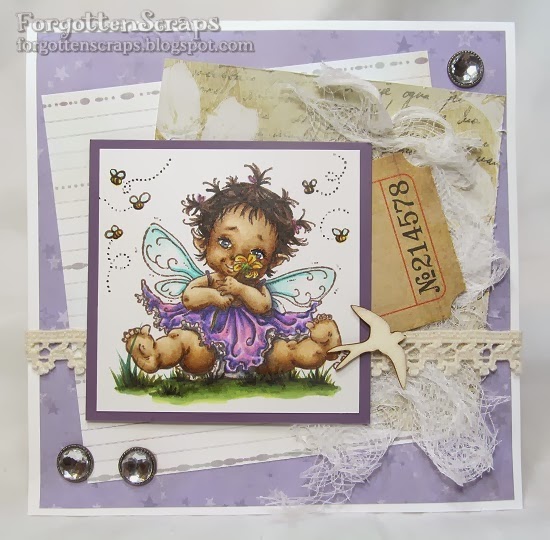
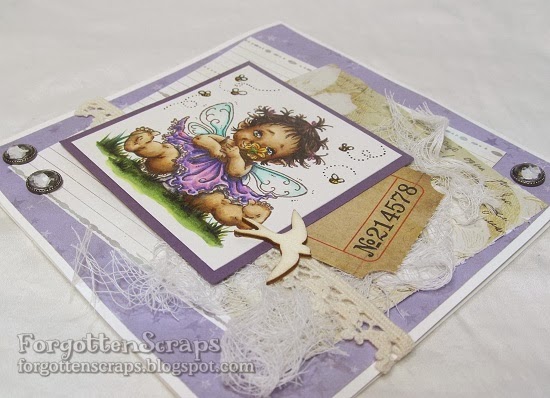
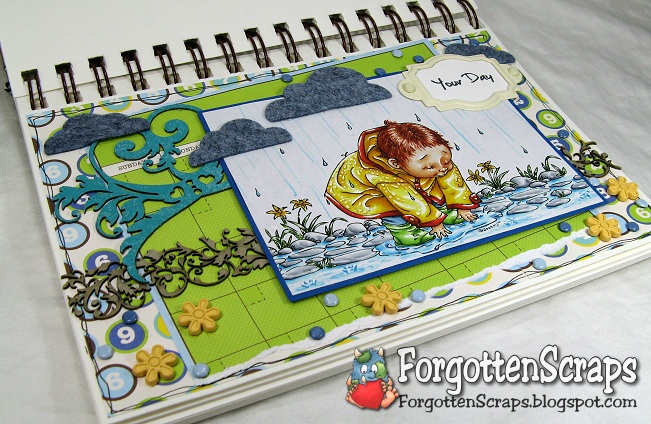
My card combines Mo’s Mary Tapping with Zoe’s Uni-Cycle which apparently were meant for each other unbeknownst the two! ;D Check it out…


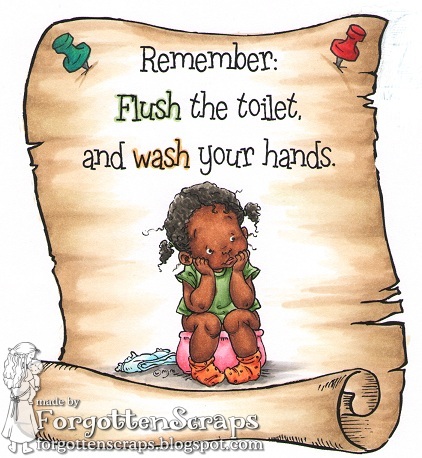
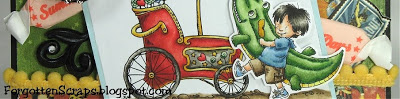
Earlier this week, I also made a card using James at the Carnival with the Candy Cart. Click on the sneak peek picture below to see all the details for even more inspiration – that card was made with everything but the kitchen sink!


Zoe from Make it Crafty and Mo from Mo’s Digital Pencil, came together to share the delight and fun of The Carnival. To celebrate – the two fabulously talented teams have come together for a massive blog hop to offer you plenty of inspiration when playing with these images.

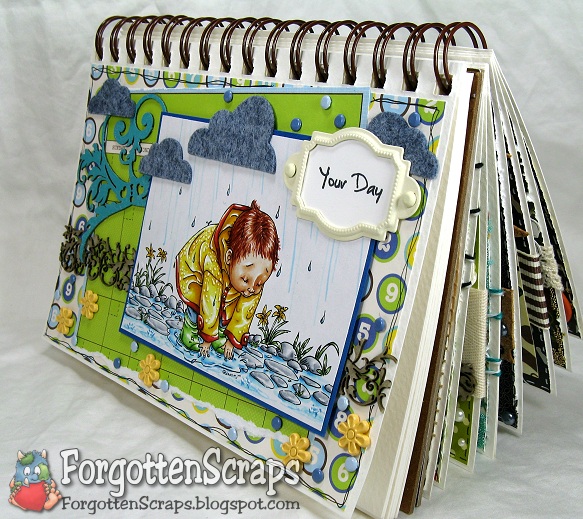
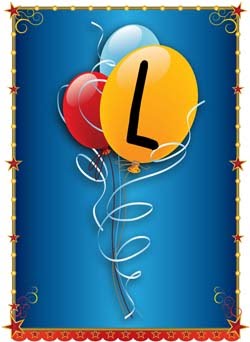
Along the way you will find balloons with a letter in them so be sure to collect them for the end. There are three grand prizes for a correct answer plus lots of hidden prizes! Here’s what the Uni-Cycle looks like in it’s complete form:


Now we know this is a super big hop, but we wanted to make sure you would get LOTS of inspiration! The hop will be open until the 28th of April so you will have plenty of time to come back each day with a cuppa to soak it all up!


We would like to thank our fabulous sponsors, Mo’s Digital Pencil, Make it Crafty, Stamping Bella and Quixotic Paperie for providing the fabulous prizes for this grand carnival hop! Also, don’t forget to drop by Mo’s Digital Pencil and pick up “Cotton Candy” which will be available for a limited time at it’s reduced price! Blinkie details are on the sidebar.


I’d like to enter into the following challenges:
Scrap-Creations Challenge (digital stamps)
Ladybug Crafts Ink Challenge #24 (anything goes)
Tip Top Tuesday Challenge #30 (open theme)
Joyful Stamper Inspire Me Friday #3 (anything goes)
Woodware USA Challenge #23 (diecuts/punches)

In case you have trouble finding my balloon, my letter is “L”. Don’t forget to leave comments along the way. Just a few more details here about this card below then …

your next hop is to ANGELA!


Main Stamp: Mary Tapping (MO) and Uni Cycle (MiC)
Patterned Paper: Neighborhood (Crate Paper)
Chipboard: Love Heart Swirls (MiC)
Metal Die: Spellbinders Nestabilities Labels Seven and My Favorite Things Die-namics Clouds Trio

Copic Markers colored on Copy Paper:

-skin tone: E000, E00, E21, E11, E13
-face: 0, C00, C1, C3
-browns: E50, E51, E53, E55
-reds: R20, R21, R22, R24, R29
-yellows: YR3, Y23, Y35, Y26
-greens: G40, G82, G85, G99
-blues: BG53, B000, B21, B23, B26
-grays: T2, T4, T6, T8

Did you know? Bristol board is an uncoated, machine-finished paperboard and is named after the city of Bristol in the southwest of England. Bristol board may be rated by the number of plies it contains or, in Europe, by its grammage of 220 to 250. It provides two working surfaces, front and back, which separates it from illustration board that only has a front working surface. The surface texture can vary for different applications, including a smooth plate finish and a medium vellum. Artists working with friction-based media, such as crayon, chalks, or charcoal would use a rougher texture. Smooth finishes are generally more suited to other types of media, such as inks.
[Bristol Board, Wikipedia.org]

Update: I made the Top 3 at Scrap-Creations for this challenge!