Girl Sitting

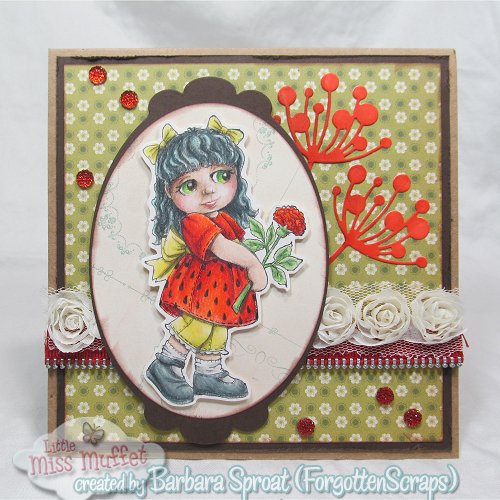
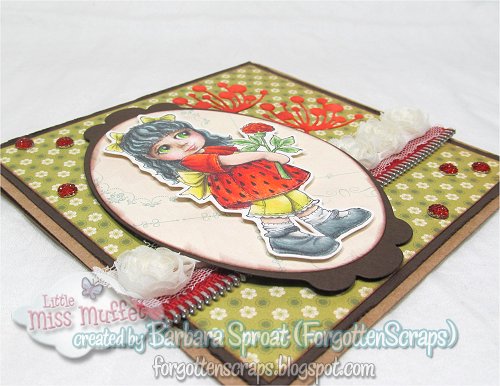
I’ve been wanting to try out the Polka Dot Pals Add-on Faces with other stamps and so for this project I pulled out some stamps by hÄnglar and stÄnglar.  I don’t know the name of their stamp and they are rare on the internet that I wasn’t able to Google it.  It might be called “Friendship” or simply “Girl Sitting” but I have no clue.  (If you do, leave a comment and I can update the name.)

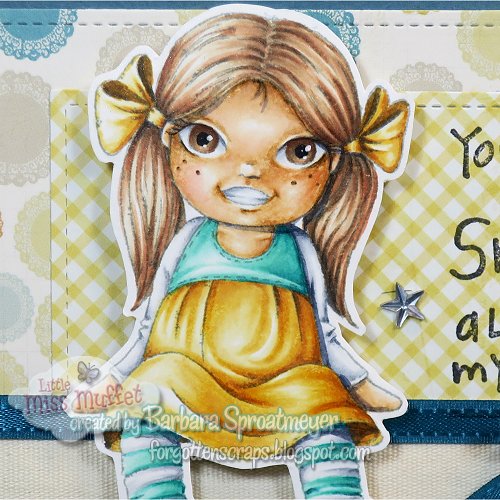
Here’s a close up of the face.  To get the face stamped, I inked up the hAnglar girl then used a cotton swab to remove ink from the eye dots.  Then I selected a Polka Dot Pals Add-on Faces stamp that I thought would work best.  Some looked too large but this one fit nicely.

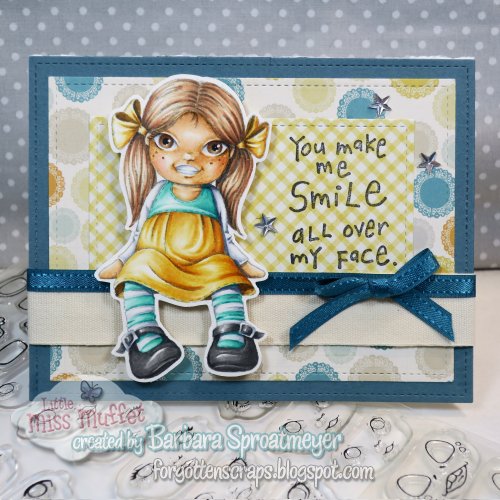
The sentiment I used is a Kid’s Quote by Inkadinkado.  I thought the “smile” worked to draw attention to the face.  😀  Hope you like it and thanks for dropping by today.

Girl with Rose

This is a hÄnglar & stÄnglar stamp from the Messenger Kit 26 set.  I can only assume her name is Girl with Rose but I actually don’t know.  Anyway, she was fun to color and I used my pencils to work on this one.  This was another one I colored back at the Texas Coloring Retreat.

I gave this gal a detailed face.  Usually, the dots on the stamp are used as the pupil in the eyes, but this time, I used them for the center edges of the eyes.  I also colored her dress with some black seeds so it looked like a strawberry dress.  Hope you enjoy and have a great Sunday!

Attitude

I just wanted to share a project I had made using the November sketch.  I used a faceless stamp by hÄnglar & stÄnglar and colored in a face using my Copic markers.  This was a little different than what I’ve normally worked with since the eyes are a little closer together and I had to figure out a work around.  But after coloring up this darling, I thought the best background would be a little ground stamp from Make it Crafty and I just so happened to have the rubber stamp of Petals and Palings – perfect! 

I stamped the edges of the Petals & Palings fence on both sides so I didn’t have to mask the girl stamp.  So basically… the left side is on the right and the right side is on the left.  😀  Then to put the whole project together, I used the fabulous sketch provided for this month and some fun spring time decorative paper.  It’s not exactly spring in my area but they were just the right colors to go along with this red head. 

Finally as a last embellishment, I used a flower corner punch to punch out the yellow flowers.  They were curled using an embossing tool and glued on top of the flowers in the image.  Then a self sticking gem was placed in the center.  I hope you like this project and thanks for coming by!

Make it Crafty Images:
Other Images:
Attitude by hÄnglar & stÄnglar