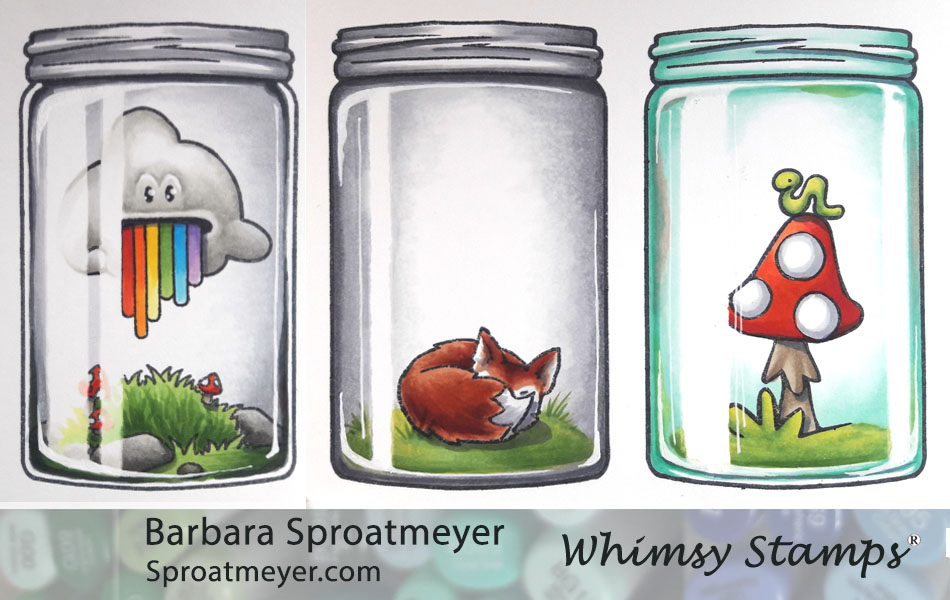
I’ve been able to create a tutorial to share on how to color a jar. This tutorial uses the Atlas Jar from Whimsy Stamps plus a few more elements from the Polka Dot Pals line that fill the jars. This is the smaller of the two jars available at Whimsy Stamps, the other is Mason Jar and is large enough to fit a character inside.
There’s a lot of tips so you can get the CliffNotes version and look at the pictures or stick with me and read the unabridged version. I’ll be posting cards I’ve made with these on different days.
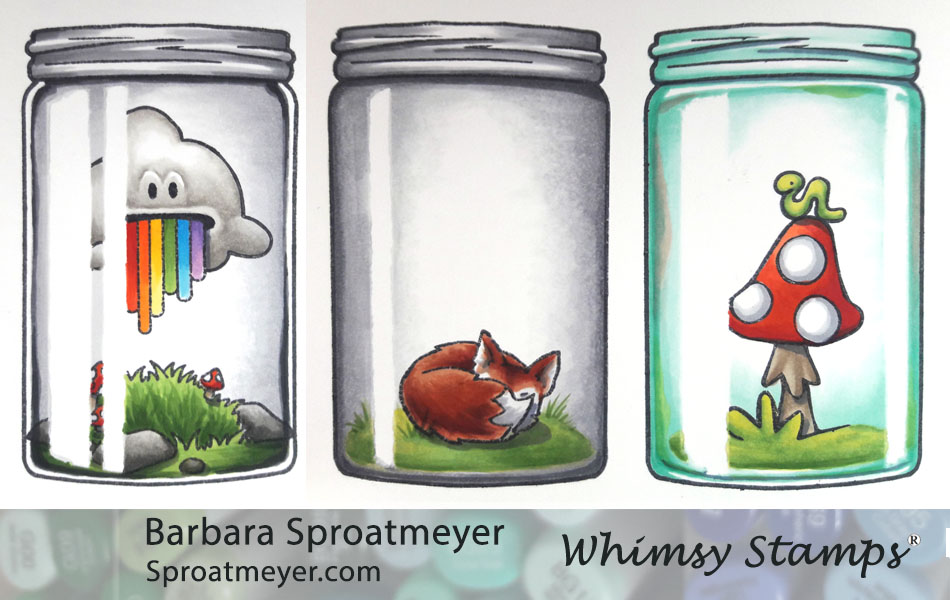
Important things to keep in mind – I found that the jar concept can be simplified, which is what I’m showing here, but this is just the beginning. I think that creating different shapes around the edges with shadows and highlights adds visual interest and makes each jar unique. Adding colors around the edges too also makes them fun. So once you get the concept down, be sure to experiment with each new jar that you color.

STEP 2: Leave the mask for the next few steps and begin by stamping your scene inside the jar on top of the mask. If the ink rubs off the masking easily then you will need to replace it with clean masking. I tapered the masking ends on the jars at an angle to help with the highlighting later on in the tutorial. I did this just by tearing it but you scissors would be a good tool too.

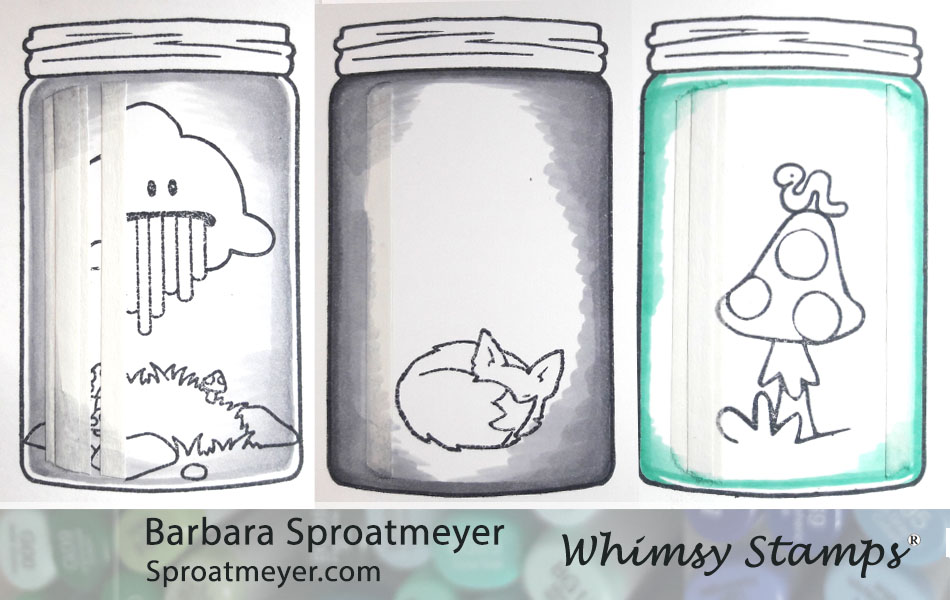


NOTE: Each of these jars is a little different so I encourage you to play around with the elements – the color of the jar, the thickness of the jar (like the left jar, would have white between the edge and the jar’s contents, the shading), the jar’s reflections and also the shapes around the jar’s edges will all make your own jar unique and interesting.
Supplies Used:
Hammermill Premium Color Copy 100lb
Tsukineko Memento Tuxedo Black Ink
Post-It Notes Cover Up Tape 1-Line
Sakura Gelly Roll White Pen
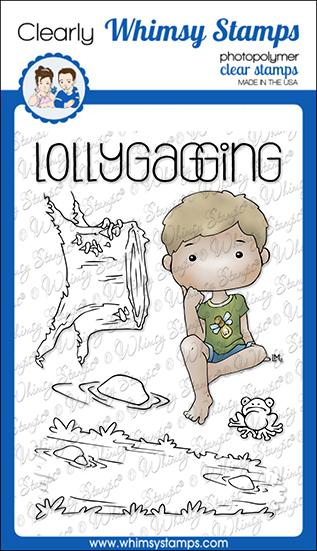
Whimsy Stamps:
Atlas Jar (jar and grassy tuft)
Polka Dot Pals Atlas (grumpy cloud and rainbow face)
Polka Dot Pals Raden (fox)
Polka Dot Pals Imogen (mushroom and worm)
Copic Markers:
0, N1, 2, 3, 5, 8
BG10, 11, 23
E13, 07, 18, 19
E43, 44
R01, 02, 05, 12, 29
YG00, 11, 23, 21, 13, 17, 67
BV20, 23
W0, 1, 3, 4, 5, 7
V12, 17
B02, 16
Y11, 19
YR09, 16