Swings ‘n Slides Little Sprout

Opsidaisies!  I just scheduled the wrong post for today – not that this post was on time, so I wasn’t worried about that.  No worries, that’s life and for those who saw what wasn’t suppose to be posted, you got a little sneak peek at an upcoming challenge.  (o.0)  Lucky you!  SO what was suppose to be posted?  That would be this card and one of the New Releases at Little Miss Muffet Stamps today!  There are four new summer digis that are now available and you can see inspiration for them all at the LMMS blog.

The image I used is Swings ‘n Slides Little Sprout drawn by Pollycraft and available in digital form in the Little Miss Muffet Store.  I honestly couldn’t decide which of the four images I wanted to color but when I stumbled across a small flower punch, I knew I wanted to pick this one.

All the other accessories and papers were grabbed at random – it’s amazing what you can find when you reorganize your stash!  Now the task will be to *remember* where all the new spots.  LOL

Sonny Honeycloud For You

Little Miss Muffet Stamps is still continuing on with the Super Saturday event where we introduce the freebie for the day and the spotlighted image for the week!  The spotlighted image is Angel Wings and is on sale this week so be sure to pick up this versatile rubber stamp!  It’s great for all types of projects on their own or combined with other images, such as I have done here…

The images I’ve used on my project today are Angel Wings and Sonny Honeycloud For You, both are rubber stamps from Little Miss Muffet Stamps.  I stamped them in London Fog grey and cut them out and placed them on my card with pop up foam dots.  The girl has two layers of foam dots so she sticks out a little more than the wings for a slightly 3D effect.

These wings have been fun to use and I think they’re the right size to use on many of the characters.  And the girl is an all around stamp that can be used for all occasions – even for a pick-me-up card.  😀  These two stamps plus the freebie for today can be found in the LMMS Store and more inspiration can be found over at the LMMS Store Blog!

Fancy Sunbonnet Beach

I’ve been asked to be a challenge guest at Bastel-Traum Challenges today and they have a fun color challenge up for the week!  The colors you’ll see below but are mainly green, yellow and purple.  I’ve chosen to use Fancy Sunbonnet Beach and go with a summer theme to my card…

I will have to admit that sometimes when creating for a color challenge, I tend to forget some of the colors and this one is no exception.  So instead of purple, I had used teal when I colored!  Oops!  But with the help of Photoshop I was able to correct the main image to showcase for the challenge and all is well.  Where did I get the blue?  No idea but I need to start writing these colors down instead of working from memory.  LOL

The image I used is Fancy Sunbonnet Beach rubber stamp from Little Miss Muffet Stamps and was drawn by Bugaboo.  I love how she’s carrying her beach bucket and ready for a day of fun!

Lucky for me, the rest of the colors I used were matching. The card was put together with odds and ends from my stash and I tried to keep with a nautical/beach feel to it.  Overall, I’m happy with how it turned out and will be pleased to share this with a friend.  😀  Thank you Bastel-Traum for having me as a guest!!

Forest Friends Sabina

I’ve counted up the days and it’s been nearly three weeks since I’ve actually been able to color and complete an image.  It’s sad, I know, but I hope to change that this week and get back into the craft room for some play time!  But lucky for you, I have several projects saved up that haven’t been posted yet… they were just waiting for some time when I could write!

This card uses Forest Friends Sabina and some other accessory stamps from the Forest Friends line from Little Miss Muffet Stamps to create this scene.  The colors I pulled from the papers and then used a simple design for the layout so that most of the colors would be focused on the image.  With Sabina the skunk being black and white, the bright colors look vibrant, which I like.  😀

This was colored on Crygon Shimmering White paper so the white specks you see in the black are actually sparkles!  You can find this image and all the other Forest Friend images in the LMMS Store… which I’m still working at making improvements.  You may not see them, but I aim for at least one a day!  Like an apple!  LOL

Polka Dot Pals Lydie by Zoe

I have a special project that I’m posting today which was colored and created by Zoe!  She was in cahoots with Faye about this so when it arrived in the mail, I was completely, and pleasantly surprised!  This image is Polka Dot Pals Lydie from Little Miss Muffet Stamps and if you don’t recognize it, that’s ok, because I didn’t at first either!  LOL  It’s true… these Polka Dot Pal images are perfect for adding facial features which makes it possible for each one to look unique.  Check out how incredible Zoe did with this one…

I love all the details Zoe was able to include and her coloring no-lines technique is always spectacular!  Not only did she have fun adding a face, but I adore how she added details to the hair too.  Check out these close-ups…

I don’t know about you but coloring like this actually inspires me to sneak into my craft room to steel a few hours of my day!  Hopefully you’ve been inspired as much as I have and thank you Zoe (and Faye) for sending me a snail-mail smile.  😀

The Paper Project – Experiment XI

It seems that there are an increasing number of alcohol marker choices on the market which gives us crafters a great selection when coloring.  This makes me wondered if all alcohol markers are created equal, however, that question will have to be answered another time and another experiment!  But another question to ask, which is easier for me to answer, is how to the papers handle a different type of marker?

Experiment XI – Marvy Le Plume Alcohol Markers

The purpose of this experiment was to use the same paper swatches that I tested the Copic markers on, except this time, use the Marvy Le Plume Alcohol Markers.  I wasn’t concerned with the differences in the markers, so my focus was on how well the different paper could handle intense blending techniques.  My secondary purpose was to determine which papers I would recommend for this brand of marker, which means most samples were colored three or four times for maximum blending testing.

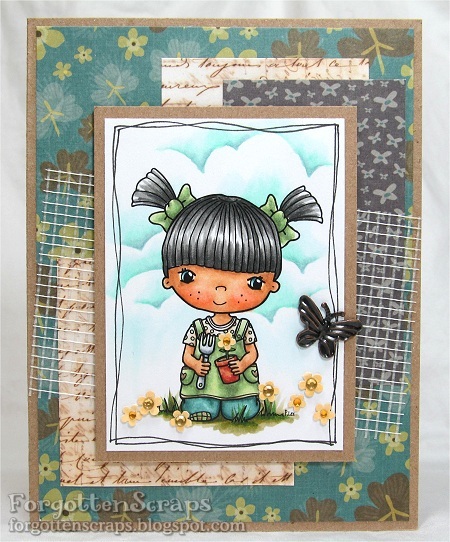
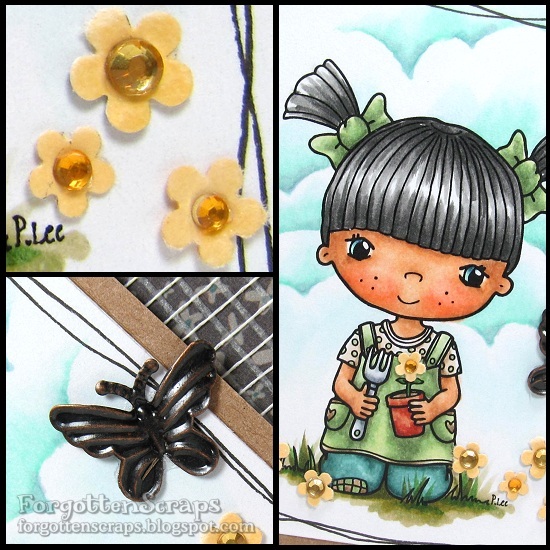
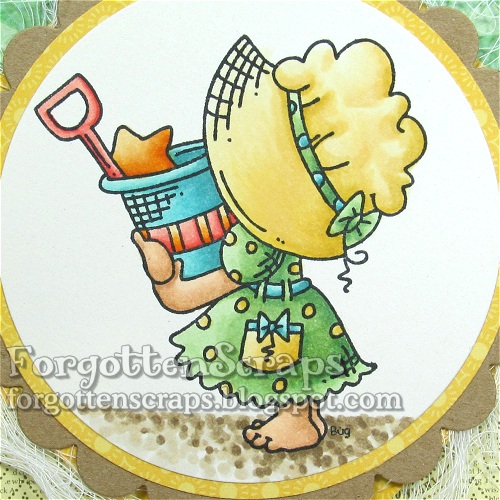
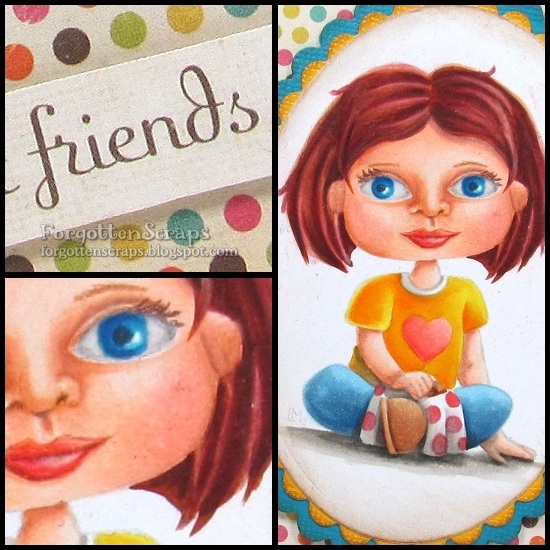
For this test I used the hat accessory stamp in Taylor from Little Miss Muffet Stamps.

These are the main Le Plume colors used:
P782, P785, P786, P797, PV78 and AG877.

The papers are identified in the Introduction and here are the results:

(Click on the picture for a zoomed look.)

And the results?  It was interesting to discover there were a few papers I would have recommended for Copic markers but they didn’t stand up to the Marvy Le Plume markers very well.  For example, papers  GI,  P and Q scored high on the other tests but with this test showed bleeding; and T also did well on previous tests but on this one the colors wouldn’t blend.  Below is a close up of those swatches along with J, one that did well:

As you’ve probably already guessed from the example above, J is one of the papers I would recommend.  I was looking for a paper that I could build up many layers of colors and blend easily from one color to the next, going from a dark gray to a light pink, using six different markers.  It was also important that the paper would accept a lot of ink without bleeding.

Based on this test alone, I would recommend HJ, L, M, and U as being the best papers to color on with the Marvy Le Plume markers.  As secondary choices, if you had them on hand or if they were readily available, would be OV and Z.  (Z is the unlabeled paper swatch, Bazzil Basics Ultra Smooth.)