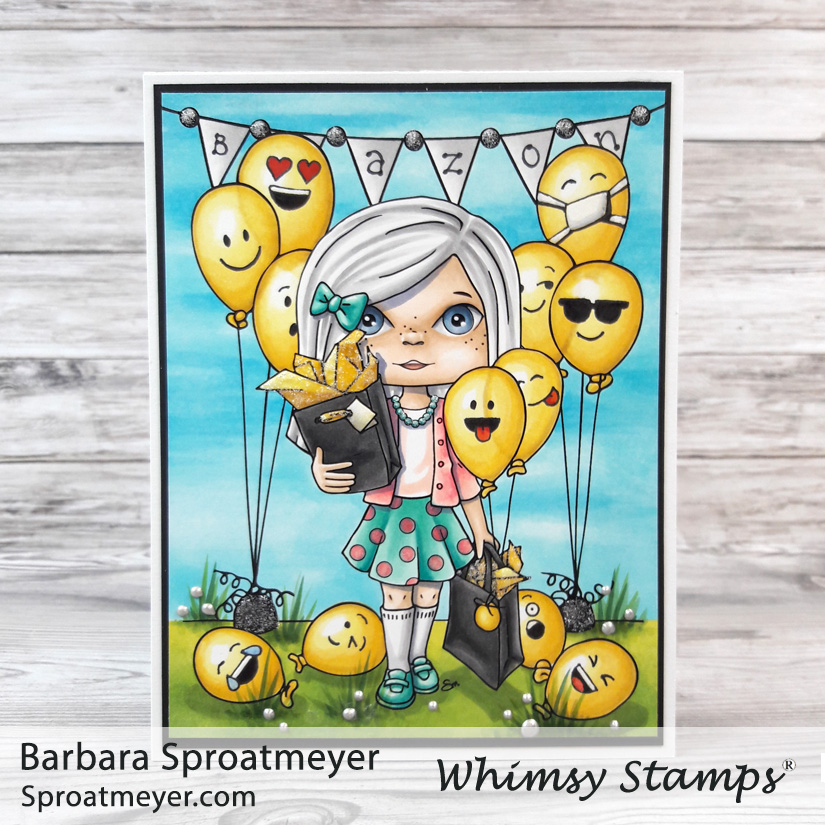
It’s June, it’s June! I’ve been excited for this day as it is release day at Whimsy Stamps and if you enjoy the Polka Dot Pals then you’re going to want the two new digital coloring scenes. The one I’m featuring today is Polka Dot Pals Gemma Let’s Party. I even have a short video on how to color balloons like these.
Figuring out a color scheme on this one was half the fun – so many bright choices and so many fitting themes. As you can see, for this one I went with all yellow balloons – which reminded me of the simple smiley balloons. So I went with that and added emoji various emoji faces to them all.
I thought this would make a bright graduation card so I colored all the party elements in black, yellow or white. To add some color, I added blue and green for an outdoor scene. After that, the remaining colors were chosen to not stand out as much. After it was finished, I added some Glitter Glue and Liquid Pearls.
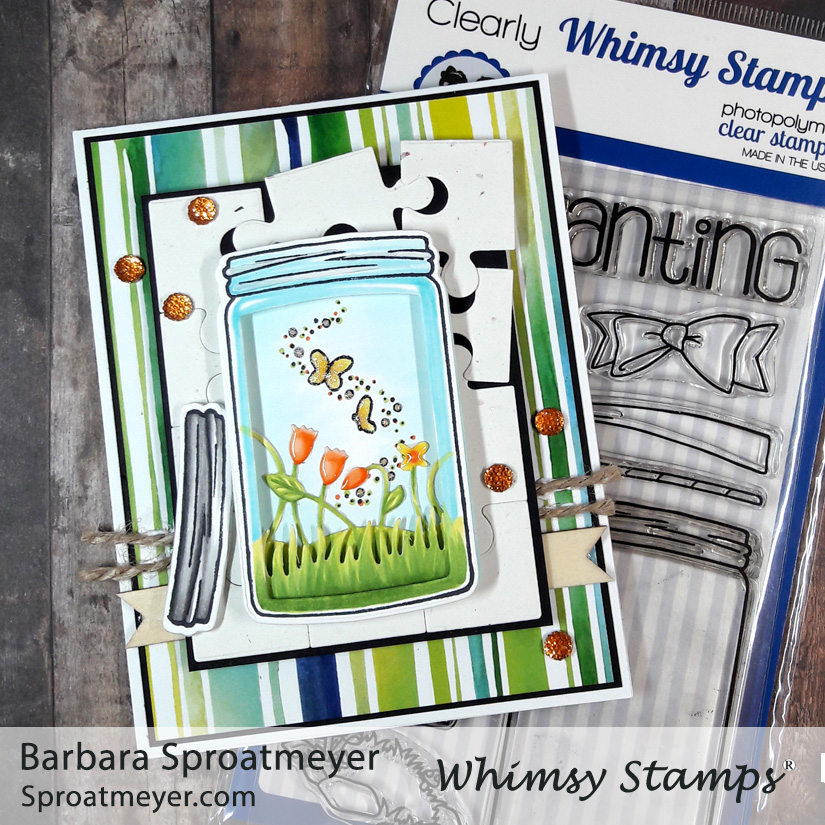
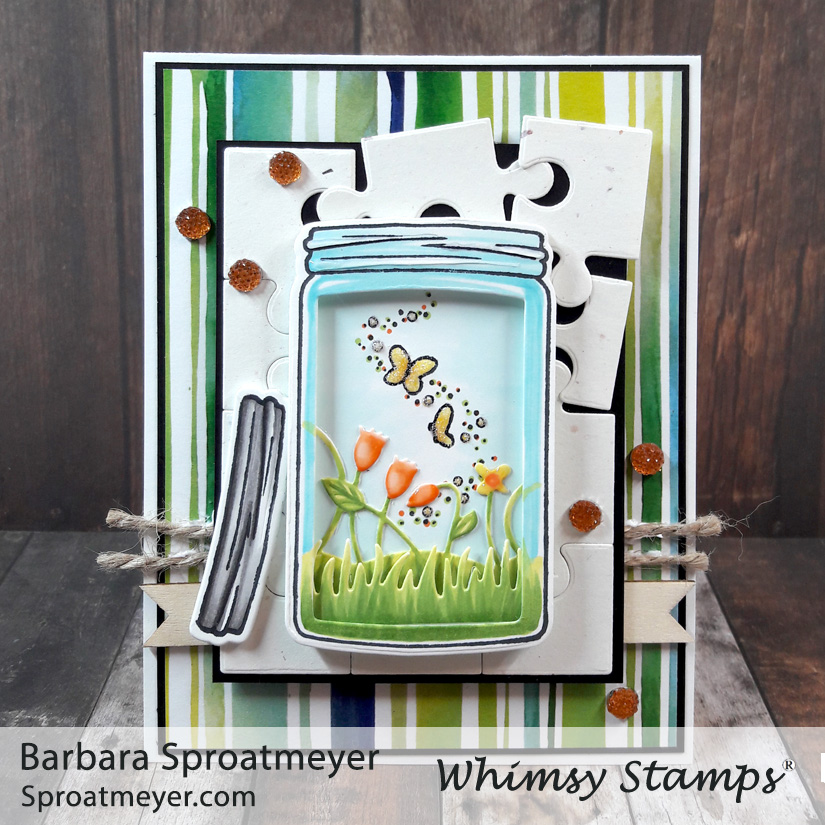
This is an easy pairing and if you don’t have them both, I’m sure this will temp you. For this project I’ve used the Atlas Jar clear stamps with the Mason Atlas Jar die set. It was a must have in my stash and I’ve so much enjoyed using both the die set and clear stamps. This jar is just the right size if you find the larger one too big. Of course, I love and have that one too. Just sayin’.
To assemble the jar, I used foam tape to build up layers and used scrap pieces of die cuts that I had laying around – the grass and flowers were just long enough to squeeze in there. I colored them all up with Copic markers and added some Crystal Drops and Glitter Glue for texture.
The lid was also cut using the Mason Atlas Jar die set. I used the jar stamp and inked up just the top part to stamp the lid. Instead of putting it on top of the jar, I thought it would be different and fun to have it leaning against the jar. I used white foam tape behind white elements and the black foam tape behind the black layer. I’m really liking the black!
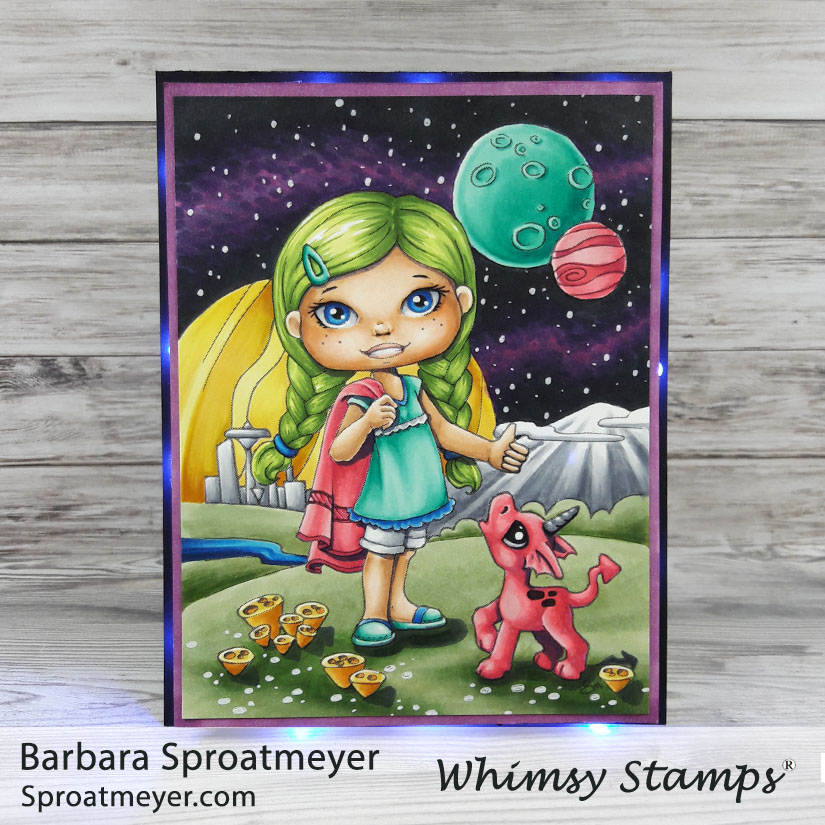
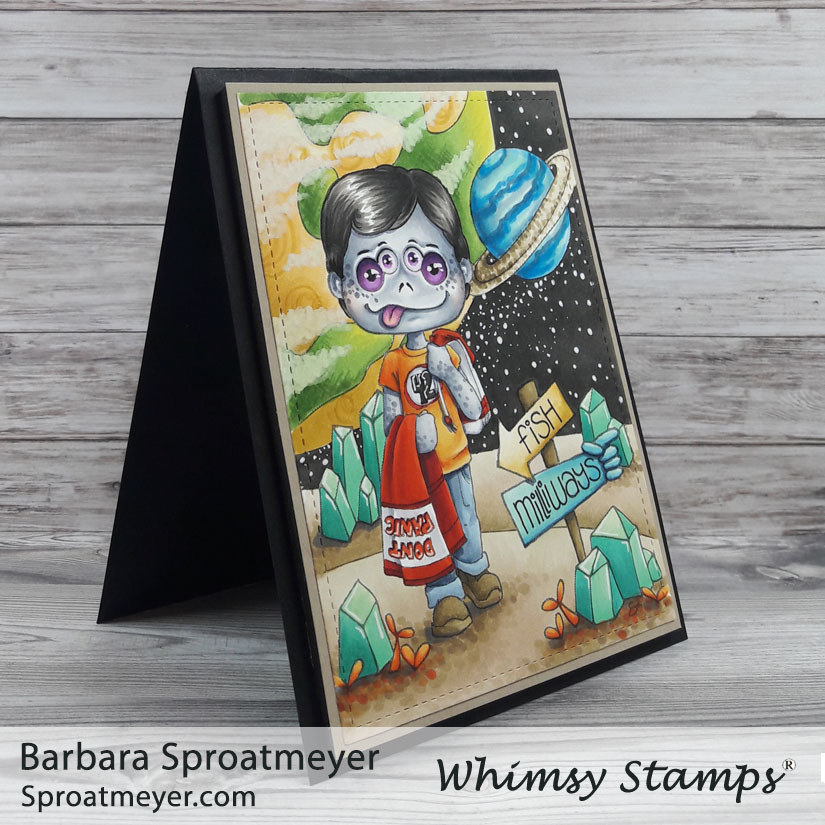
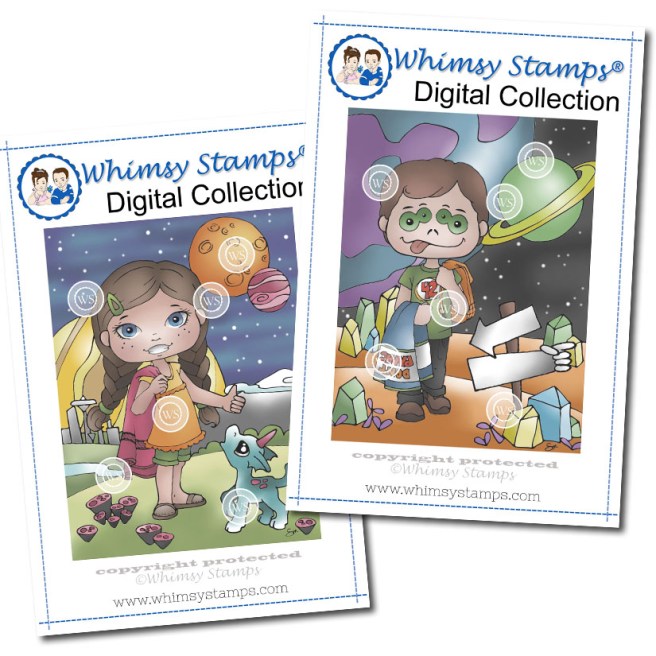
It’s one of those galactic sort of days today and day you’ll want to make sure you have your towel with you. There are many important reasons to have a towel – you can read them HERE. To help celebrate, I thought it would be fun to come up with two new digital scenes. The one featured in this post is Polka Dot Pals Trillian Towel Day.
In the video, I show how I colored the galactic sky. It’s really a fun technique and can be done in a variety of colors and patterns.
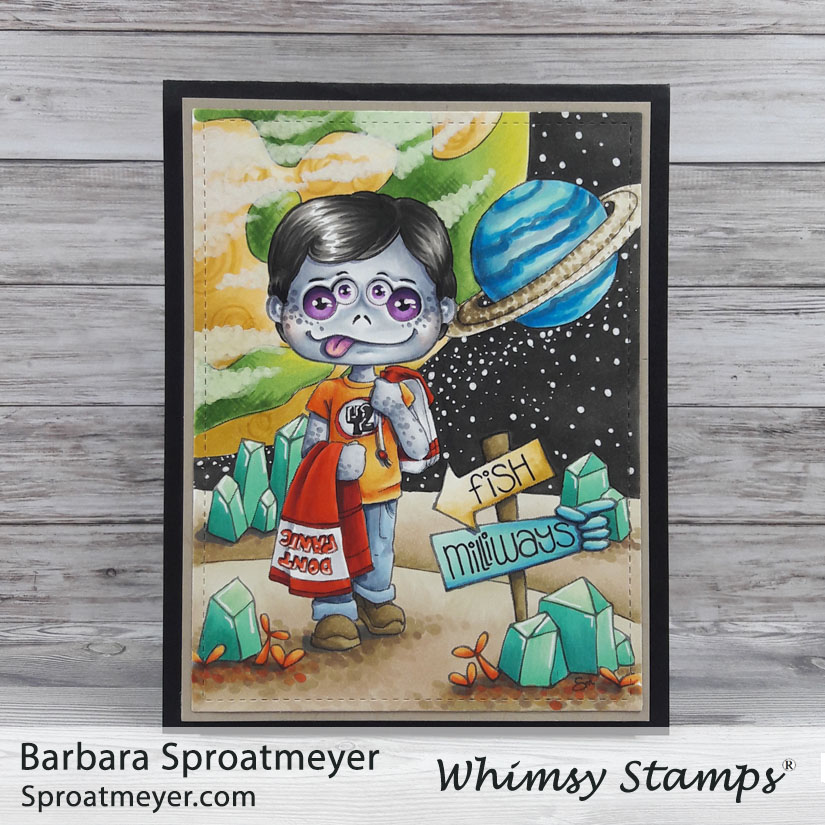
I wanted to go for non-traditional colors and started with coloring the Polka Dot Pals’ hair green, From there I mainly stuck with a cool color pallet with the greens, blues, teals, purples and grays. But to add some added pop and contrast, I added some pink and yellow into the mix.
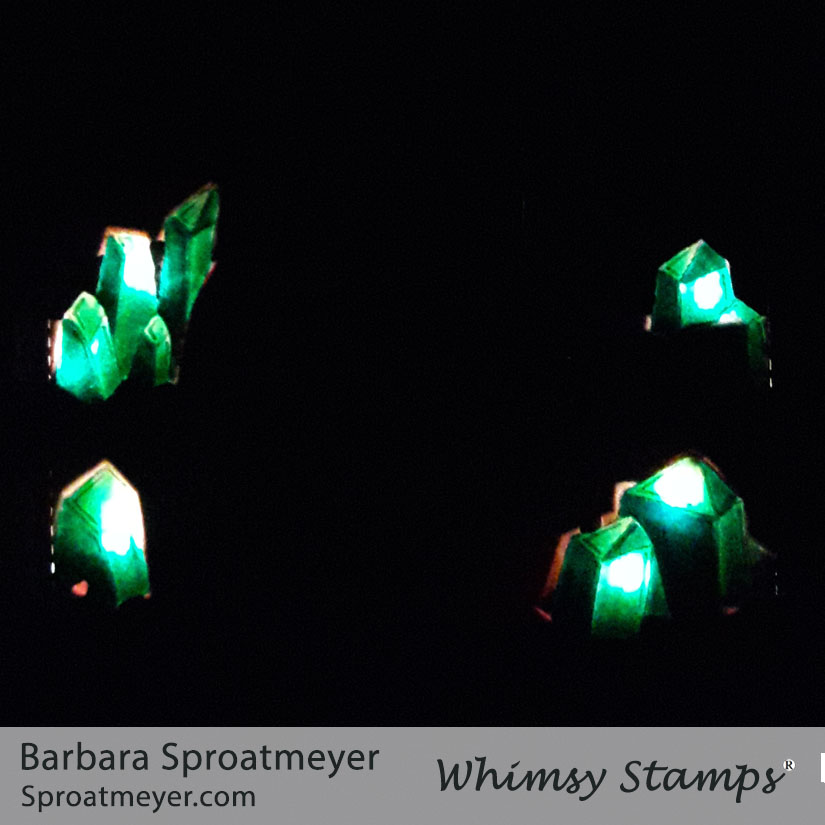
I’ve been playing around with lights lately and took this as another opportunity to add more. The lights I used on this one are the mini fairy lights that are practically a dime a dozen on Amazon. Not quite that inexpensive but certainly easy on the budget. I built up a frame to hold the battery/switch housing then wrapped and taped the lights around the outside. The remainders I taped on the inside because I was afraid of what would happen if I cut them. Didn’t want to do that and I had plenty of room inside to stuff the extras.
You’ll find both Polka Dot Pals Trillian Towel Day and Polka Dot Pals Douglas Don’t Panic as freebies for today only over at Whimsy Stamps. After today, they’ll be available to purchase. Please respect the artist’s copyright and send your friends and followers to Whimsy Stamps to download the images themselves and don’t distribute the images even after they are no longer freebies. Thank you.
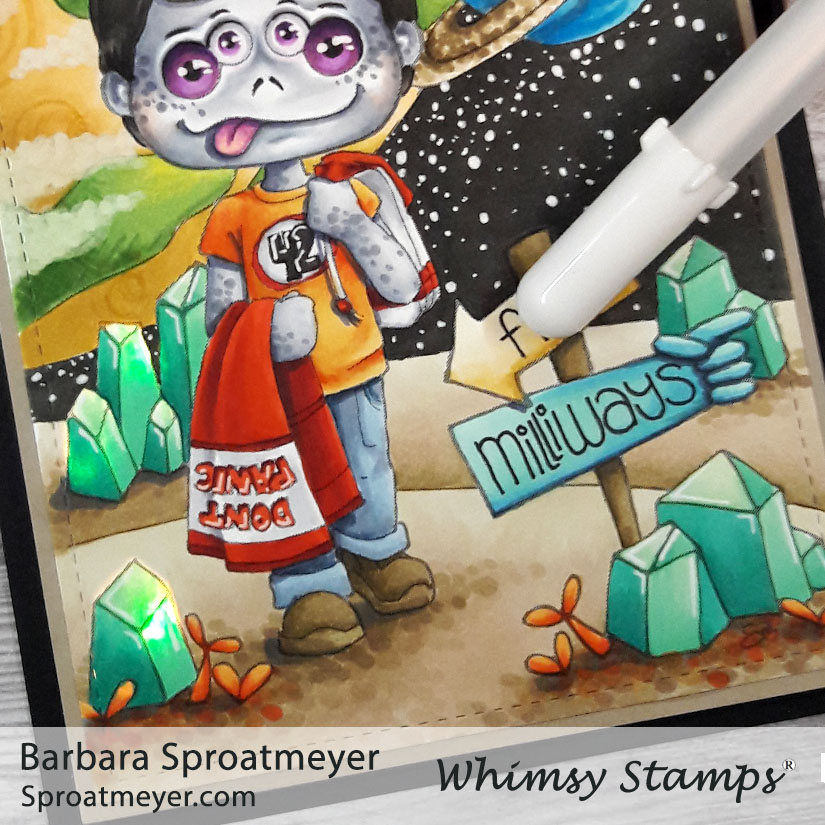
Attention all froods*, do you know where your towel is? Get it handy because today is Towel Day! In celebration, I have put together two digital coloring scenes that have a Hitchhiker’s theme to them. The first one is featured here, Polka Dot Pals Douglas Don’t Panic, and is a freebie for today only at Whimsy Stamps.
*Frood is a common slang word that means someone who is very together, often paired with the term ‘hoopy’ as in: “a hoopy frood”.
I have enjoyed coloring this one while listening to The Hitchhiker’s Guide to the Galaxy. I actually started listening to it when I was drawing the scenes. Drawing, digitizing and preparing the image, plus coloring and adding light elements to the card was well within the time frame to complete the book too. It was enjoyable.
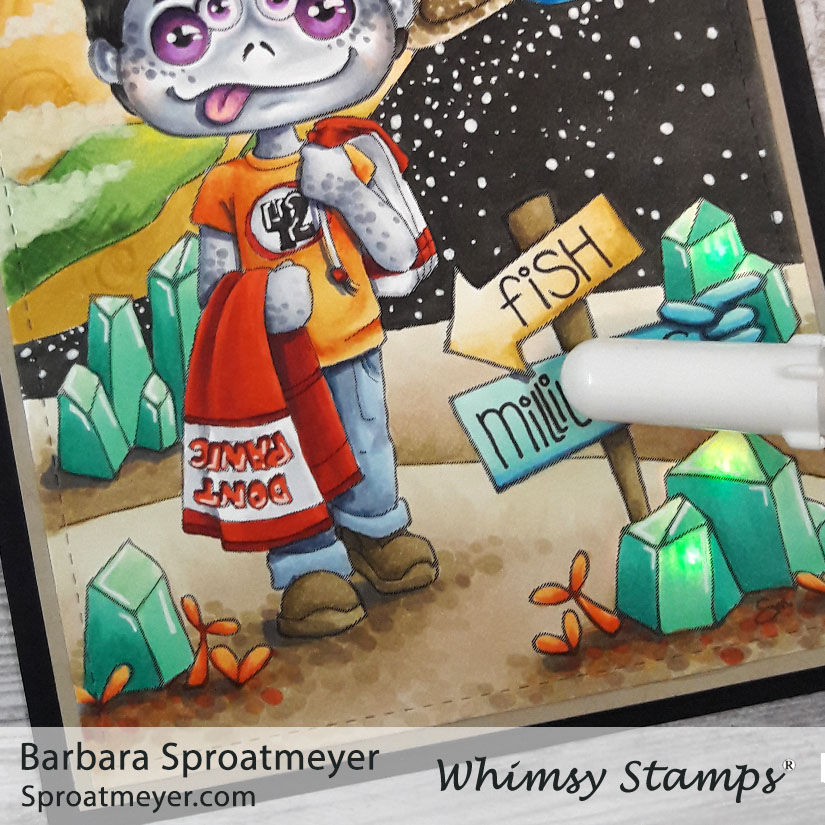
For those who are Douglas Adams fans, you’ll recognize several tributes on my project including the towel, “Don’t Panic”, 42, fish and Millyways* elements. This hitchhiker is also particularly a literary fan because he has four eyes.
* If you’ve done six impossible things this morning, why not round it off with breakfast at Millyways, the restaurant at the end of the universe? – Bastablom Executives
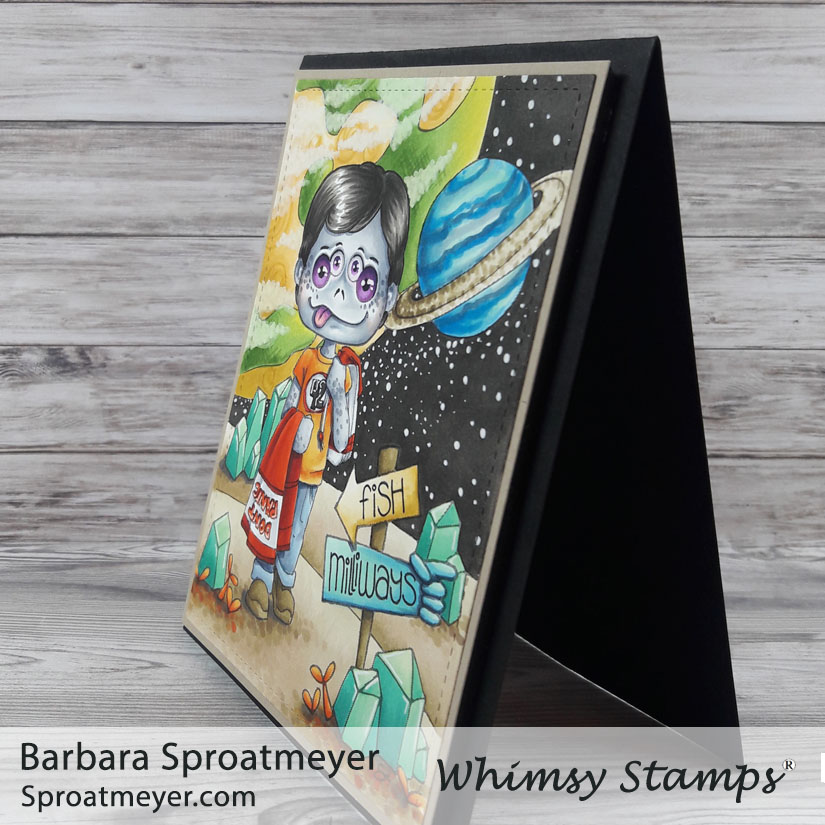
This card was assembled with black foam tape, a must have! The Shaker Maker Foam Tape – Black is perfect on darker cards and blends in well so it doesn’t stand out like a sore thumb as the white would do.
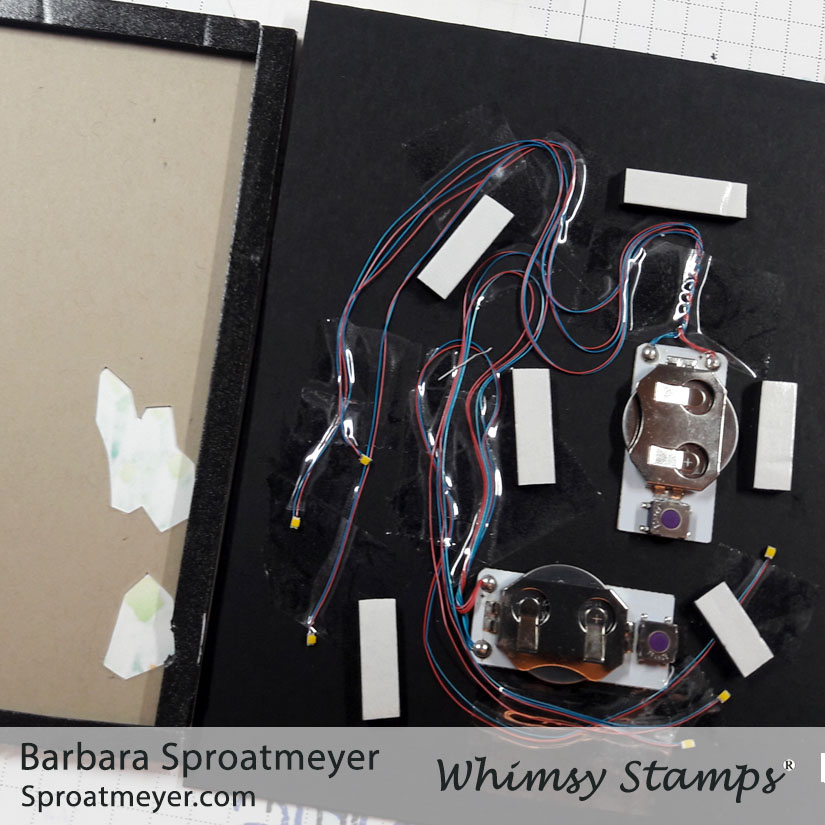
Between the layers, I added two Pear Blossom Press EZ-Lights and taped them in position to light up the gems on the front. The cardstock layer just behind the image was cut in the shape of the gem so it would allow the light to shine through. The shape also keeps it contained so only the gem glowed.
Looking at completed project, you have two choices to go and the gems will light the way. Choose to go LEFT for FISH and the left gems will light up.
Choose to go RIGHT to Millyways and the right side gems will light up. This has been a fun interactive card and is even better in the person. In the dark, you can see how much the gems light up – below I’ve pressed both signs to show the left and right side lit up.
You’ll find both Polka Dot Pals Trillian Towel Day and Polka Dot Pals Douglas Don’t Panic as freebies for today only over at Whimsy Stamps. After today, they’ll be available to purchase. Please respect the artist’s copyright and send your friends and followers to Whimsy Stamps to download the images themselves and don’t distribute the images even after they are no longer freebies. Thank you.
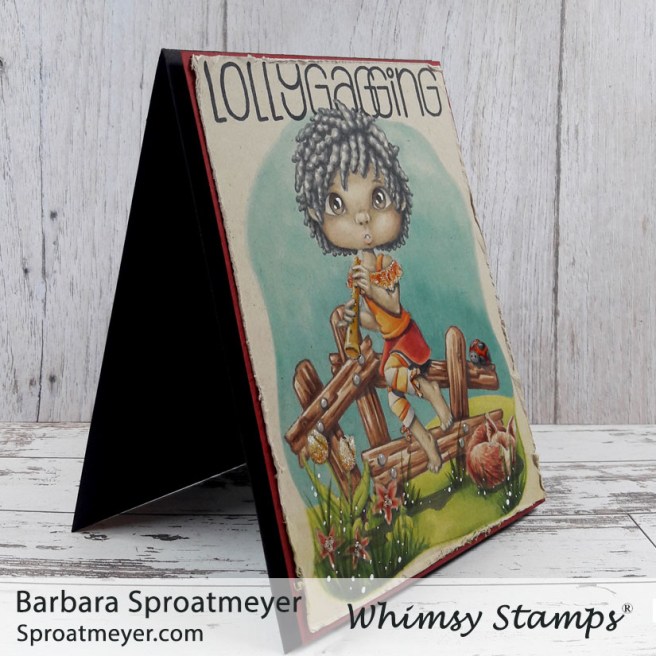
I’ve grabbed a handful of the Polka Dot Pals sets to create this scene featuring Polka Dot Pals Khadija. I’ve actually used six different Polka Dot Pals set! They’re all listed at the bottom of this post.
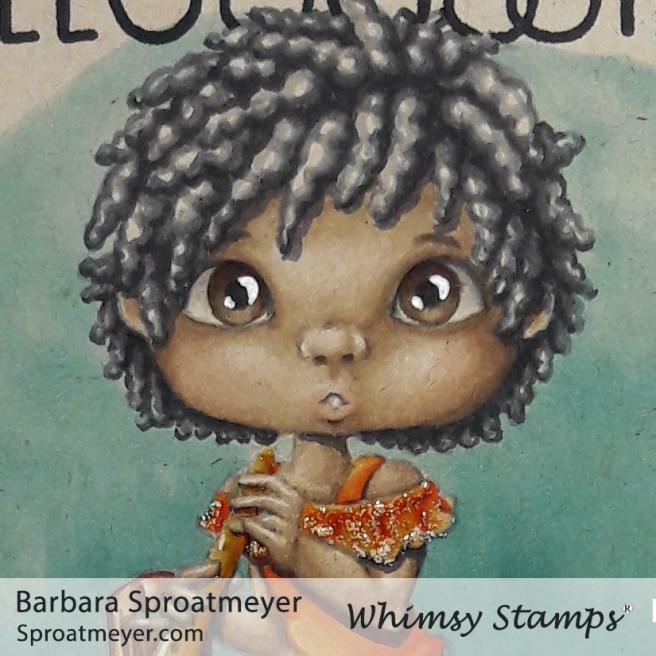
Two videos were recorded showing how I colored the hair and the face – one is posted to my YouTube channel and the other on the Whimsy Stamps channel. Hope you’ll come view them both.
This project was colored on Neenah Desert Storm paper. I love the look and it’s so fun to color on. You’ll see in the videos, that the ink is much darker when it’s wet and first applied. It takes a short bit to dry so that’s something to get used to.
The hair on this character is a short pixie style but I’ve colored it with thick twisted locs instead. Changing the looks like this is called creative color placement, which is a technique that can be done on any stamp and in any spot. It’s even easier to do when stamping or printing the image in a light color. Here, I used a light gray ink.
I have all the Polka Dot Pal sets, of course, which makes it a lot of fun to mix and match all the elements. I usually mask the character but when stamping in such a light color, I don’t bother to mask any of the other stamps. After coloring, it’s difficult to see the lines that should have been omitted and make building the scene that much easier.
The project I have to share today is a mixture of three different stamps plus some doodling on the side. The character is Cheshire Chibi Girl from Stamp Anything. She is part of the Down the Rabbit Hole kit and Ann was kind enough to share the digital version for me to color. The face was replaced with the one from Polka Dot Pals Syeda from Whimsy Stamps. Then the background is a freebie from Sandy Allnock called Stay Home Stay Safe. Lastly, I doodled some flying geese in the background to finish off the scene.
I started this project by coloring the sky. I knew I wanted to go with something non-blue and that would help me set the color pallet for the rest of the project. Unfortunately, it sort of threw me off and so I don’t think the colors coordinate as well as I would liked them to have. But it’s all good and still fun.
After coloring the background and buildings, I jumped into coloring the beanie hat. The original character has a cat but I really wanted to add some extra coloring details and went with a knitted hat instead. Since I printed the image out in a light gray, I just used creative color placement and colored right over the cat hat.
The face and hair was colored while recording so you can watch the video for those details. In the foreground, I added a sidewalk with some grass details. Lastly, I added some flying geese silhouettes in the background to help break up the skyline.