Mason Atlas Jar – Die Set and Clear Stamps

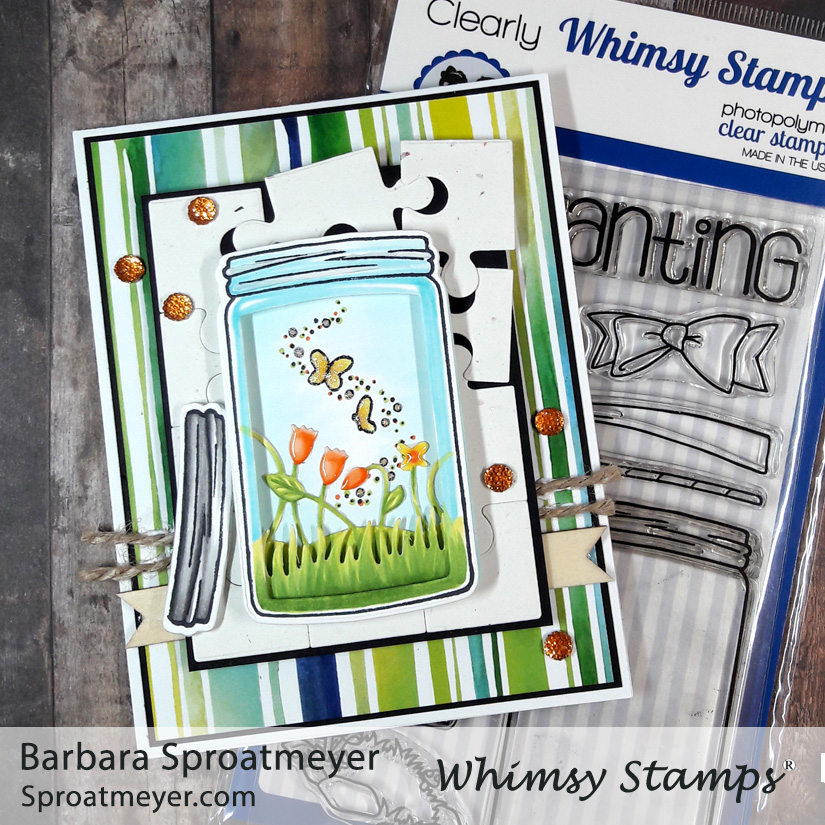
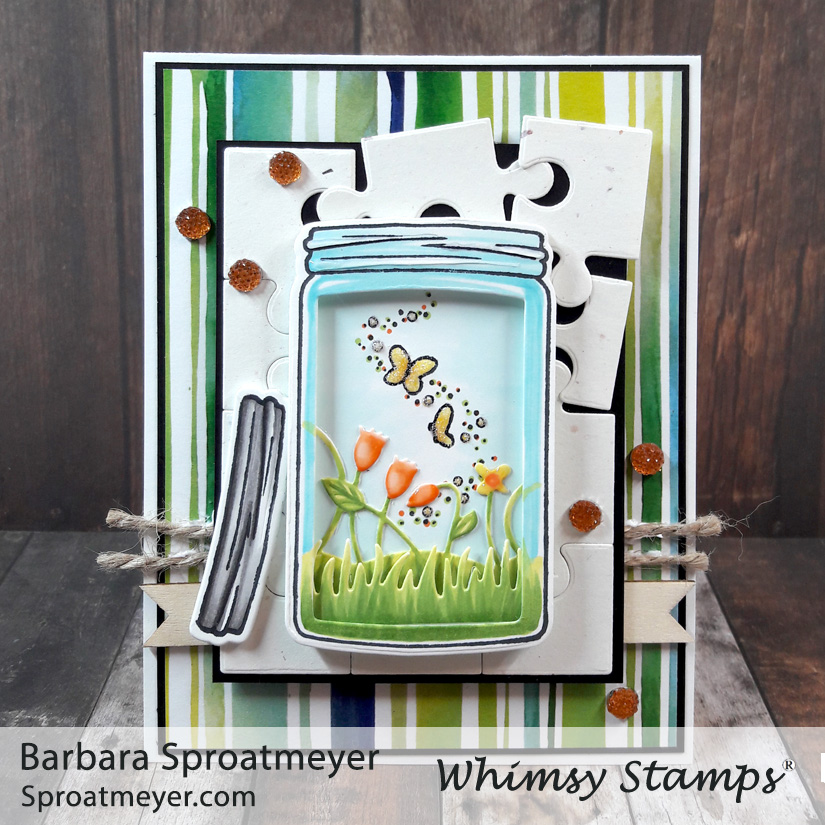
This is an easy pairing and if you don’t have them both, I’m sure this will temp you. For this project I’ve used the Atlas Jar clear stamps with the Mason Atlas Jar die set. It was a must have in my stash and I’ve so much enjoyed using both the die set and clear stamps. This jar is just the right size if you find the larger one too big. Of course, I love and have that one too. Just sayin’.

To assemble the jar, I used foam tape to build up layers and used scrap pieces of die cuts that I had laying around – the grass and flowers were just long enough to squeeze in there. I colored them all up with Copic markers and added some Crystal Drops and Glitter Glue for texture.
The lid was also cut using the Mason Atlas Jar die set. I used the jar stamp and inked up just the top part to stamp the lid. Instead of putting it on top of the jar, I thought it would be different and fun to have it leaning against the jar. I used white foam tape behind white elements and the black foam tape behind the black layer. I’m really liking the black!

Supplies Used:
Hammermill Premium Color Copy 100lb
grass, flowers and puzzle die set
self-sticking gems
wood banner and twine
white foam tape
Nuvo Crystal Drops
Stickles Glitter Glue

Whimsy Stamps:
Mason Atlas Jar die set
Atlas Jar clear set
Polka Dot Pals Mason (butterflies)
Fabulous Florals 6×6″ Decorative Paper
Shaker Maker Foam Tape – Black

Colors Used:
Y11, 19
YR61, 65, 68
B000, 01
YG21, 25, 17
T2, 4, 6

Leave a Reply

Fill in your details below or click an icon to log in:

WordPress.com Logo

You are commenting using your WordPress.com account. Log Out /  Change )

Facebook photo

You are commenting using your Facebook account. Log Out /  Change )

Connecting to %s

This site uses Akismet to reduce spam. Learn how your comment data is processed.