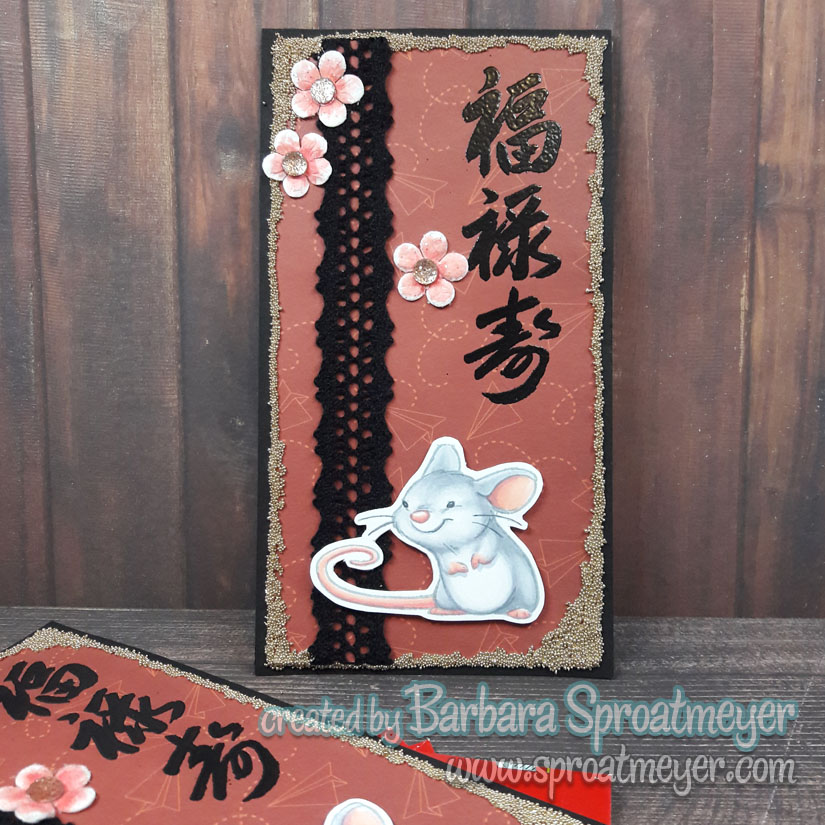
Happy New Year! It’s the Year of the Rat and the beginning of the whole round of animals as the rat is the first of all the lunar animals. “According to one myth, the Jade Emperor said the order would be decided by the order in which they arrived to his party. The Rat tricked the Ox into giving him a ride. Then, just as they arrived at the finish line, Rat jumped down and landed ahead of Ox, becoming first.” Read more HERE.
For my kids, I like to create a bookmark that they can use for the year and include it in the envelop with the money. It’s a little something extra I enjoy especially if I see them use the bookmark. 😉
Copic Markers: R12, 32, 43 Bv20, 0 C00, 2, 4, 5
Stamps: Year of the Rat by Sister Stamps Good Luck, Prosperity, Long Life by Picture Show
Here’s the latest in my water coloring journey and clueless mentor to small pliable minds… this time the subject was Pokémon. But to be honest, I have no clue which ones unless it was one of the traditional classic starters. So in this case unknown with Bulbasaur sitting enjoy the night sky.
Mine is on the left and hers is on the right. I think she did an amazing job! We used Grumbacher Academy watercolor tubes on Strathmore cold press 140# paper.Here’s another one we did together using Grumbacher Academy watercolor tubes. Mine is above and I used Strathmore cold press 140# paper and she used Strathmore hot press paper. The umbrella girl was inspired from another artist in color choices. The last part of the panel I gave up on because I was having a hard time with the white part of the waves. I’ll have to practice that another time.
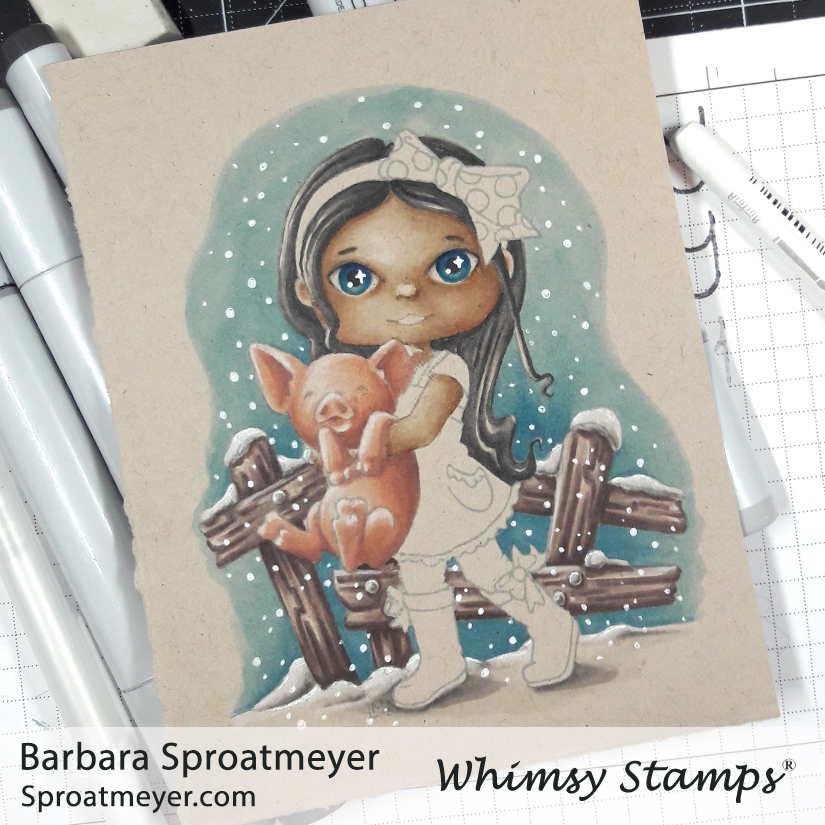
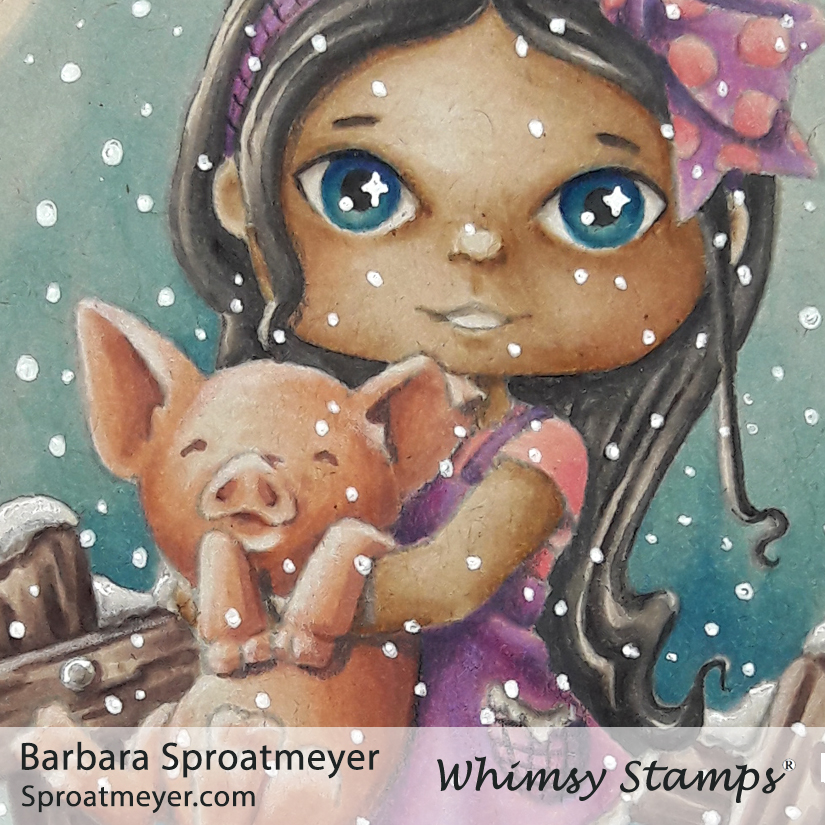
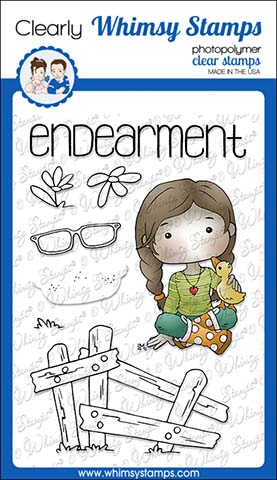
Welcome back! Today I want to share another card I created using the Neenah Desert Storm paper with Copic Markers. This one uses the character and face from Polka Dot Pals Syeda with the fence element from Polka Dot Pals Fern. Using a non-white color for the paper options is ideal for snowy backgrounds and I was eager to give this a try.
I had colored this image before so I started with my favorite part and colored the piglet. After that I thought I’d get started on the snow which meant I needed to color the fence. Not stopping there, I added the blue background and then jumped right into adding the snowflakes. I’d normally leave the background until last but I was eager to define the snow on the fence – that meant I had to color both of those areas. Then it was just too tempting not to add the snow.
I contemplated on what colors to do Syeda’s clothes and settled on pinks and purples. However, in hindsight I wish I had done blues and greens or just blues with neutral colors. I think it would have fit the snowy theme better and allow the piglet and background features to stand out more.
I kept the card simple and used a blue to coordinate with the background. I think because I had snow, I could have added a white card base but the black helped bring out Syeda’s hair and boot features so I stuck with that.
These are the Copic Markers I used: E04, R12 (piglet) E70, 71, 74, 77 (fence) T0, 2, 3, 4, 5, 7 B12, 14, 06, 08 (sky) E000, 30, 31, 35, R12 (skin) V000, 04, 15, 17 R11, 13, 14 plus white gel pen and white colored pencil
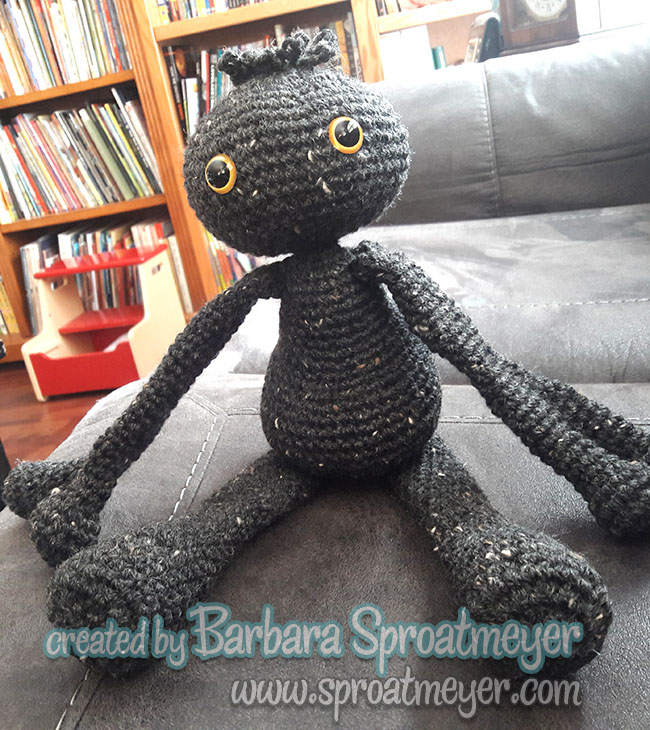
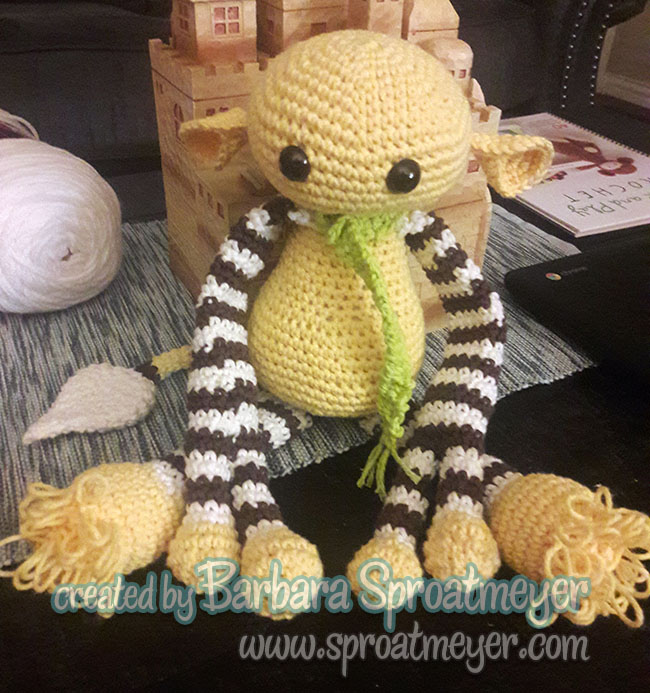
I’ve really enjoyed the Edward’s Crochet Imaginarium book by Kerry Lord because of the flip pages but also because it’s so versatile. With the experience under my belt, I’m able to modify the patterns to fit my needs while keeping the basic body shape. The kids love it because they can create monsters without even a stitch of crochet.
I created one for my this for my dear friend Janice. The two-suction-finger hands are one of my favorites to crochet.
I made this one for my friend Jennifer. This was the first time I did the furry feet and I often wonder how those loops stay in – especially when they’re cut. How is that done!? I made up the ears and scarf to go with.
This is mostly my creation but still using the same basic body from the book. She took over a year because I didn’t like working with the soft yard that made up the body – its was so dense and difficult to see that I had to mark every-single-hard-to-find-stitch as I went. A massive headache and was so thrilled when finished.
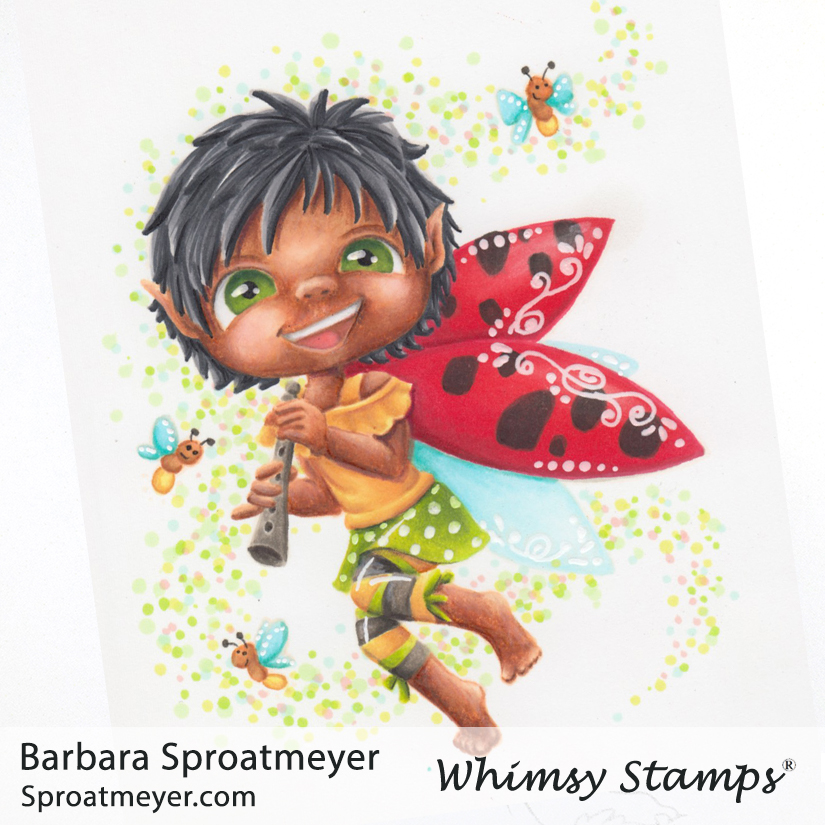
This is a new release at Whimsy Stamps for this month and she is named Polka Dot Pals Khadija. I added the face that was included and used the wings and fireflies together to create this little scene. In addition to using those elements from the set, I added pointy ears through creative color placement and made her more fairy like.
She was colored as a fairy ladybug with the bright red wings. From the top photo, you can see how much this Polka Dot Pal was transformed from the original uncolored state to the finished colored image. I love the Polka Dot Pals, even with those annoying beady eyes, because there are so many possibilities. And once colored (even without a face) they’re still adorable. So pick up your sets at Whimsy Stamps and let’s see what you can color!
I really have no clue on how to watercolor property but I’m studying and watching lots and lots of videos. It seems easy when I watch someone else do it but I haven’t found the right combination for me to make it work the way I want. Especially the wet on wet techniques where I see the colors spread it amazing details. Ah, but alas, at least someone in my house thinks I’m a pro and has asked me to teach her.
Top and right are ones that she made and I think she’s picking it very nicely! I did the one on the left from a tutorial from either YouTube or Artist’s Network TV. I thought I had it bookmarked so I’m sorry I lost that. We used the Winsor and Newton half pan travel set on the scenes and she used Grumbacher Academy watercolor tubes.
This next one was on Craft Perfect by Tonic Studios Watercolor Card cold press paper with a Winsor and Newton half pan travel set. Top is mine and bottom is hers.
Here’s one I did using Strathmore cold press paper and the W&N travel set. I was specifically trying to get that wet on wet color spread and mixing on the paper. Same with the one below.