March is an awesome month but it’s also awesome because there is a new release at Whimsy Stamps featuring two new Polka Dot Pal boy characters! For my sample today, I used Polka Dot Pals Raden, with a few elements from Polka Dot Pals Imogen, and Path in The Woods for the background.
I first colored the Path in the Woods so I could see how much green I could use on the rest of the image and not be too washed out. I settled for adding just a little green on the shirt to help harmonize the two images together.
The Path in the Woods by Dustin Pike is going to be an awesome stamp to use for many themes. Even though it took a while to color it with the dots method, I can’t wait to use it again.
I had tried to add Nivo Crystal Drops to the glasses but was a bit shy about how much I added so it didn’t go on as smooth as I had liked. Then I tried to speed up the drying time with the heat gun – and well, let’s say you don’t want to do that either unless you want a bubbled look. I smoothed it out as much as possible and that was that. Lesson learned.
Here you can see a side by side of the coloring on Polka Dot Pals Raden before and after. I added the glasses from the Polka Dot Pals Fern stamp. Then I colored in my own face without using an Add-on Face from another set.
The fallen tree log in this set has four different options for how you want the end of the stump to look like. I chose to go with the eyes and make the log hollowed out – who know what critters are lurking in there but I think Polka Dot Pals Raden is about to find out.
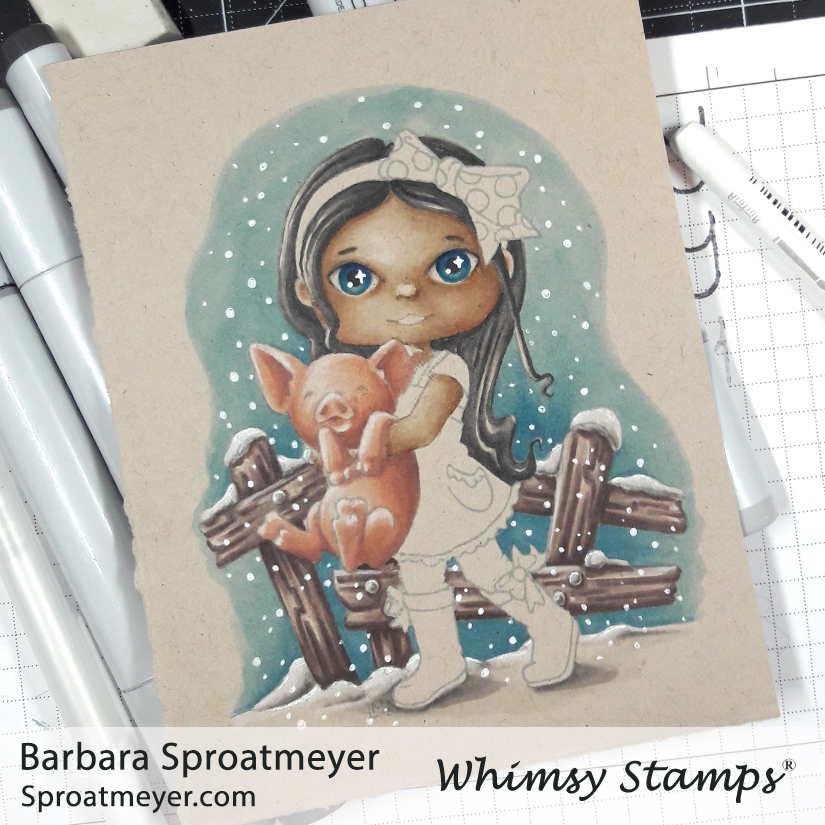
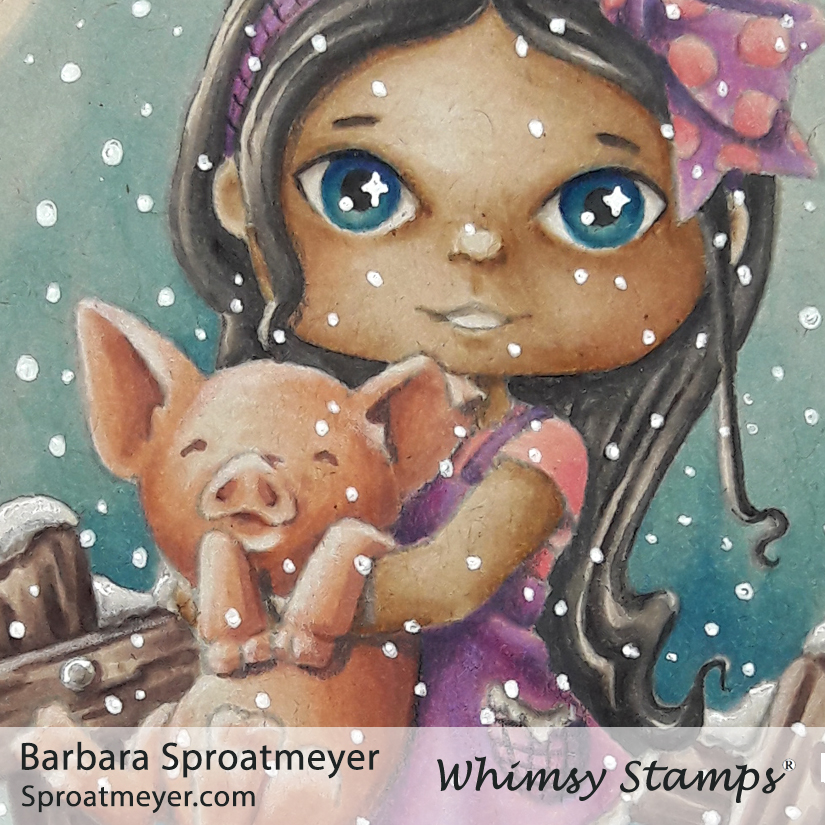
Welcome back! Today I want to share another card I created using the Neenah Desert Storm paper with Copic Markers. This one uses the character and face from Polka Dot Pals Syeda with the fence element from Polka Dot Pals Fern. Using a non-white color for the paper options is ideal for snowy backgrounds and I was eager to give this a try.
I had colored this image before so I started with my favorite part and colored the piglet. After that I thought I’d get started on the snow which meant I needed to color the fence. Not stopping there, I added the blue background and then jumped right into adding the snowflakes. I’d normally leave the background until last but I was eager to define the snow on the fence – that meant I had to color both of those areas. Then it was just too tempting not to add the snow.
I contemplated on what colors to do Syeda’s clothes and settled on pinks and purples. However, in hindsight I wish I had done blues and greens or just blues with neutral colors. I think it would have fit the snowy theme better and allow the piglet and background features to stand out more.
I kept the card simple and used a blue to coordinate with the background. I think because I had snow, I could have added a white card base but the black helped bring out Syeda’s hair and boot features so I stuck with that.
These are the Copic Markers I used: E04, R12 (piglet) E70, 71, 74, 77 (fence) T0, 2, 3, 4, 5, 7 B12, 14, 06, 08 (sky) E000, 30, 31, 35, R12 (skin) V000, 04, 15, 17 R11, 13, 14 plus white gel pen and white colored pencil
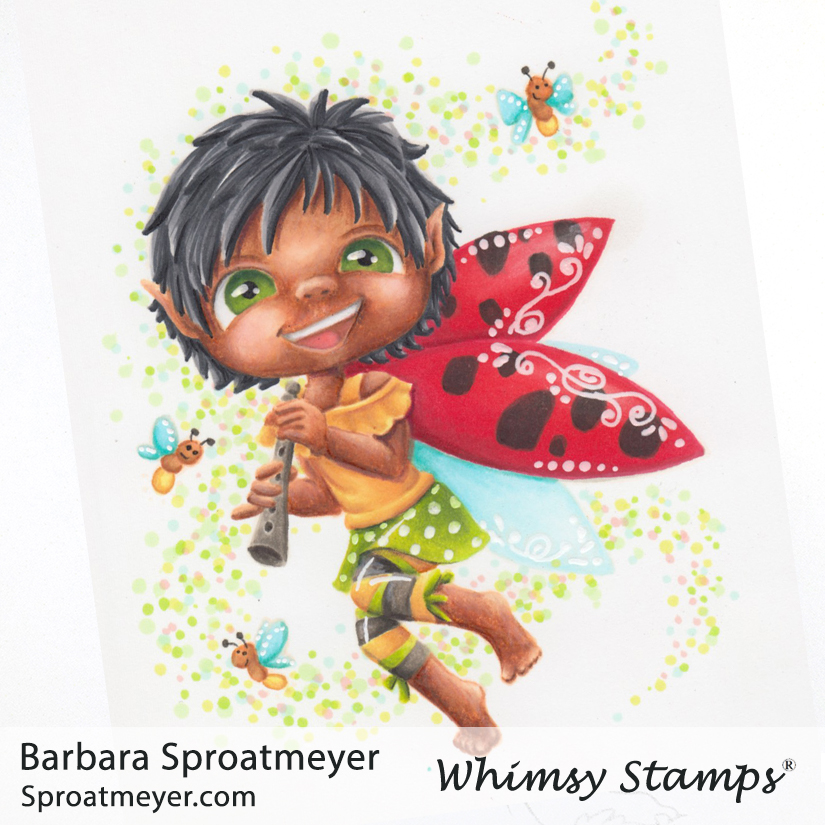
This is a new release at Whimsy Stamps for this month and she is named Polka Dot Pals Khadija. I added the face that was included and used the wings and fireflies together to create this little scene. In addition to using those elements from the set, I added pointy ears through creative color placement and made her more fairy like.
She was colored as a fairy ladybug with the bright red wings. From the top photo, you can see how much this Polka Dot Pal was transformed from the original uncolored state to the finished colored image. I love the Polka Dot Pals, even with those annoying beady eyes, because there are so many possibilities. And once colored (even without a face) they’re still adorable. So pick up your sets at Whimsy Stamps and let’s see what you can color!
This was so cool! In the past, I’ve enjoyed coloring with my Prismacolor pencils on kraft paper but I came across a card by Sandy Allnock that achieved the same thing except with Copic markers. What? How was that done? Turns out, Neenah comes out with a Desert Storm color that works the same way as their white that I like to use. It wasn’t more than two seconds after discovering this that I purchased my own pack to play with.
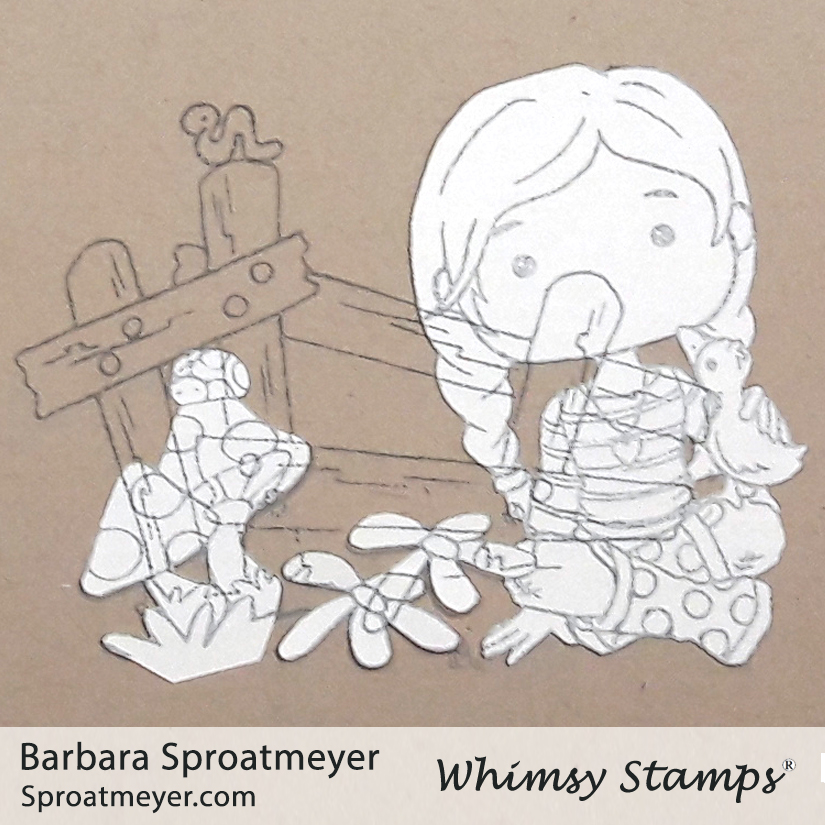
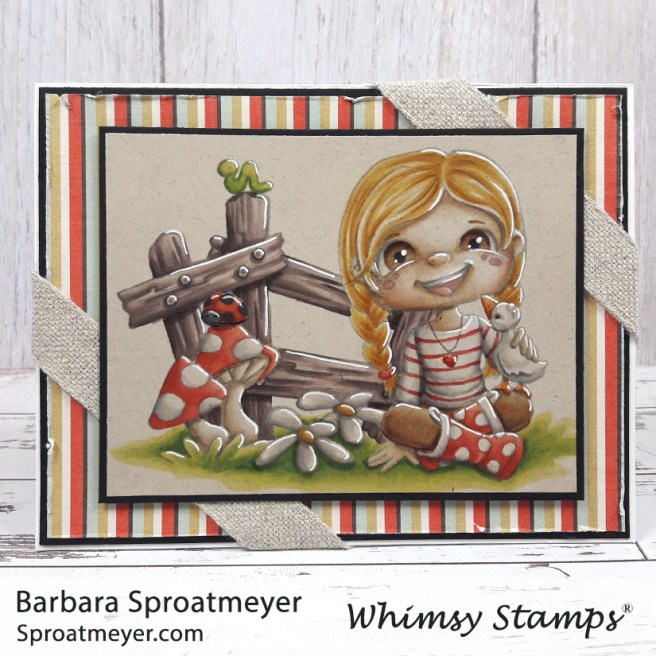
My project started with using a few sets to create a scene using the Polka Dot Pals from Whimsy Stamps. This one used the character, fence and flower from Polka Dot Pals Fern combined with the insects and mushrooms from Polka Dot Pals Imogen. Lastly I added the face from Polka Dot Pals Khadija. Everything in the foreground of the scene was masked and the fence was added.
It took a little while to get used to the way the paper worked. Unlike the white, the Desert Storm shows dark when it’s whet so often times I would have to wait for that area to dry before deciding to color more or not. It wasn’t a problem on larger areas such as the fence and hair but the smaller areas took a little more patience.
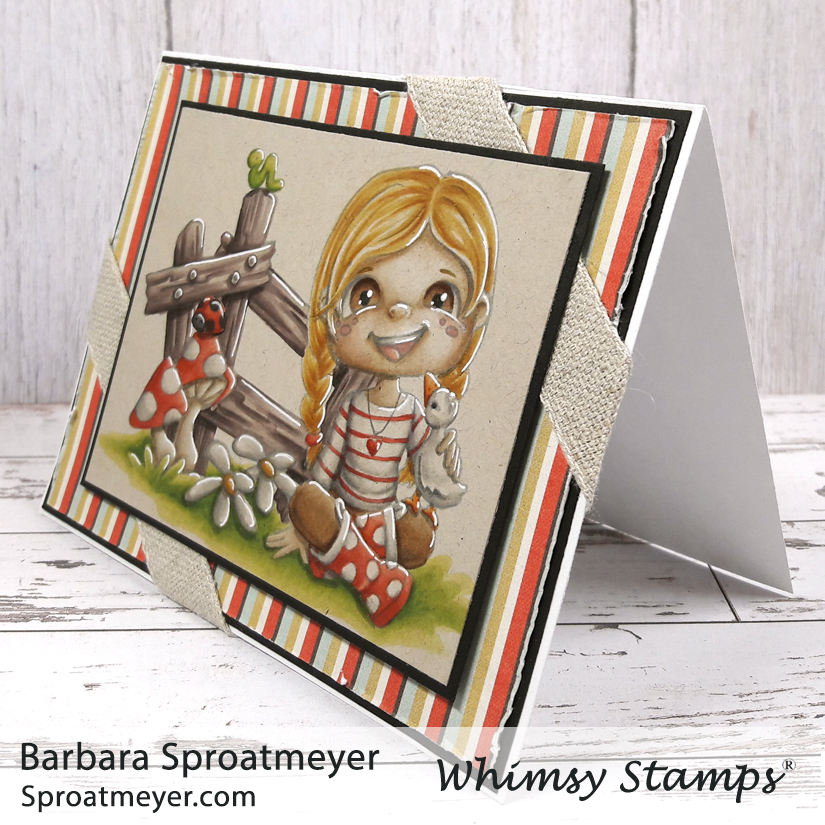
I wanted to add white but wasn’t sure how that was going to work. I first started with some water based white and a brush but the paper seemed to get too wet and I couldn’t see what I was doing. So I ended up using a gel pen and giving a stark highlight in the direction of the light source. I think it works but next time I’ll be interested to find a softer way to add white – in hindsight, pencils seems like the obvious choice so that will be my go to next time.
For the card, I kept it simple and was lucky to find a decorative paper that matched. I was worried about that so I consider that a gold-start find. Since there wasn’t a lot of white, I stayed away from white embellishments or white in the paper least it would provide too much of a contrast.
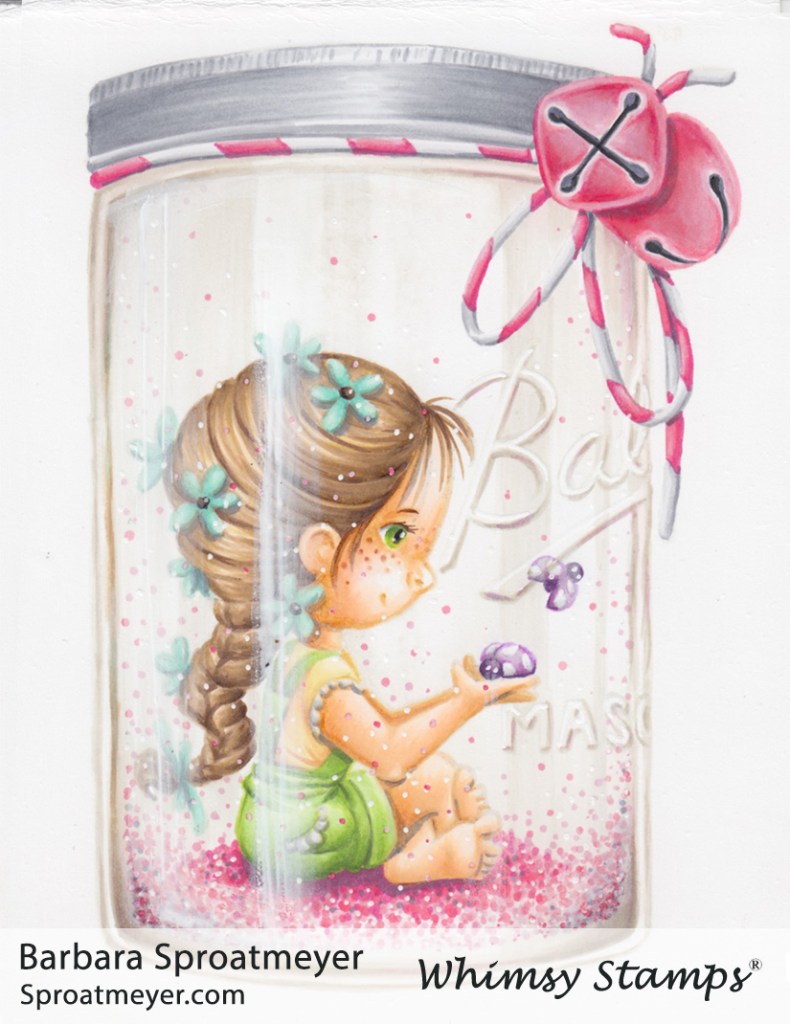
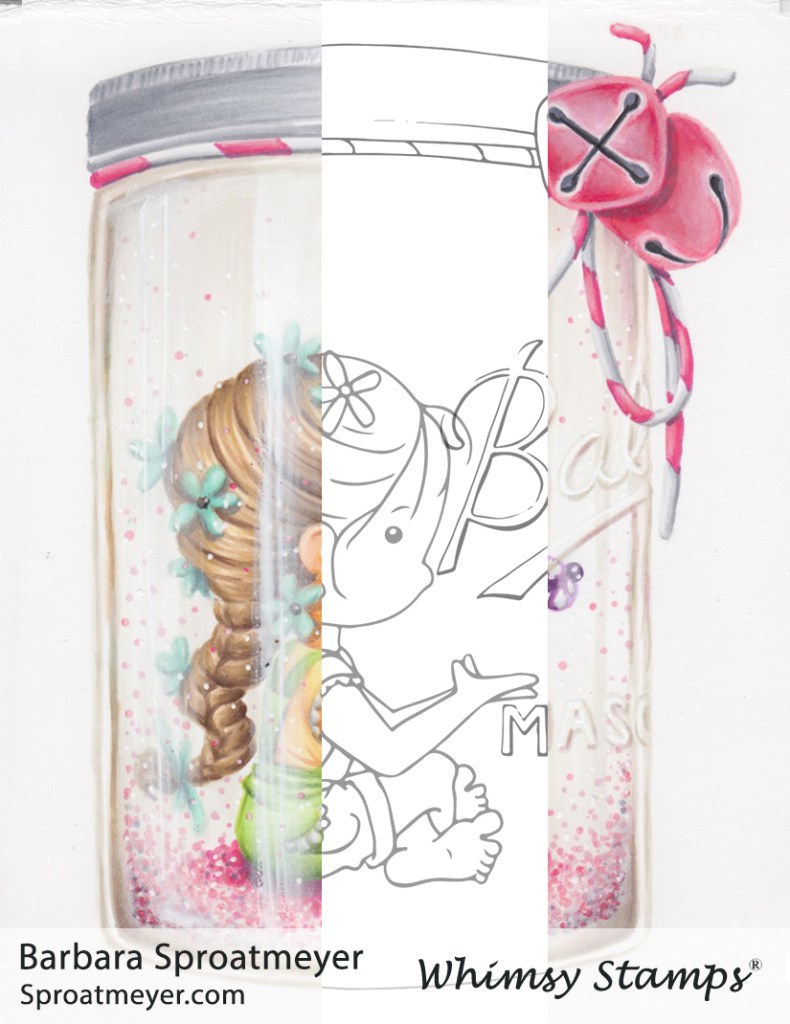
Here’s another version of Polka Dot Pals Imogen clear clear stamped inside the Mason Jar rubber stamp, both available at Whimsy Stamps. This time I went with pink fairy dust in the snow globe and also added some extra features. Can you spot them without me pointing them out?
This image was stamped in a very light beige color ink which allowed me to use something other than blue for the jar coloration. It worked well with the pink.
The Polka Dot Pals stamp line are so fun to color and so versatile as well – you can change the look of the whole image just by giving it different elements and or faces. Here are some of the ones I’ve already colored using the four release from last month and this month. I haven’t even begun to start with the elements yet.
Ok, times up! I added extra twine to create a bow under the bells and then, of course, added a face to this cutie pie and the fairy dust in the jar. Did you get those three? You could probably count the ladybugs as additions too or you can use the ones from the stamp set.
I hope this gal isn’t getting too much attention but after doing the Polka Dot Pals faces tutorial, I decided she actually needed to be colored and create my first card in over a year. So without further ado, this is my card using Polka Dot Pals Khadija…
But wait! There’s more! How about another tutorial!! This was actually all going to be one giant tutorial but I thought it best to break it up, one for the face and one for the background. So get ready for much ado!
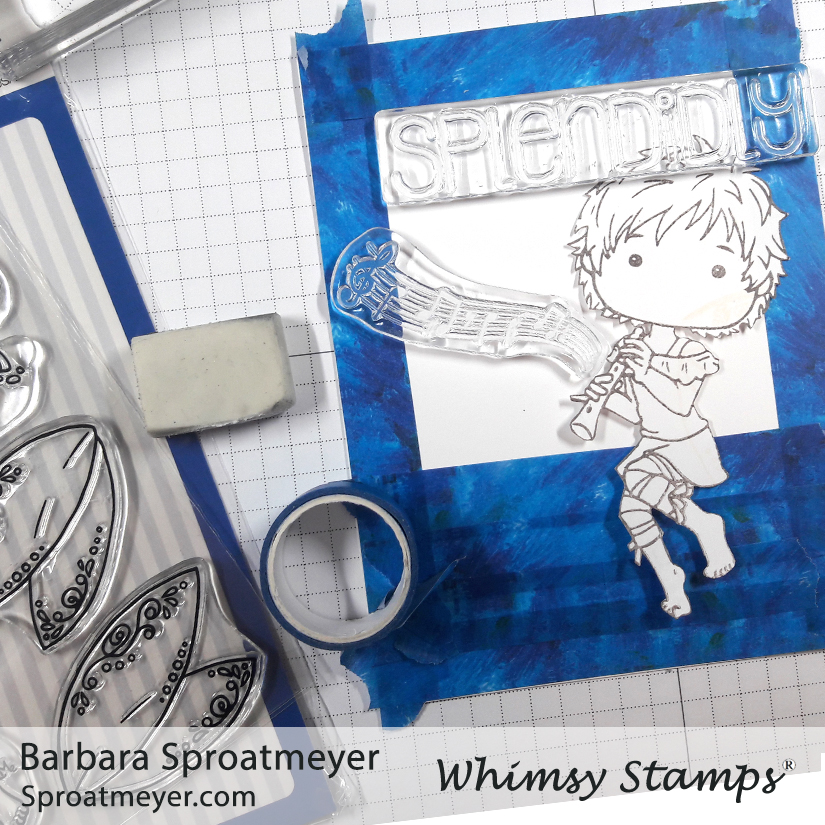
For this tutorial, I wanted to share one way that you could use the sentiments. In this picture, I’m planning out my layout. I try to pick long words and words that can be cropped are delightful such as this sentiment “splendidly.” Did you know I almost spelled this one wrong? That’s right, during production a valuable Whimsy DT member caught my error and I was able to fix it before production. Phew, that would have been embarrassing.
To use the sentiment so it would fit on my project, I chose to reduce it to “splendid” and did this by wiping away the ink on the last two letters. I did this for each time I stamped it.
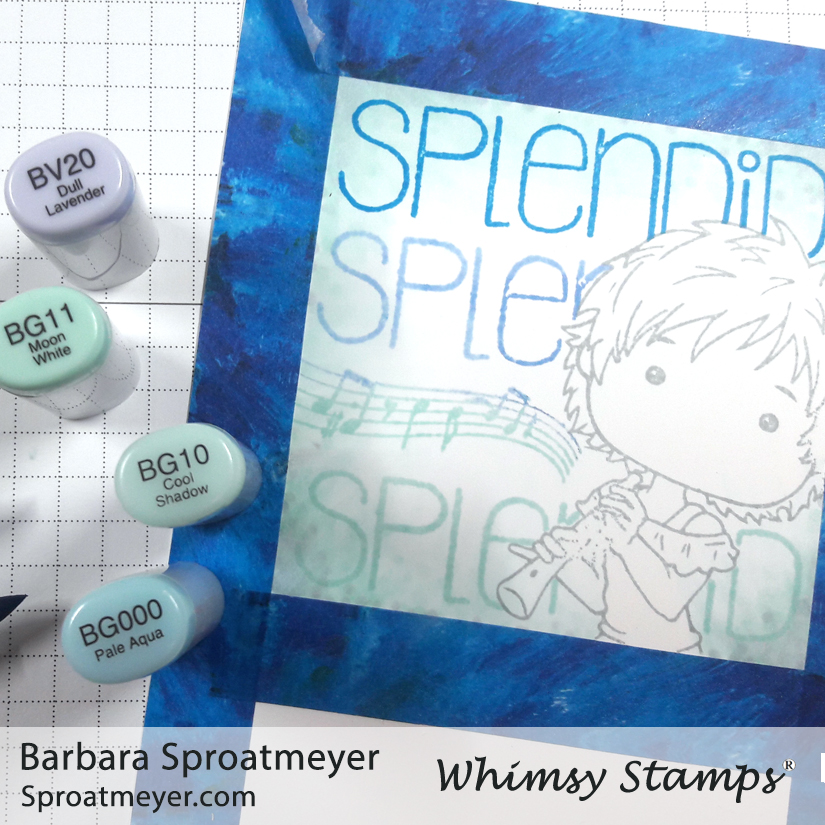
I also used the music bar element from the set to fill in the area. I could have squeezed in another “splendid” sentiment for four in a row but I actually didn’t have another blue that coordinated. So this turned out to be a happy modification as I really liked how it turned out.
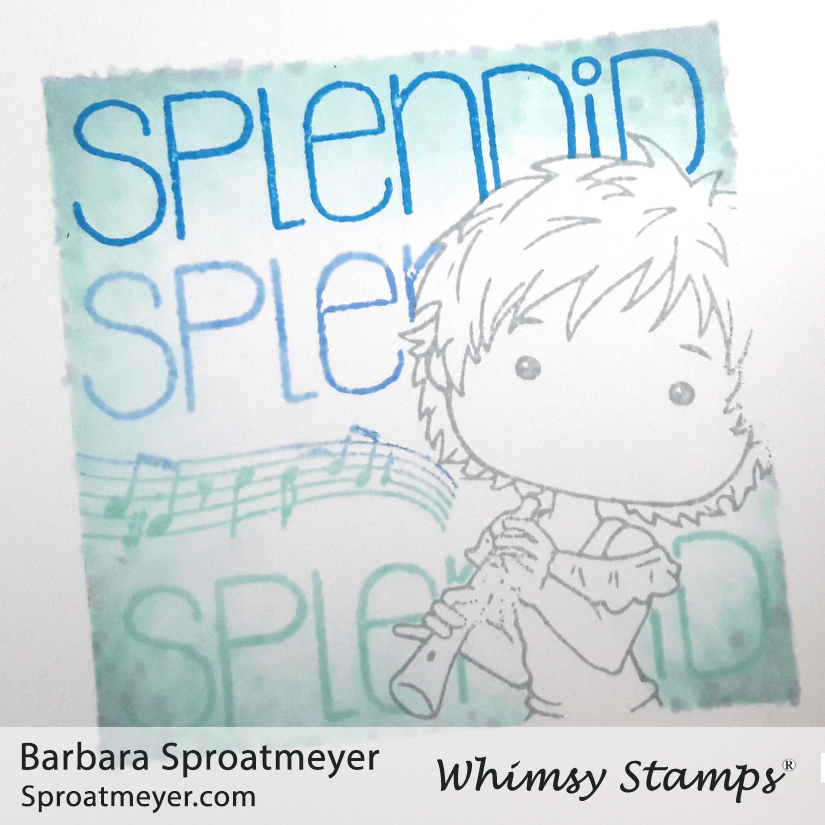
With the washi tape still masked around the outside, I used these colors to give the background more color and to separate it from the image more. (As you could probably deduce, the character was masked before stamping the sentiment. I did that with a scratch paper and covered up the girl.)
Here’s what it looks like after all the masking and washi tape was removed. Now I’m ready to do the coloring on the character. I need to remember to not color outside the imaginary line that is Polaroid photo area. That white border is important for that kind of look.
This was just a mini tutorial for the background so I didn’t take notes or photos while coloring Polka Dot Pals Khadija. The face is from the Polka Dot Pals Syeda stamp set.
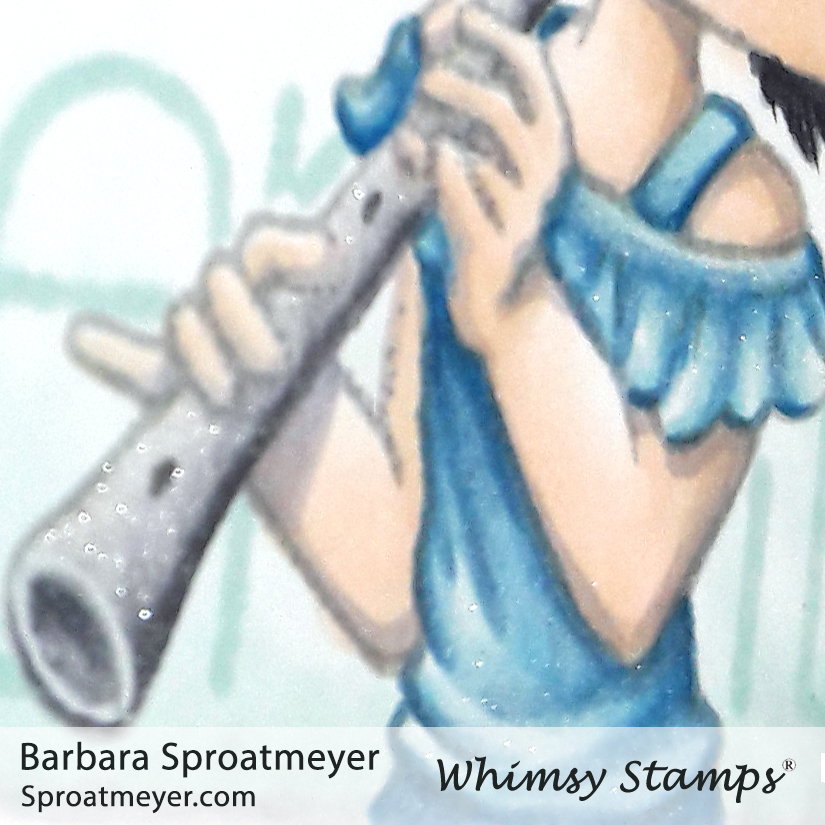
The last thing I colored was some glitter using a glitter brush I had to give the dress and pipes some sparkle. It doesn’t show up on the photos very well but in person it’s a nice detail.
These are the Copic markers I used: C0, 2, 3, 5, 6, 7 BV20 R00, E000, 30 B00, 01, 12, 14, 06