Tea Party Friends – Khloe

My brain is truly fried!  So at times like this it’s always a good idea for me to CASE something I adore.  ;D  Do you remember Faye’s lovely creation using the little Zebra from Little Miss Muffet Stamps?  I loved it and thought I would try to re-create the style.  And althought I don’t have the same sentiment stamp, I do have the same Zebra, of course!  LOL  So here’s what I came up with…

The Zebra is one of the animals in the Tea Party Friends #2 – Molly and Khloe set from Little Miss Muffet Stamps.  And the LOL sentiment is from The Greeting Farm.  The ribbon and button are from my stash and finally used a multiliner pen to trace around the oval.  Making a shape card was actually kinda fun and I think I’ll try another one out soon.  ;D 

Angelica’s Heart Socks

It’s getting close to Valentine’s Day but I still have plenty of pink and romantic projects to post so looks like we’ll be celebrating throughout the month… and since pink and brown are my favorite colors, it might feel like throughout the year too.  LOL  And that sounds like a good excuse for chocolate all year long too.  😀

I’ve ended up using a hodgepodge of items on this project but the main features are as follows…
Angelica’s Heart Socks from Inky Impressions
Sitting Cute from The Greeting Farm
Dragonflies and Butterfly Swirls chippes from Make it Crafty
Protractor from Jenni Bowlin

I’ve had both of these stamps in my stash for a while but had forgotten about them.  However, lately my daughter has been having fun rummaging through the stash and together we’ve found all sorts of forgotten stamps to use together.  😀   Thanks for coming by and I hope you’ve enjoyed this little Valentine inspiration!  *Hugs

The Paper Project – Experiment X

It’s been a while since I’ve posted one of these tests but in reality I’ve had two of them finished for quite some time now.  Even though I finished the other one first, I was more excited to show off this one.  So without further adieu here is the next experiment.

Experiment X – Paper Comparisons

The purpose of this experiment was to basically color the same way on several different types of papers.  I wanted to show that great results can be achieved on any paper however the difficulties you might have would be different on each of the papers.  This is similar to Experiment IV but with different papers.

For this test I used images from The Greeting Farm and they colored using the same colors and as close to the same techniques as possible.

The papers are identified in the Introduction and here are the results:
(Click on the picture for a zoomed look.)

I used the same technique for the most part on each of the papers but there might be a few adjustments here and there depending on how the paper worked.

Here are the three papers used along with their assigned letter:

The papers I thought were the easiest to work with were J, U and X, and thus received my recommendation based on this test.  Then the close runner-ups would be G and M and I could consider these to be good backups.  However, the papers I didn’t prefer to work with are B, N and V which were difficult to get smooth blending and/or blotches would appear after a couple layers of ink.

Creepin’ Kit

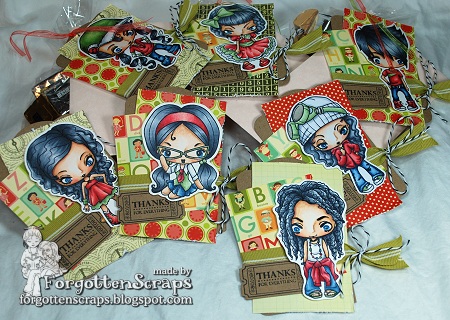
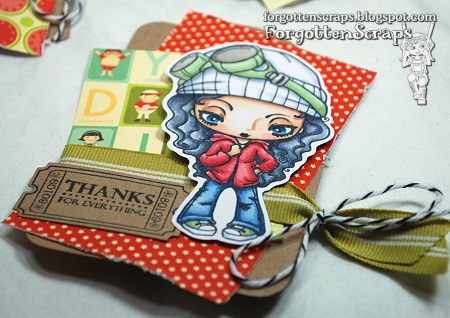
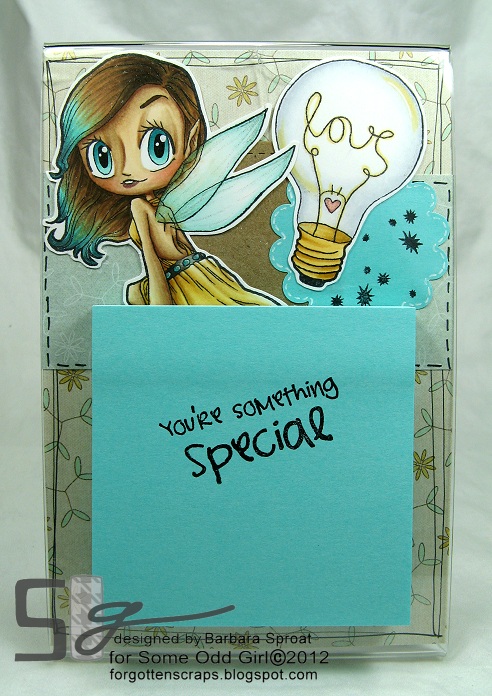
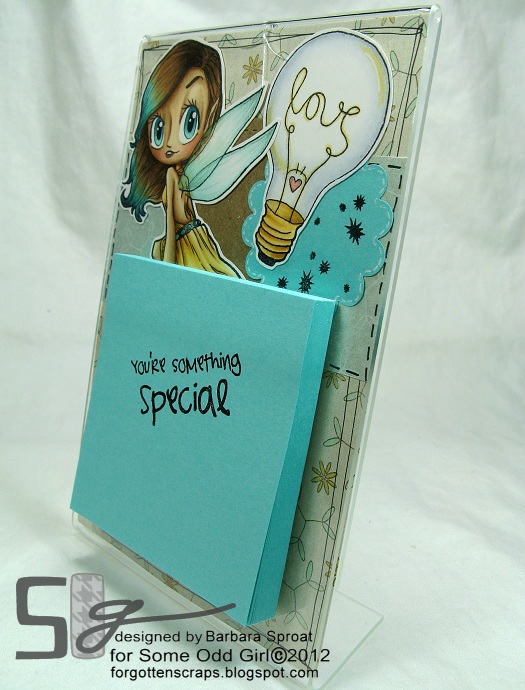
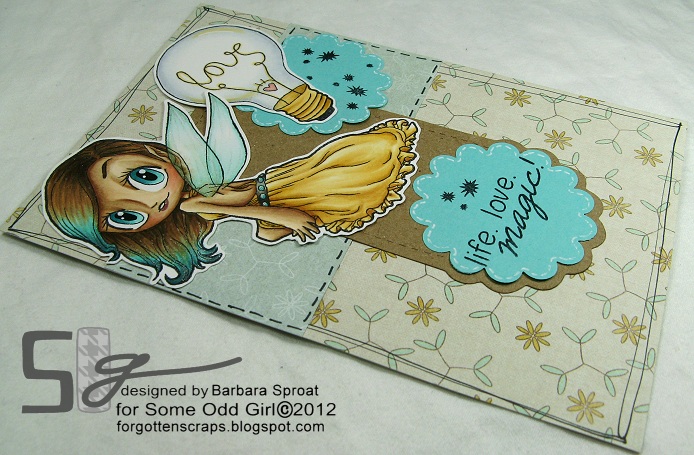
I have some great tags to show off using the Creepin’ Kit from The Greeting Farm plus Cheeky Geeky because she’s so cute and I needed an 8th image!  I made these tags for two reason… first to try out a bunch of different paper types (more on that in a separate post) and second, I needed some year-end Teacher gifts.  School gets out this week and I’m soo looking forward to the break – I think my kids are too!  LOL  Unfortunately for me, my own break is only for another week before my summer classes start.  Bummer. 

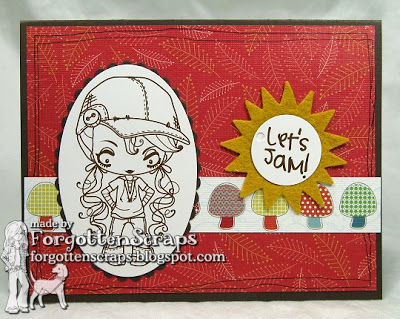
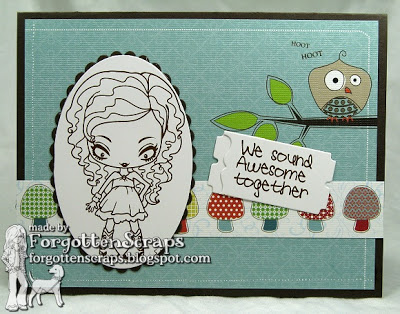
Each image is basically colored using the same way but on different paper types.  I wanted to experiment more with The Paper Project so you get a sneak peek at the end results before post about the experiment details.  😀  Lucky you!  So if you see an uncannily similarity between the boys and girls… well, that was planned.  He he he

Everything is built upon a large tag die from Stampin ‘Up and the little ticket tags I used are from Whimsy Stamps and their coordinating ticket die was super quick to use.  So other than just grabbing a few colorful sheets of paper, the coloring is what took the longest on these projects.

I made eight tags and gift bags all together and if you’re familiar with the Creepin’ Kit then you know I would be short one image for all eight tags.  I could have duplicate one, but nah, I was too excited abut Cheeky Geeky which was released this month to pass her by…. some perhaps some would say “With Eight You Get Cheeky Geeky!”  LOL  Ok, movie reference – a bad one, but still a reference.  Can anyone guess which movie?

Each tag was tied together with an envelop onto a small bag full of chocolate… the tag is eye candy, the gold and silver wrapped chocolate is the real candy, but the real treasure is found in the envelope!!  😀  Hmmm, what do you think… a simple Thank You card? A gift certificate somewhere?  Or maybe small promises to redeem later on?  It could be any of those things but unless you find your name on it, then I’m not telling.  ;P

Thanks for letting me share my projects with you today and hope you’re having a fantastic week!  If you get a chance to stop by again, I’ve got some fun things planned including a combined release of Make it Crafty and Simply Betty Stamps, updates on The Paper Project (of course), and exciting news about Little Miss Muffet Stamps!!

Creepin’ Crew

Check this out… another gift set of cards and this one was super easy! These are the Creepin’ Creeper Crew Collection 1 from The Greeting Farm – who has generously sponsored my next The Paper Project test so you can start getting excited about that coming soon! In fact, I have two tests that I will be posting this month. 😀 But shhhhh…. it’s a secret. LOL


This gift set actually uses the packaging that came with the Creepin’ stamp set. I was just about to toss it when I just couldn’t let go and decided it would be perfect to use on cards! So I got out my die cutters and found an oval size that fit most of them perfectly. There were a few that I didn’t have enough space but I cut a second shape of the same size to layer behind it. You can see it mostly in the sentiments but as far as the receiver will go – they’ll probably think it was a “creative” moment. 😀 Here’s the gang…

Harlow

Jack

Tyler

Leslie

Noah

Jill

Sasha


I can’t wait to get these colored up and perhaps even create another gift set. I know, I know, so many gift sets! But I can’t tell you how many times I needed a quick gift here or there and this year I’m determined to stock up! 😀

Thanks for stopping by and for all your lovely comments too! Hope this has inspired you and have a great mid-week!

Update: Since this is an older post but it fits perfectly into the current TGF challenge, I’ve entered this into the Farm Fresh Friday Challenge expecting no recognition and entered it “just for fun” (JFF) to share my ideas.

Wishes

Welcome back! It’s day two of the Nouveau Girl release!! Today we are back with another beauty and this time she’s mysterious and dainty – Wishes! The adorable fairy comes with two sentiments and a small star burst stamp – perfect for celebrations, scrapbooks and more! For added sparkle to my fairy, I added glitter pen details all over including her hair, wings and the light bulb. Come check out the Some Odd Girl blog for more inspiration and a chance to win a prize!


On my project I used Wishes and also Electric Love, both are clear stamps from Some Odd Girl. The paper I used is Darling Dear by My Minds Eye and also what I grabbed the color combination from. There is a little bit of kraft paper and I even used some of the sticky notepad paper to carry the color theme around. And because my handwriting sucks, I used a sentiment stamp from The Greeting Farm as a message to the teacher.


Do you notice anything about my coloring? This is one of the great benefits with using real rubber stamps versus a digi!! I can choose the type of paper I used and of course I’m going to grab something that I can blend and blend and blend on! LOL So I get smother colors and shadows and better blending. So… can you tell a difference or am I just enjoying it more?!


This was actually suppose to be a Valentine project for one of my daughter’s teachers… however I’m a big late on that. So I changed the theme to everyday and got to use some of the new paper I found last weekend. The idea was from my sister – who is also a teach and a great source for teacher gift ideas! It’s just a simple picture frame from Walmart with a sticky pad on the front. (See that store is good for something! LOL) When they run out of paper they can simply stick another Post-it pad and start all over.


Here’s what the project looks like before it was put in the plastic frame. I included one of the sentiments that came with the stamp as a little surprise at the end of the paper. 😀 It was super easy to make and a lot of fun too – now I just have to make at least one more!