Summer Dreams

It’s another challenge day at Make it Colourful! This week’s theme is to color with Yellow and Purple and we are sponsored by Magnolia-licious. I love these two colors, however, not necessarily together, so this was a very hard challenge. The card was in processing on my desk for a whole week! Anyway, it’s finished and now it’s your turn. ;D


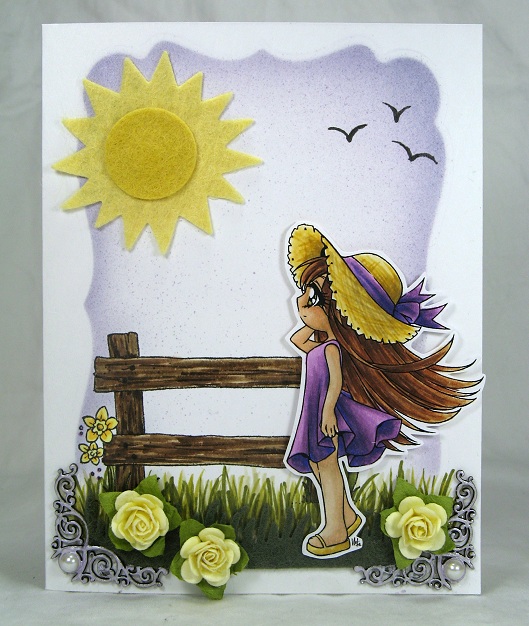
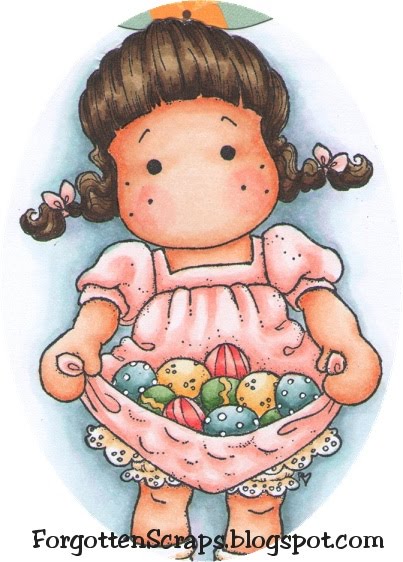
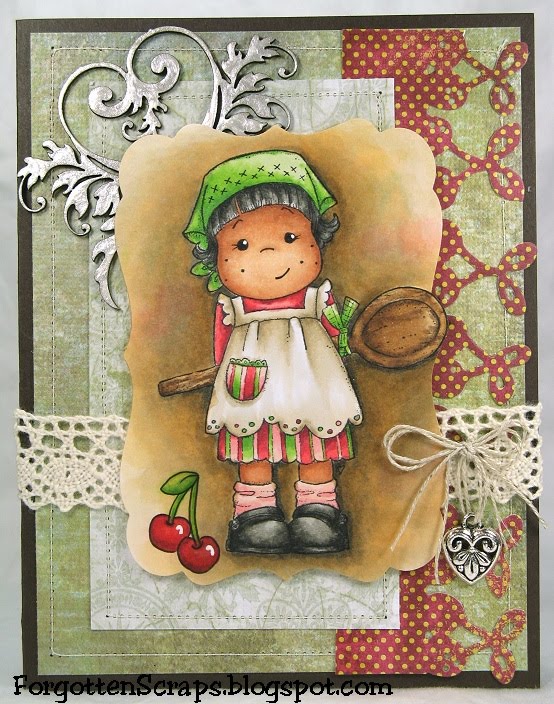
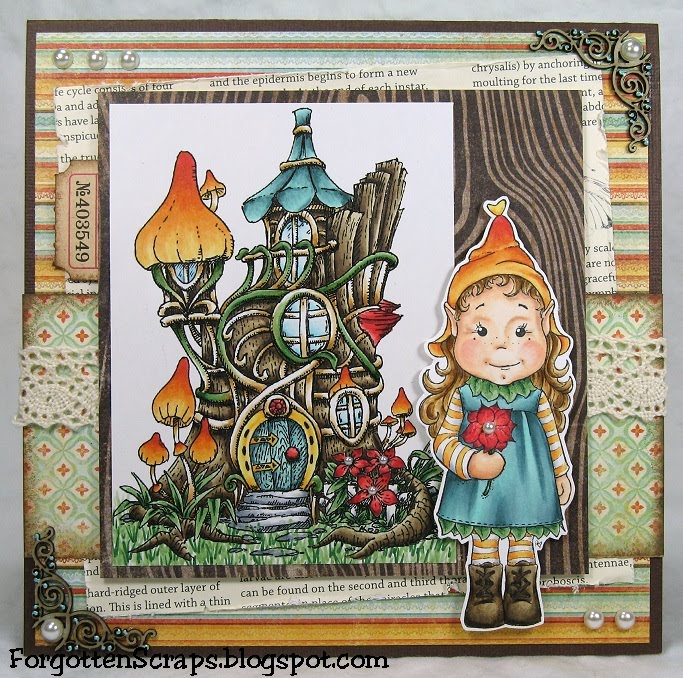
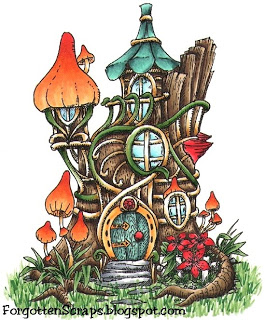
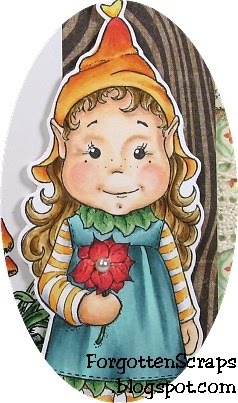
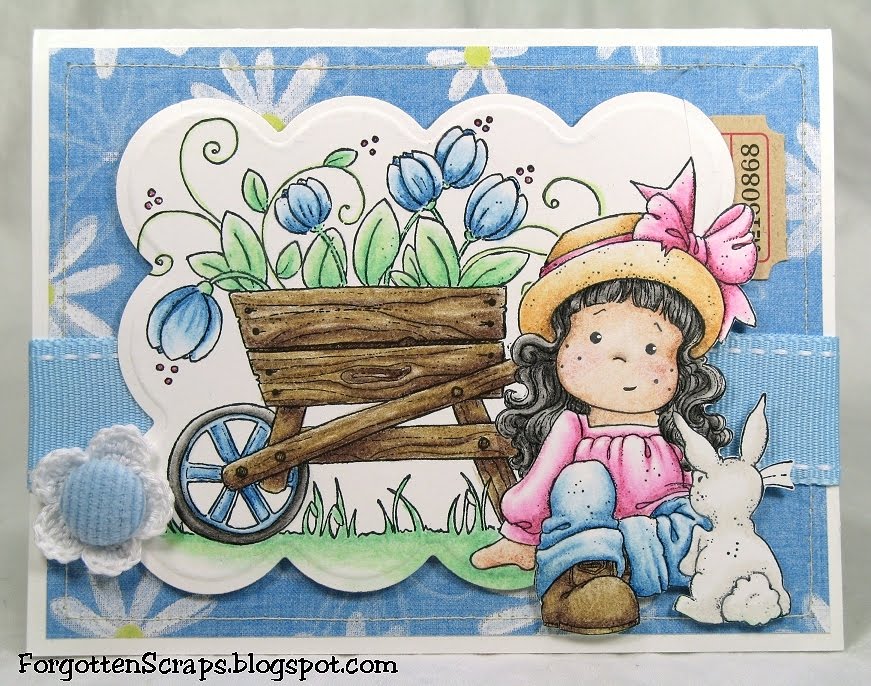
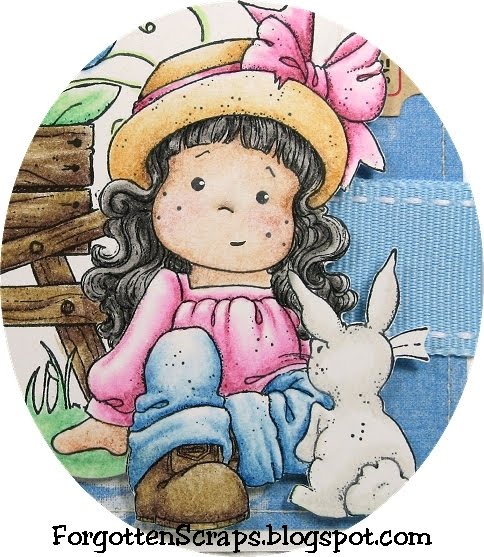
I used the new Summer Dreams image from Make it Crafty and was so excited to color her up – she’s such a cutie! I placed her in front of the Magnolia Spring Fence and “tried” to keep the rest of the card simple. However, I ended up using lots of diecuts in the process and finished it up with flowers and corner flourishes.


The background was created using a diecut. I taped it down to the white cardstock and used the Copic airbrush tool. It’s an interesting effect and I’m glad I kept the center part light. This isn’t my favorite card but I love a few individual elements. Hope it inspires you anyway and have a great weekend!


DT Challenge: Make it Colourful Challenge #20 (Yellow/Purple)
Main Stamp:
Summer Dreams (MiC) and Spring Fence (Mag)
Chipboard: Swirly Corners (MiC)
Metal Die: Spellbinders Nestabilities Labels Seventeen, My Favorite Things Die-namics Sunshine and Fresh Cut Grass

Copic Markers colored on Copy Paper:
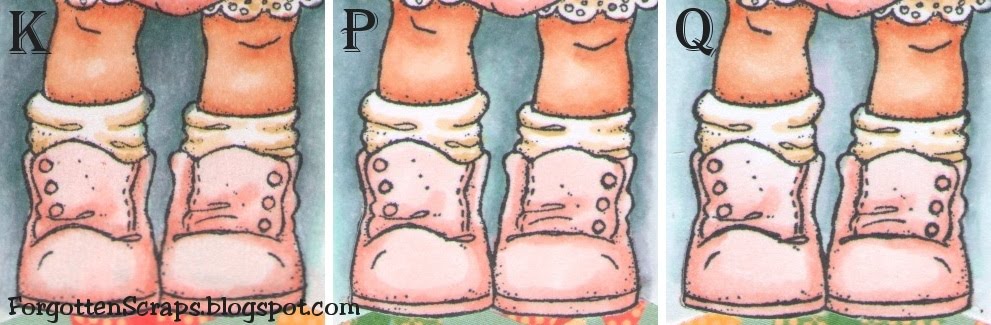
-skin tone: E40, E41, E42, E000, E00, E01, E31, R12
-browns: E43, E44, E47, E49; E31, E35, E27, E29, E39
-yellows: YR30, Y21, Y26, Y28; Y13, Y17
-greens: YG91, YG93, YG95, YG97, YG99
-purples: V12, V15, V17, FV2; BV23, V25

Did you know? The history of the crayon is not entirely clear. The notion to combine a form of wax with pigment actually goes back thousands of years. The Egyptians perfected a technique using hot beeswax combined with colored pigment to bind color into stone in a process known as encaustic painting. A heat source was then used to “burn in” and fix the image in place. This method, also employed by the Romans, the Greeks and even indigenous people in the Philippines around 1600-1800, is still used today.
[Crayon, Wikipedia.org]

The Paper Project – Experiment IV

Happy Easter everyone! Today I’m using a fun new stamp, Tilda with Eggs in her Apron, given to me from a friend Maria – thanks Maria! 😀 This was a fun Tilda to color and I ended up making monogrammed tags for the Easter Baskets … and I was able to refrain from adding a nose and mouth on Tilda this time. LOL

Experiment IV – Paper Attributes

The purpose of this experiment is to show any paper can be effectively used for coloring as long as you know the individual paper’s attributes. For those starting off and worried about finding the “perfect” paper right away, then worry no more and start out with something convenient and readily available.


For this test I used three of the paper samples and colored the images using the same techniques. I started with the darkest color then blended up to the lightest color. They were all colored with the same markers except for Tilda’s hair.

I didn’t want you to be confused with the monogram above so here are the three papers used along with their assigned letter:

Below you can compare these images side-by-side and see close up areas of the shoes and eggs, as well as a full view of all three tags.

Introduction post found here.
(Click on the picture for a zoomed look.)


My techniques changed depending on the paper I used. For example, when coloring on K I had to use quick light strokes to keep the bleeding maintained. Even so, when looking at the eggs, you’ll notice the edges are not as clean and it looks slightly more blurry than in P or Q. However, this problem isn’t as noticeable in larger areas such as the shoes.

When coloring on P and Q, I often went back in with the darker colors to keep the depth. I didn’t need to do this with K, however, there were other advantages to P and Q that K doesn’t have. For example, I could take my time blending and come back with additional colors building layer upon layers much easier.

For the purpose of this test, P and Q didn’t have very many differences. However, in some areas that already had a lot of ink, I noticed when I applied a wet layer on top of a dry layer the texture was a little different and became grainy.

Lastly, you’ll notice that K is so thin I should have used an additional white layer before placing it on the card so the decorative papers wouldn’t show through.

I’d like to enter in the following Easter themed challenges:


Main Stamp:
Tilda with Eggs in her Apron (Mag)
Patterned Paper: Togetherness (CC)
Metal Die: Spellbinders Nestabilities Labels 8, Spellbinders Nestabilities Labels 17, and Magnolia Doohickey Vintage Lace

Copic Markers:
-skin tone: E000, E00, E11, R11, R12
-hair: E50, E51, E53, E55; E43, E4, E47, E49
-clothes: R000, R00, R11 R12, E50, E51, E53
-eggs: R11, R12, R14, R17, BG70, BG72, BG75, YG61, YG63, YG67, YR30, YR31, Y35
-background: BG72, C3, BG11, C1, BV31, BG70, 0

Cooking Tilda with Wooden Spoon

Here she is, “Cooking Tilda with Wooden Spoon”… well at least I think that is her name. I finally got around to putting this one on a card and kept the embellishments in the background so she’ll stand out more. As you can see I also had to add a face. 😀 This little smirk appears to work out well and this time I also added lashes.


To read more about the details on the background of this image then check out my Tip, Tricks & Techniques post. 😀

Main Stamp: Cooking Tilda with Wooden Spoon (Mag)
Patterned Paper: scraps
Chipboard: Love Heart Swirls (MiC)
Metal Die: Spellbinders Nestabilities Labels Seventeen and Magnolia Doohickey Cherry Lace
Copic Colors:
-skin: E000, E00, E11, E13, E15, R11, R12
-hair: W2, W4, W6, W8
-clothes: E40, E41, E42, E43, R30, R32, R35, R37, R39, G20, YG17, YG25
-spoon: E35, E57, E59
-background: E50, E51, E53, E41, E42, E43, R000, R12, R14, YG21, G24, T0, T2, T4, T6, 0

Did you know? Studio Ghibli, Inc. is a Japanese animation film studio founded in June 1985. The company’s logo features the character Totoro (a large forest spirit) from Hayao Miyazaki’s film My Neighbor Totoro. The name Ghibli is based on the Arabic name for the sirocco, or Mediterranean wind, which the Italians used for their Saharan scouting planes in the Second World War, the idea being that the studio would blow a new wind through the Japanese anime industry.
[Studio Ghibli, Wikipedia.org]

Tips, Tricks & Techniques 0x021

I don’t have a card yet but I did want to share the technique I tried out on this background below. First of all my tip is to get in the habit of opening up your Copic markers on the side of your project instead of over it. I had refilled one of my markers too much and discovered this tip the hard way on another image when two giant blue ink drops splattered on my nearly finished project! Anyway, back to the background technique – here’s the image first:


I wanted to create a rich earthy backdrop like I would see in a studio photograph. To do this I used over dozen different colors and kept building it up, layer upon layer, color upon color. When I started it would dry out in between colors but towards the end the paper stayed wet and allowed me to push and blend the colors more freely. I started with a couple spots in red and green (G24, R24) and then added browns (E40, E41, E42, E43, E50, E51, E53). Most of the red and green areas were “washed out” so next time I’ll add more. Once the browns were built up I went back in with Toner Gray (T0, T2, T4) and used the lighter browns to help blend it. Each color was added several times and worked through until I liked what I saw. If you give it a try I hope it works out – Good luck!

Alva with Flower

I used one of my newest Magnolia stamps and this one comes with her own face! This is Alva and she must be one of the older ones but she is perfect for all seasons. The challenge this week at Make it Colourful is to color backgrounds. I used the Fairy Tree House and colored it with the same colors as Alva to help the images naturally match.


There is so much details on the house and a lot of it I didn’t notice until I started coloring, like the fence in front. I think this house can be combined with a variety of images and there are endless ways to color it.


DT: Make it Colourful Challenge #12 (coloring backgrounds)
Main Stamp:
Alva with Flower (Mag) and Fairy Tree House (MiC)
Patterned Paper: Stella and Rose Mabel (MME)
Chipboard: Frame Corner Flourishes (MiC)
Copic Colors:
-skin: E000, E00, E11, E13, R11, R12
-hair: E53, E55, E57
-other: E42, E43, E44, E47, E49, G21, G24, G28, B0000, B00, C1, C3, C5, YR21, YR12, YR14, YR18, R27, BG11, BG72, BG75, BG78, R22, R24, R29, R59, Y11, Y32, Y35, Y38

Did you know? Tap dance is a form of dance characterized by a tapping sound that is created from metal plates attached to both the ball and heel of the dancer’s shoe. These metal plates, when tapped against a suitable surface, create a percussive sound and as such tap dance is a form of dance as well as the act of playing a musical instrument.
[Tap Dance, Wikipedia.org]

Magnolia StampClub

I finally have another Magnolia card to share and this one was colored with Prismacolor Pencils. My Mom received her StampClub kit in the mail today and we spent the day together experimenting with my pencils. I probably tried three or four different techniques on this paper and not sure I could remember what I did – some areas worked out better than others. I’m not sure if this is from the Magnolia Summer or Spring kit but maybe someone will leave a comment if they know for sure. ;D


Main Stamp: Magnolia StampClub 2010 (Mag)
Patterned Paper: scraps
Metal Die: Spellbinders Nestabilities Large Scalloped Rectange
Prismacolor Pencils

Did you know? The Cascade Volcanoes are a number of volcanoes in a volcanic arc in western North America, extending from southwestern British Columbia through to Northern California, a distance of well over 700 mi (1,100 km). The arc has formed due to subduction along the Cascadia subduction zone. Although taking its name from the Cascade Range, this term is a geologic grouping rather than a geographic one, and the Cascade Volcanoes extend north into the Coast Mountains, past the Fraser River which is the northward limit of the Cascade Range proper.
[Cascade Volcanoes, Wikipedia.org]