Polka Dot Pals – Jamie

You’ll want to check out the inspiration today at Little Miss Muffet Stamps as we have two fabulous faces smiling at you on our Polka Dot Pals!  Click HERE to check out the store blog and also check out our guest, Elaine’s project!  I decided to play along too and colored up this gal…

The image I used is Polka Dot Pals Jamie from Little Miss Muffet Stamps.  The card was put together with a simple layout which seems to be the style I’m defaulting to lately.  Then I embellished it with white fabic roses, a cherry charm and a hanger. 

For the face, I wanted to experiment with something new and try to color and open mouth.  The expression is suppose to be joy … like she was saying “Yea!”  (A cute version of THIS.) However, to me it looks like she ended up with a milk mustache!  LOL  However, it was a good start and through searching in Google I found two things that were interesting… I’ll save these for later and see how the next face goes.  😀  The first one is changing emoticons into expressions (HERE) and the second one is an expression tutorial by the very talented Lackadaisy cartoonist. (Click HERE < – – – simply amazing!)

I’d like to enter this into the following challenges:
Come and Get it Challenges – 3 Embellies, 2 DP, 1 Ribbon
ABC Challenges – P for Pretty in Pink

Bicycle & Puppy Additions

Today at Little Miss Muffet Stamps we’re featuring a Sunday Spotlight that you’ll want to check out!  Today’s image is Puppy Additions and these adorable puppies are perfect to add to any project.  😀

This project also uses Bicycle from Little Miss Muffet Stamps and I went for a vintage look with lots of layers.  I stamped the images in brown ink too.  The puppy was added with a foam pop dot.  😀 

I’ve been on a binge lately to use up all my older paper stashes until they’re completely gone.  I must say, getting down to the last five or so papers is a challenge!  They’re always the busiest papers that don’t go well together or the small scraps that aren’t big enough to use.  However, this card turned out ok and it made me smile even more when I realized I only have one more project to make from these papers before it’s gone!  Whoo ho!!

Just as an update, I’m on Day 3 of recovery from tonsillectomy and doing well considering.  Today I’m really feeling the stretch of my jaw muscles that I’m sure the surgeon did so he could get inside my mouth – it’s like all the sore muscles from a marathon all compounded onto the sides of my jaw!  LOL  But hay, that’s better than the sharp pains I’m suppose to be getting just around the corner.

I’d like to enter this into the following challenges:
Pile it On Challenge #25 – Vintage/Shabby Chic

Siren of Pearls

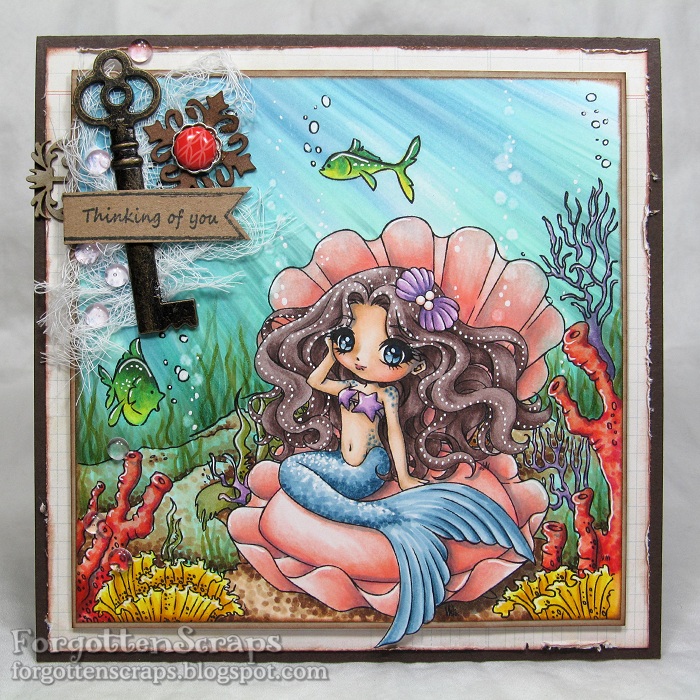
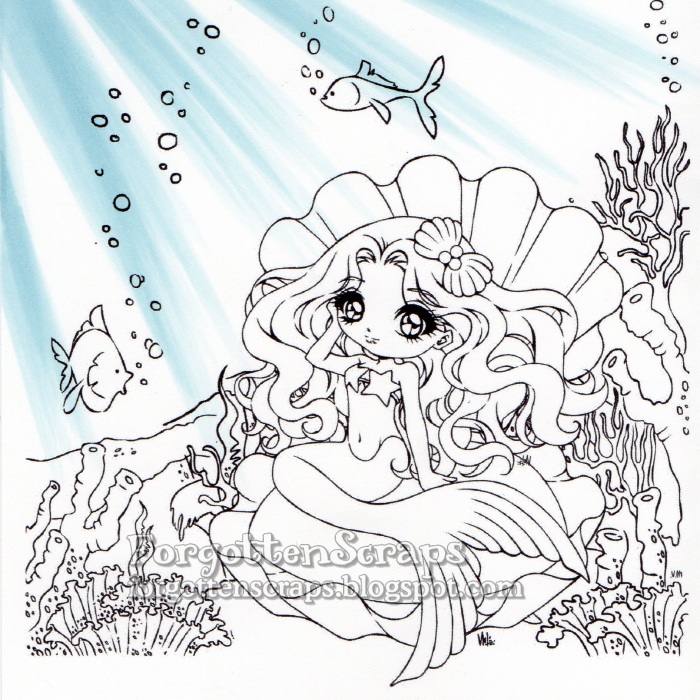
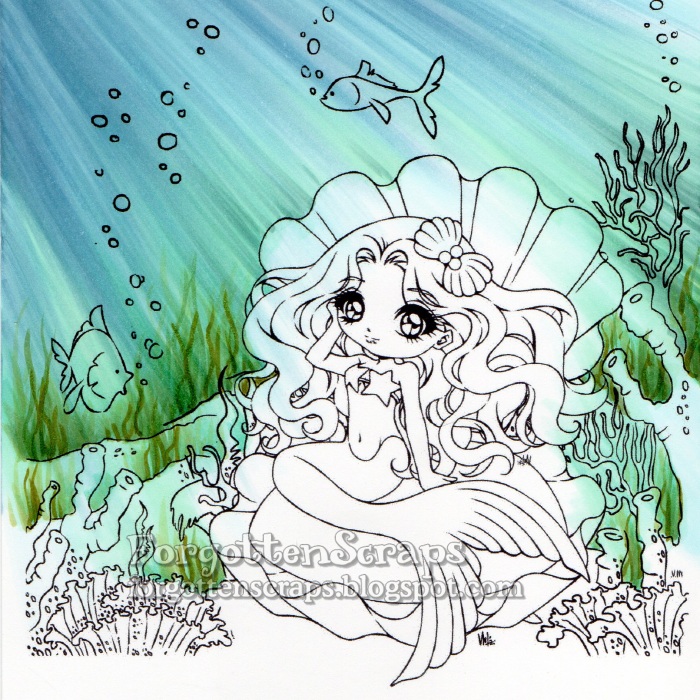
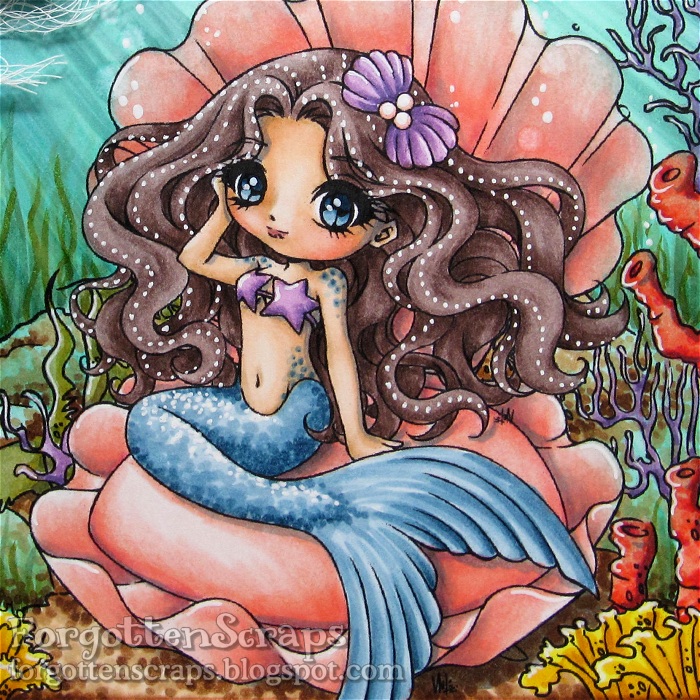
Howdy folks!  Today (well actually a couple days ago) was my day on the Make it Crafty Blog to post something and and I’m here to welcome you back to another underwater tutorial.  This one uses the same steps as the last one, but with a different image, it might give you a different perspective too!  For this project I merged a few images together from the fabulous Make it Crafty store and grabbed one of the gorgeous mermaids to play with… Siren of Pearls.  All the colors and images are listed below in case you wanted to jot those down.

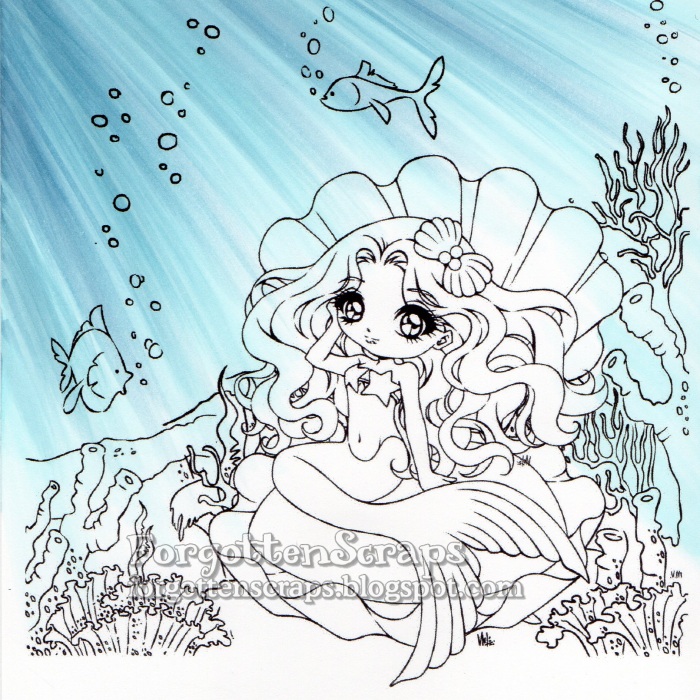
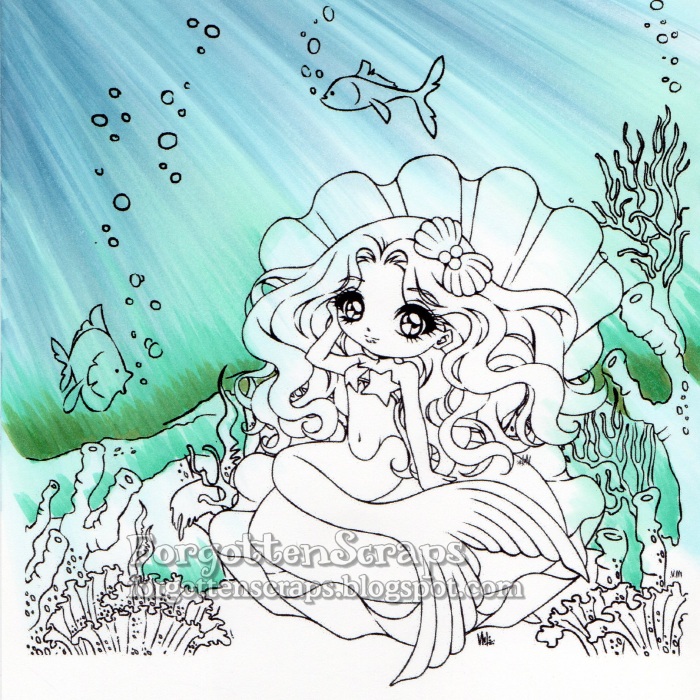
Step 1 – On this image, the sun will be shining into the water from the upper left corner and I start coloring the rays using B52.  Sometimes it helps me to put an object at the top corner so the angle of the rays radiate in a natural curvature.  Once the first layer of color is applied then I’ll remove the object and remember to be consistent on the direction of the rays. For each stroke of the marker, I use the side of the brush tip and always start outside the range of the image then drag in the direction of the ray with a quick motion.

Step 2 – Add darker rays with B93. When coloring an underwater scene like this, I like to start with the ocean background first.  That way I don’t have to worry about being precise and if I make a huge mistake then I can always start over without loosing too much.

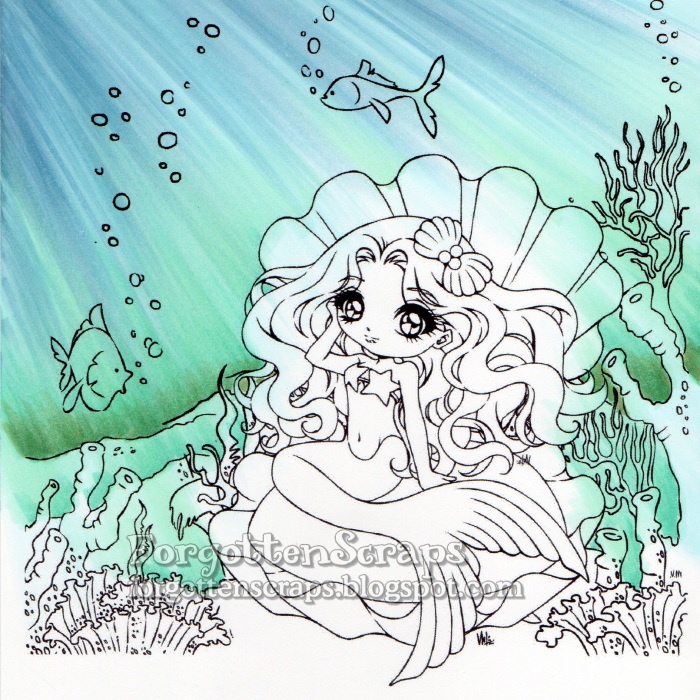
Step 3 – I continued to add rays using B00, B93 and B52 until most of the ocean is colored.  It’s okay if the colors are bleeding into the rest of the image since I can either remove most of the color later with a Blender marker.  Plus having some of the blue in the rest of the image adds an overall underwater feel.

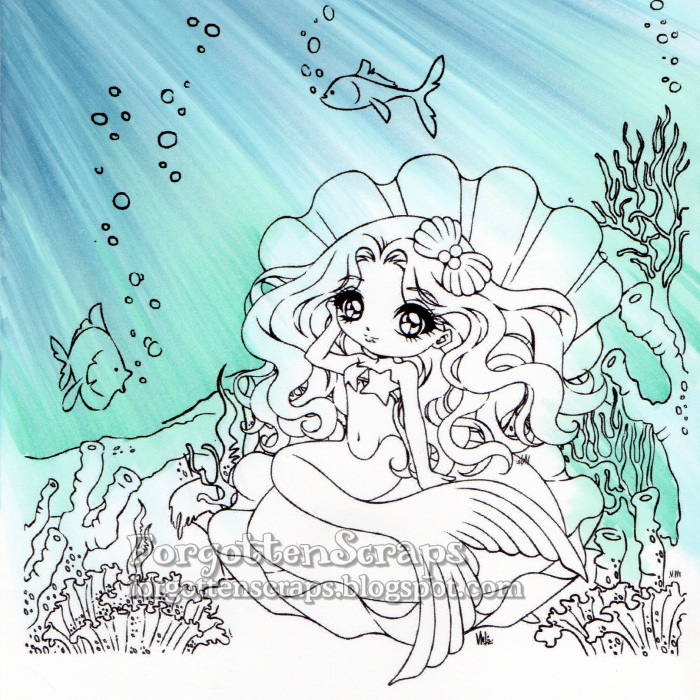
Step 4 – Now I change direction of coloring to start from the sea floor and use BG11 and BG15 to color up using the same technique.

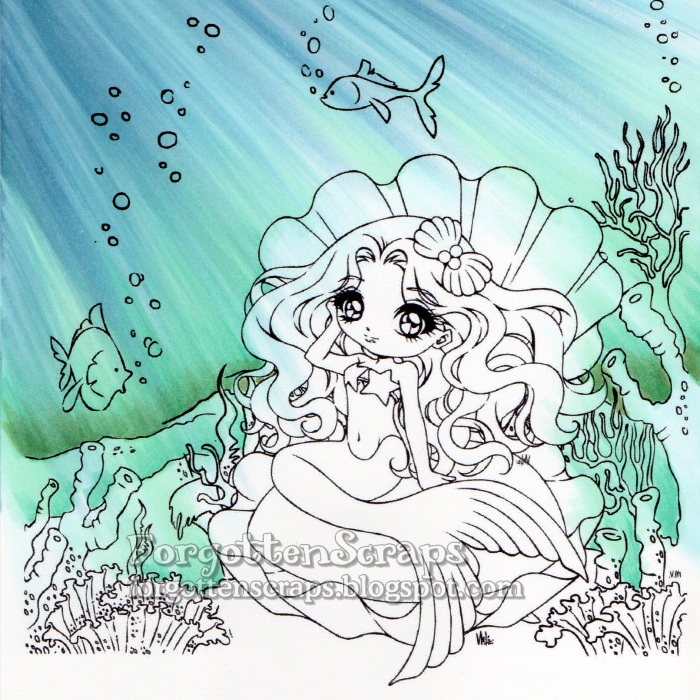
Step 5 & 6 – Continue to darken the lower ocean with BG15 and G85 then blend in with BG11 and G00.  I like to pull the greens from the bottom up into the blues but not all the way to the top.  The darkest part is at the horizon of the image but I also add a little bit of color at each ridge in the seafloor.

Step 7 – I return back to add just a little more color using the original colors, B00, B93 and B52.

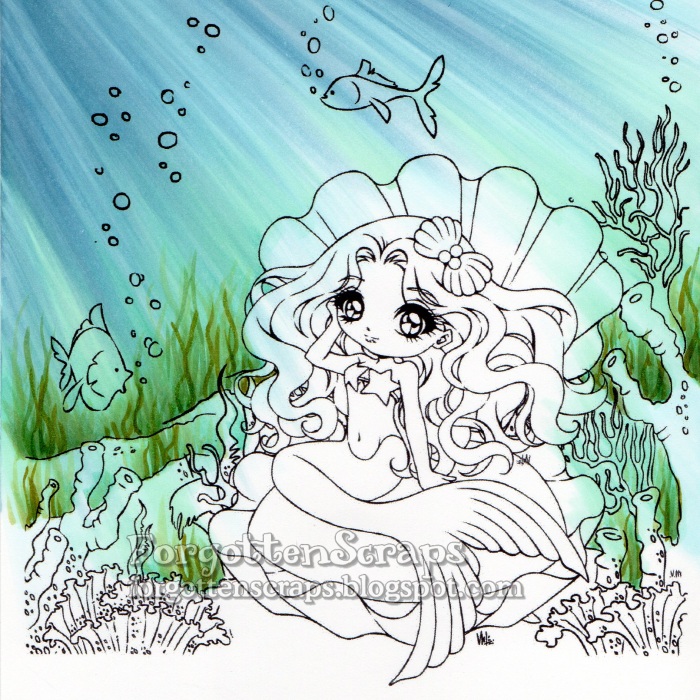
Step 8 – In this step I add seaweed much the same way I would color grass on another image; the difference being seaweed is more of a wavy line and a lot taller.  Clusters of seaweed are colored in using YG93, YG97, G85, G82 and G40.

Step 9 – At this point I’m able to look at the overall effect of the ocean and usually add a bit more color where I think it’s needed until it’s finished.  For this image, I added a touch of G21 and BG72 then blended a little with BG11.

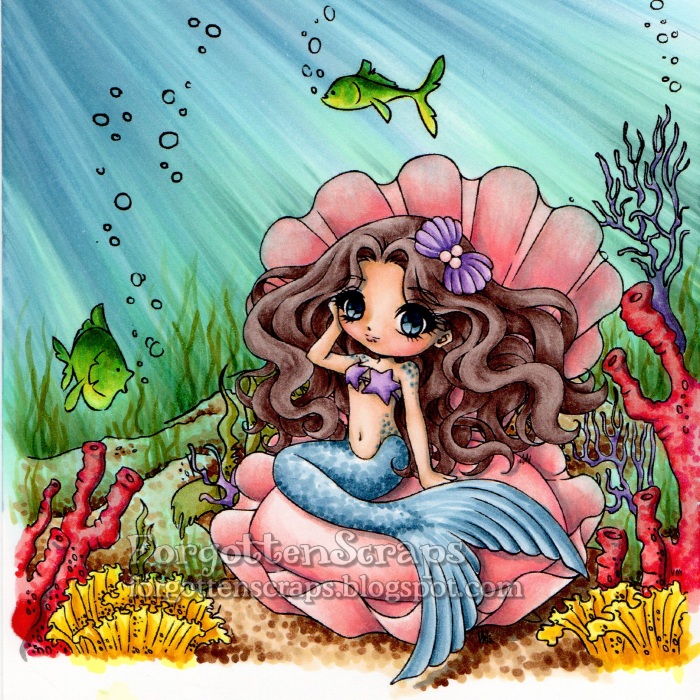
Step 10 – I colored the rest of the image using a variety of bright colors.  Since the little fish were mostly colored already from the ocean technique, I used the Blender marker to remove a lot of it before coloring them.  I also brought in a little texture by using dots on the seafloor and the mermaids tail.

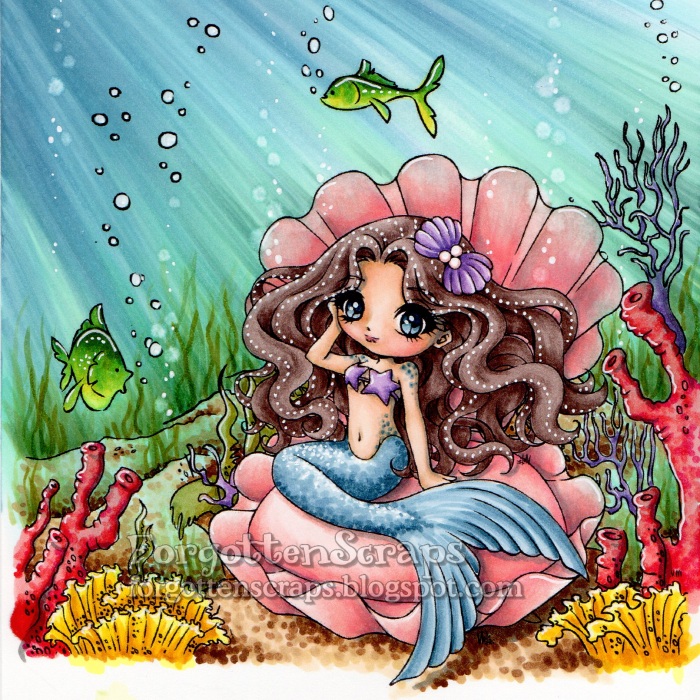
Step 11 – Once everything is colored, I can go back in with the Blender marker to create bubbles and use a white gel pen to add other highlights.  The pearls in the hair was a technique I learned from Daria (http://daria-pn.blogspot.com/) and loved the effect.

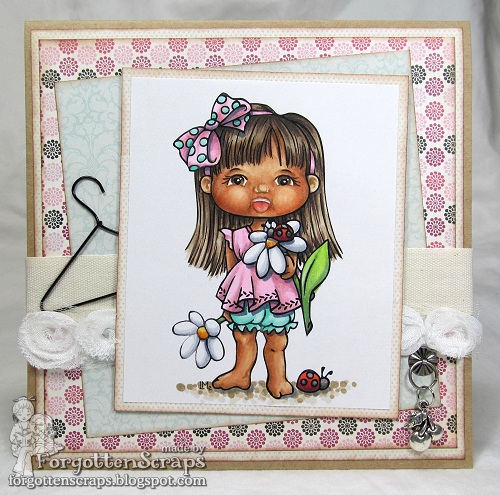
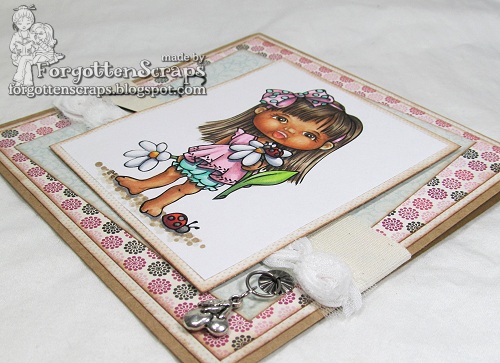
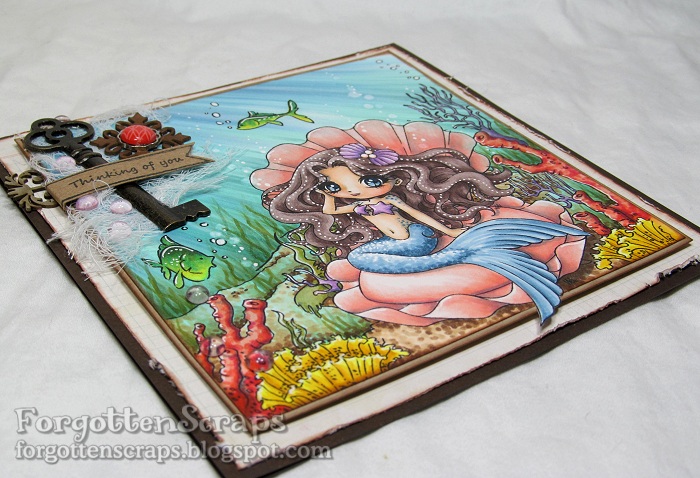
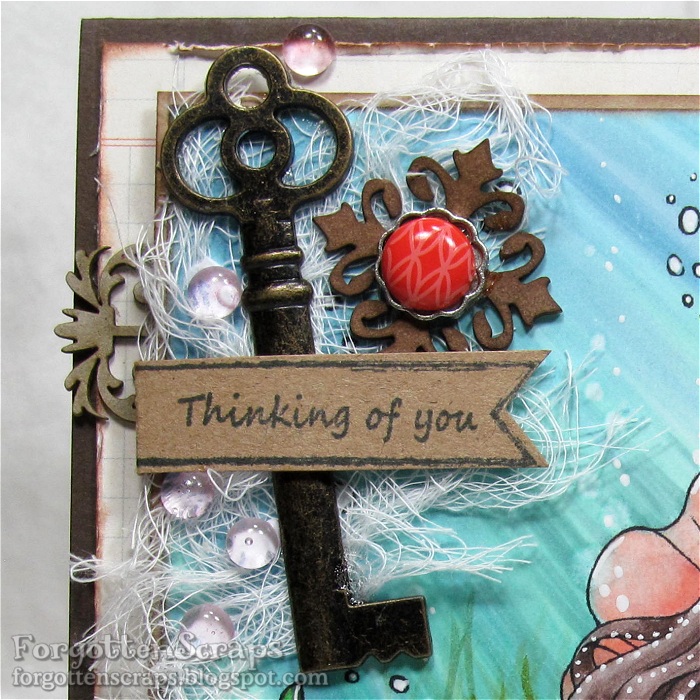
Step 12 – The final step is to trim around the image and place it on the card and embellish it.  Since the image takes up most of the card area, I clustered my embellishments in one area and left the rest of the card as-is.  Of course the scene looks great without embellishments too but I wanted to experiment with the Fancy Ribbon Sliders chipboard embellishments.  😀

Copic Colors:
Sea Floor (B00, B93, B52, BG11, BG15, G85, G21, BG72, G21)
Seaweed (YG93, YG97, G85, G82, G40)
Coral (R02, R05, R08, R29; V12, V15, V17; and Y06, Y18, YR23, YR24)
Fish (FYG1, Y06, Y18, BG57, BG09)
Sea Floor (E51, E53, E55, E57, E59)
Clam Shell (R83, R22, R21, R12, R11, R000)
Mermaid Skin (E31, E30, E21, E00, E000, R12, R11, BV23, E04)
Mermaid Tail (B91, B93, B95, B97, B99)
Mermaid Hair (E71, E74, E77, E79)
Shadows (T3, T4, T5)
Make it Crafty Products:

I’d like to enter this into the following challenges:
Fresh Brewed June Challenge – “Mermaids, etc”
Bastel-Traum Challenge – “Water”
Natalie and Amy Challenge #10 – “Fantasy”

Update: I was selected the gold winner at Bastel-Traum Challenge!

Foster Faerie

This will be a quick post but I wanted to share that LMMS has a new Friday Freebie posted today and to share a little bit of inspiration too.  I didn’t have time to make a card with the freebie but this one is will do.  ;D  The image I used is Foster Faerie and it worked out rather nicely for a boy card.  Hope you like it and enjoy your Friday!!  *Hugs

I’d like to enter this into the following “Father’s Day” themed challenges:

SS Winner!

It’s an exciting day today as the Little Miss Muffet DT reveals the new Pollycraft images being released today!!  It’s a Carnival theme but these images and great for all sorts of occasions, especially birthdays!  There are so many images to choose from that it was difficult to pick one for today.  LOL  So make sure you visit the LMMS Store to see them all plus the LMMS Challenge blog to see everyone’s awesome creations!!

The images I’ve used is Swings ‘n Slides Winner! from Little Miss Muffet Stamps and drawn by Pollycraft.  This guy was perfect for a birthday boy card and I enjoyed using all the fun colors.

My kids are at the perfect age that we all enjoy going to the local fun and games arena for some family activities.  We’re currently fixated on Putt Putt Golf … my favorite part is the miniature golf but my kids’ favorite part are all the token-slot games!!  They collect so many tickets to cash in at the for prizes just like this image.  He he he

Thanks for coming by today and I hope you’ve enjoyed the release!  Now it’s time for some shopping!  (Click HERE)  While you’re having fun in the store, wish me some luck today.  I’m getting my tonsils removed and I don’t think the nurses will be happy if I cart in my collection of markers with me!  LOL

I’d like to enter this into the “boy” themed following challenges:

Tennis Edwin

Where did I put it?? You ever have those days where you can’t even find your shoes?  I know I printed out some papers – I can even remember what I printed along with it – but for the life of me, I can’t find them!  Ugh!  Well, I know I’m not the only one and I’m sure they’ll turn up sometime… but finding them today would be handy.  LOL  Anyway, let me get on with the show and publish another project to share… this one is a Magnolia.

For this project, I combined three images and took a little inspiration from my last few project.  I don’t know if you remember the one I did with Dancing Party Tilda?  I did this one about the same time and used the following Magnolia stamps. 

Tennis Edwin
Tilda’s Brunte Horse
Welcome to a Lovely Home

I thought Tennis Edwin would look ok sitting on Tilda’s Brunte Horse but the legs still looks like Tennis Edwin legs and not sitting-on-horse legs.  I’m now wondering if Tilda with Peonytails might work better?  Maybe that will be something I’ll try for next time.  It was interesting, however, to do a face for Edwin as I didn’t realize how much I relied on adding eyelashes!  So when I couldn’t add them, it made it for a more difficult time to come up with something I liked.

I’d like to enter this into the following “Magnolia” themed challenges: