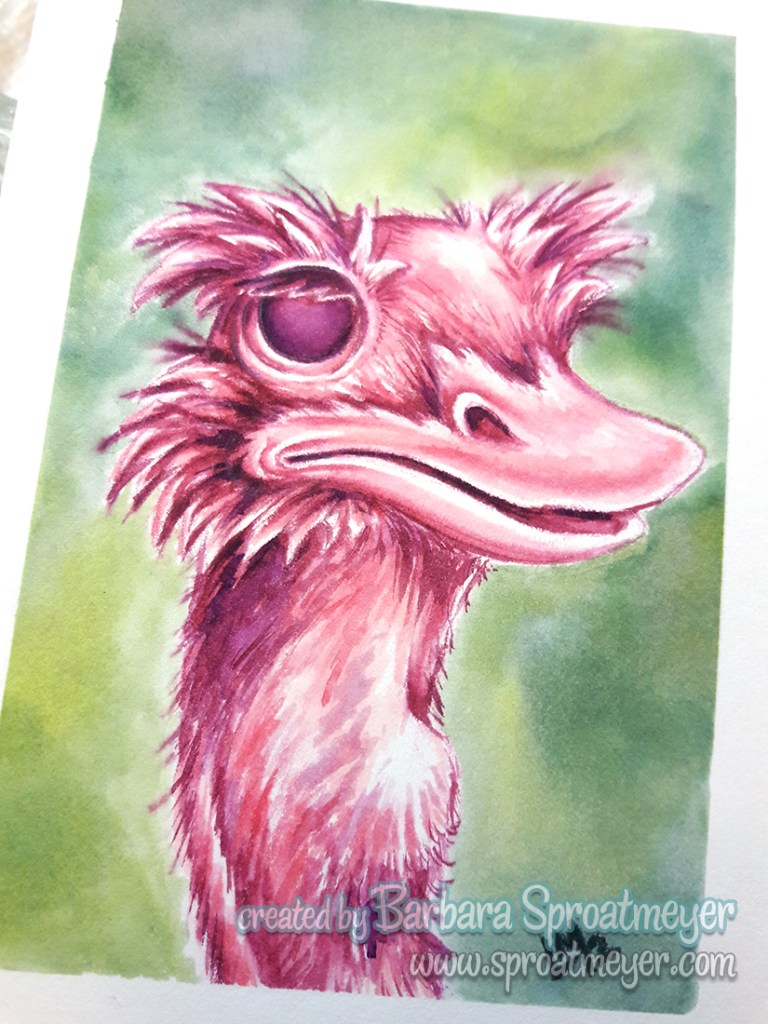
Still trying to figure out my watercolor vibes but this time I’ve upgraded to Arches hot press paper that Jennifer shared with me. I immediately noticed a huge difference and was a lot more relaxed when using it. I’ll have to put some of that stuff on my wish list!!
This was colored with Karin watercolor brush markers using a pallet tray and watercolor brush. It was inspired by some photos I took at the zoo except for this ostrich I decided to give him a big ol’ Adam’s apple. “Gulp! Why am I pink?”
His companion was also inspired by my zoo visit and I decided to color this flamingo in ostrich colors. I gave it a little character in the eyes and can image her saying “Well what, how’d that happen?!”
Not everything turns out and this is just an example of some of my frustrations as I figure this watercolor thing out. This is on cold press paper and three different mediums. Not one of my favorites but it’s part of my stepping stone process to learning more.
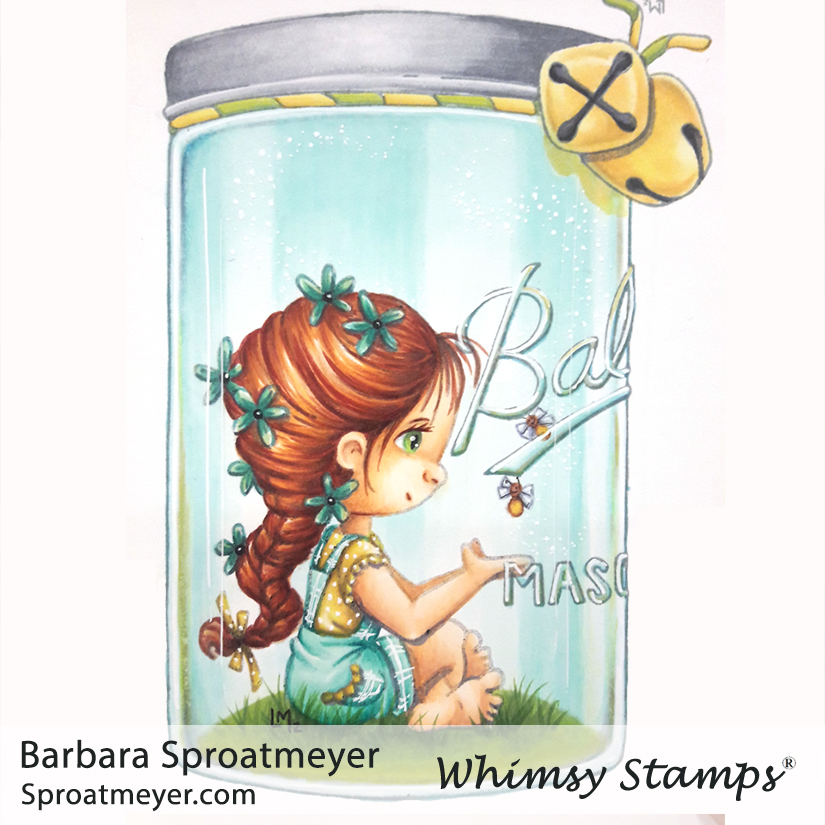
I can’t believe it’s February already but that’s good because I get to introduce two more Polka Dot Pals that are being released at Whimsy Stamps. That’s two more sets to mix and match! For my project, I’ve used Polka Dot Pals Imogen and combined it with the Mason Jar and the fireflies from Polka Dot Pals Khadija.
I colored the face and added in my own details. Once the girl was finished I colored in the grass mound and added some grass strands. Then I colored the jar, trying to keep in mind that some white would show as a reflection of the jar. At this point, because I stamped in a light color, the fireflies were difficult for me to see but I got the essence of their shapes and colored them in anyway.
The white is important when coloring a jar but it’s also difficult to remember to keep in there. One trick that helps me is to go back in with white as a very last step. It would be better to do it with a paint but all I had at the time was a white gel pen so I used that and also added some details on the clothes and more highlights on the letters.
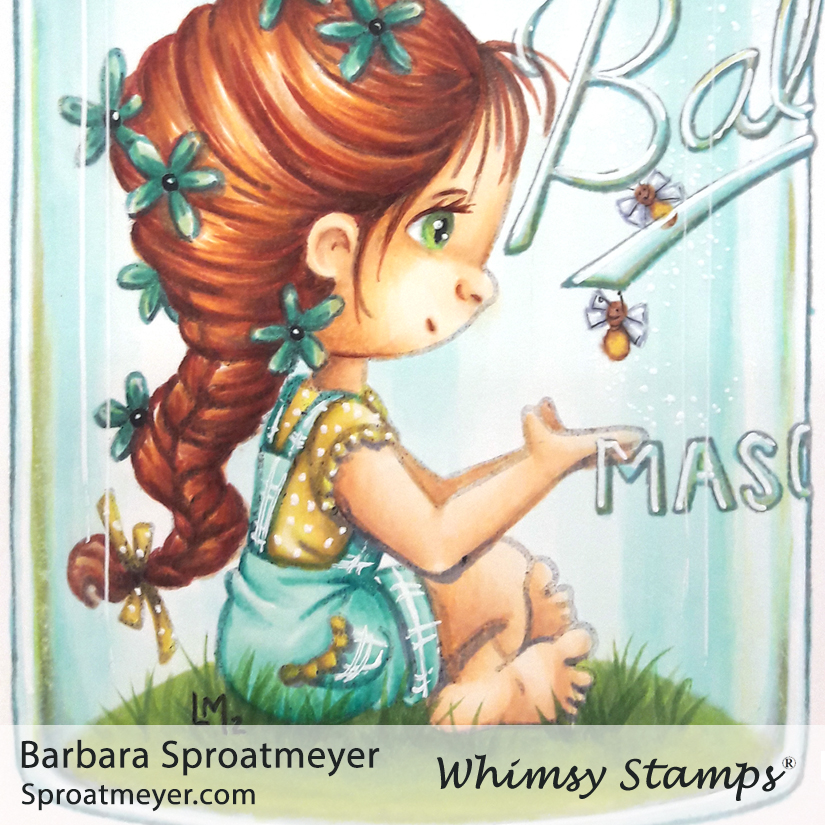
Here’s a closer details of the face that I colored in. This was the first time I added such details to a side looking face so I was still trying to figure it out. I might possibility have to create a side looking stamp for a future character. Yes?
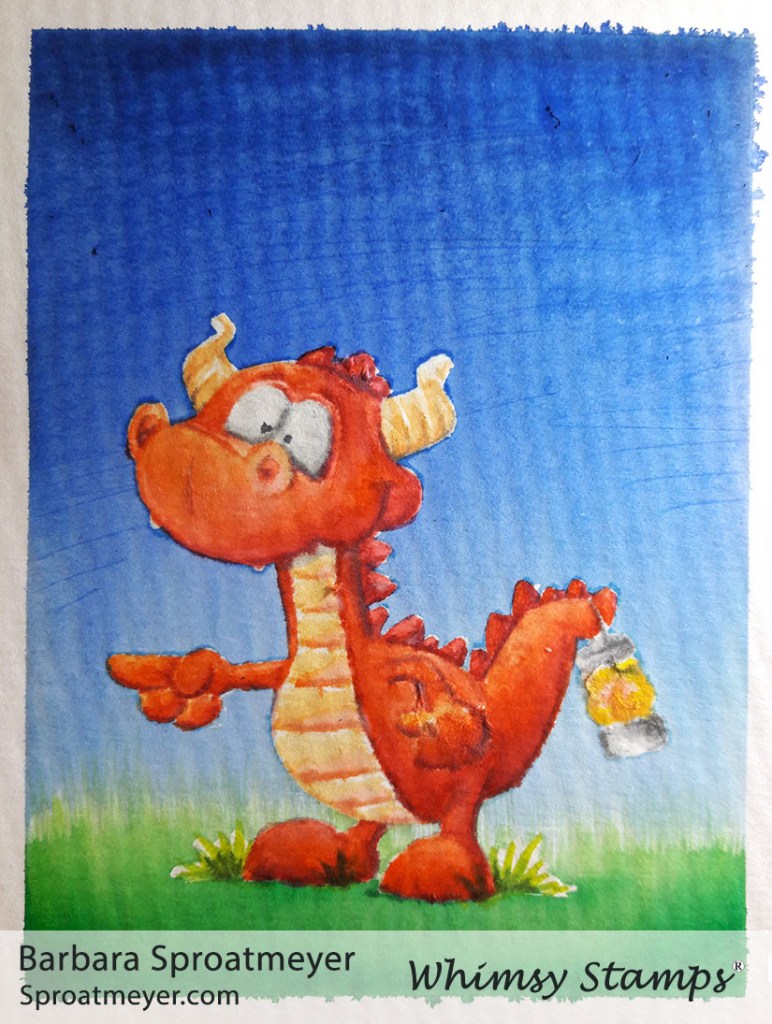
I wanted to show some of my past watercolor attempts which were from a few weeks ago. This one features Dragon Pull My Finger rubber stamp from Whimsy Stamps. I love the images by Dustin Pike and his dragons are so easy to color…even if it is with watercolors.
Colored with Karin Brushmarker Pro watercolors on Craft Perfect cold press 300gsm paper.
I would say I had some difficulty with the watercolors, paper, brush or something. As you can see on the hand and the lamp, I tried to blend too much on the paper and scrubbed the paper away. Overall, it was somewhat frustrating and I wanted it to be more defined. So I pulled out the colored pencils and did some touch up work.
Touch up with Polychromos colored pencils and a white gel pen.
I like this result much better and felt that I salvaged the image. I can still see where the blue brush marker was used to color the sky in the background so I’ve been watching out for that to avoid. In the before and after, I can definitely see a difference on the eyes, tummy and lamp.
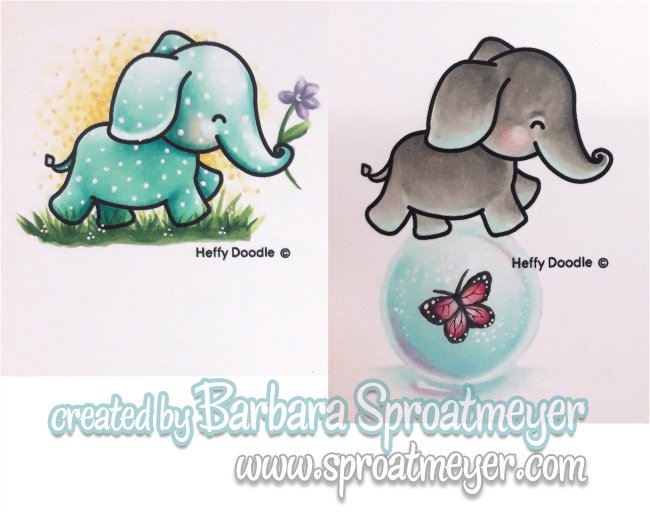
It’s time to jump back and create the iconic post of “what I colored at boot camp” and show off all the things I did. These, of course, were all done using Copic markers. Jennifer’s Boot Camp is amazing and great friends too – shout out to everyone I was sitting next to during the camp and at lunch day after day: Kellie, Karen F, Wendy, Cathy T, Therese, Meenu, Taya, Cathy R, Janice W, Nan, Ginger, Charlene, Mags and Luigi. Thank you to all the helpers and it was so much fun getting to know you all: Patty, Cassandra, Ellie and Becky. Also thank you to all the sponsors. Thank you Jennifer for everything.
Elephant of Surprise by Heffy Doodle
Thankful Owl and It’s Owl Good by Technique TuesdayGnomey Drew by Make it Crafty
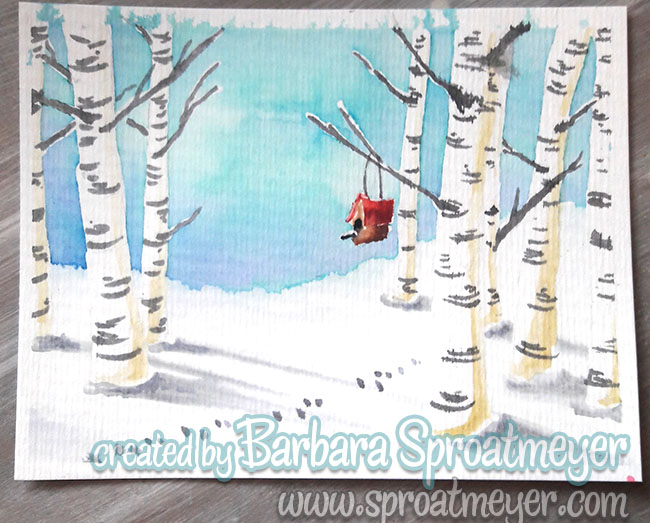
I had seen a gorgeous loose watercolor painting of a winter scene with aspen trees and was very inspired by it. I thought, that should be easy. Right?! Well, not so much for me with watercolors at the moment. I sketched out the image and tried a wet on wet technique. Then I didn’t let it dry long enough and proceed to add some details – and well, you can see how that went.
This was done with Karin Brushmarker Pro watercolor markers on Craft Perfect Watercolor Card 300 gsm cold press.
In hindsight, I can see areas where there was something good going on so it’s not all that bad. I did slightly learn from it so that’s a plus. I’ll have to revisit something like this in the future and see how much I’ve progressed. It’ll be a doozy of a before and after, I’m sure.
Here are a few various crochet projects that I’ve worked on this season. Hope you enjoy the inspiration.
This donkey is to fill out my nativity scene. I used the pattern book from Nativity Crochet kit by Kati Galusz. All of the people are finished so I’m going back to add animals. I made a lamb (shown in the corner) but the yarn makes it difficult to see so I’ll be making another one of those. I didn’t have a grey in my stash so I might make another donkey in that color next season. We’ll see.
This is a Swedish Tomte that I made and created the pattern myself. I used yarns from the stash.
This is one of my favorites and is a Cthulhu pattern from Rural Rebellion. It was simple to put together except for the tentacles and wings which were difficult to look relaxed and coordinated but luckily no one was watching. It went together in a day. I made all the parts then stitched the wings and arms into the body as I went along. It’s quicker than to come back in and attach them later and I feel that I get a better grip.
Last on the list is a small hat for a Calico Critter bunny. I thought the yard was too thick but hay, it’s finished and it mostly fit.