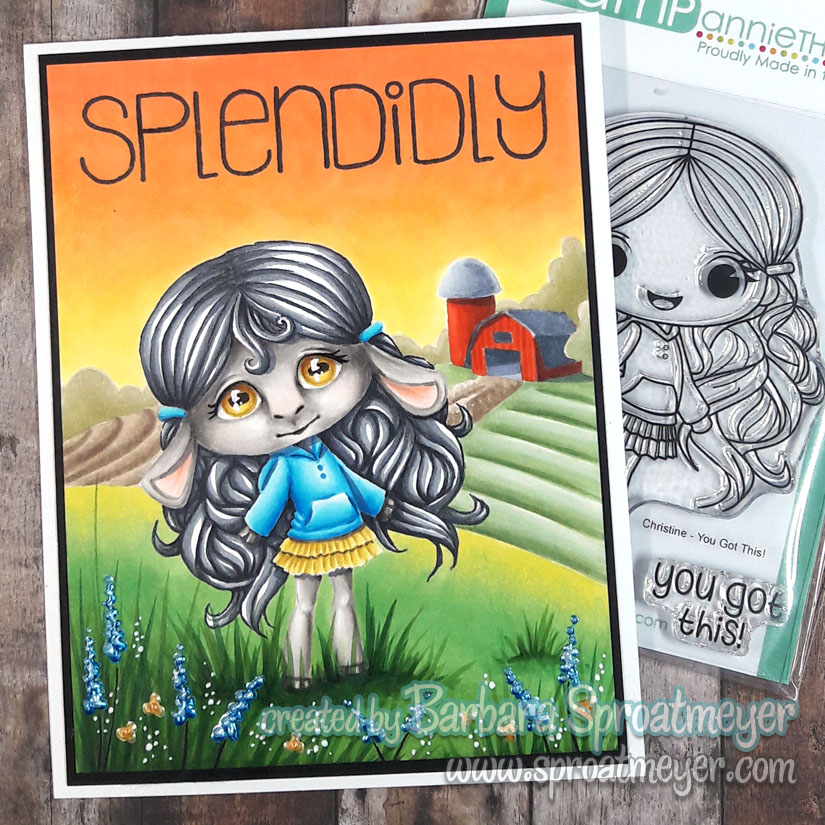
It’s Easter this weekend and I thought I should at least get one bunny, chick or lamb project done before it passes. So I settled on a lamb and transformed Christine You Got This from Stamp Anniething. Special thank you to Ann for the stamp! The sentiment is from a Polka Dot Pals set.
At first I wasn’t sure how to color this cutie but then found inspiration in my daughter’s latest drawing and took it from there.
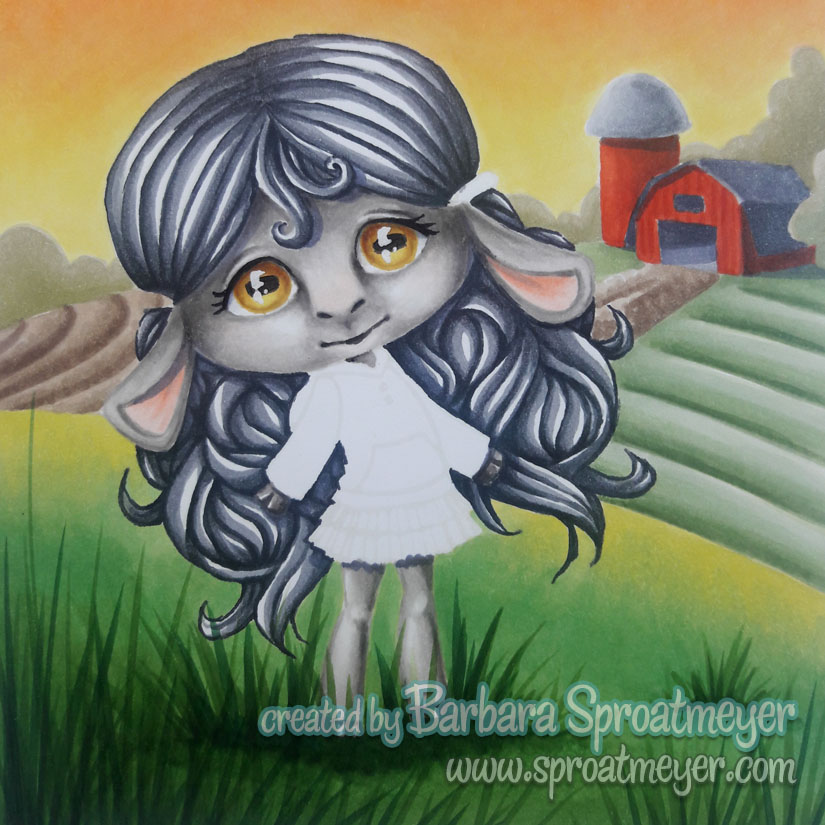
I stamped the character without the original face and wiped off the ink before stamping it. This gave me a blank canvas to play with. I started out with W1 and started to sketch out the face and lay down my shadows. Then I built upon that with W3 and finally jumping to W8 before working my way back blending as I go.
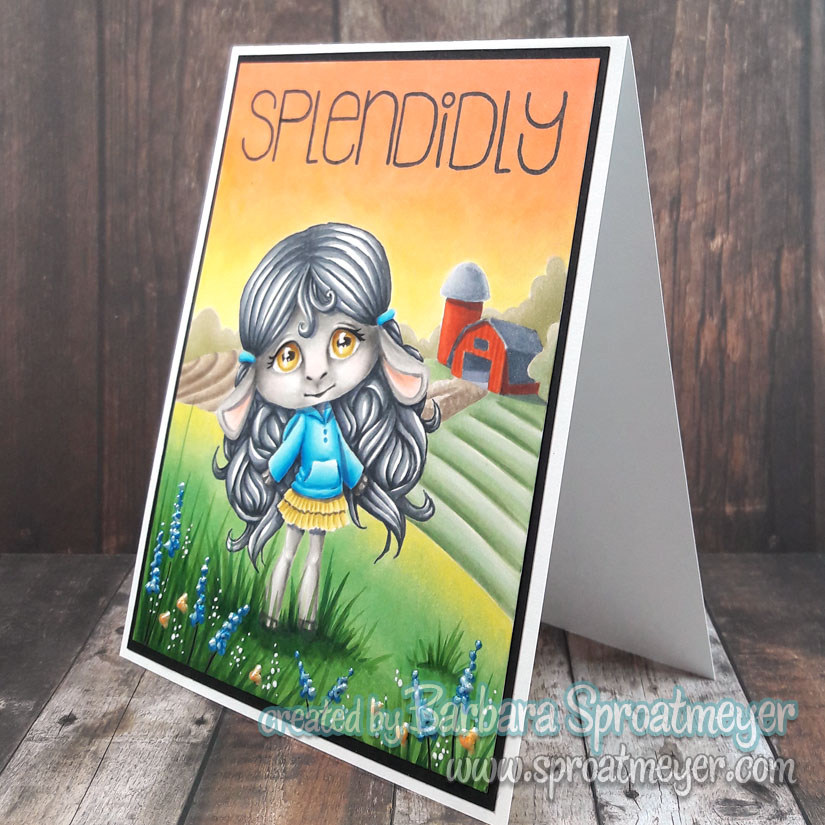
With the face and hair done, it was time to think about the clothing. However, I wasn’t sure what color so I skipped this and went on to the background. This part stumped me and I wasn’t sure what to do. I stewed about it for a few hours and came back later in the evening with the farm idea and a bright yellow sunset.
As you can see, I really did leave the clothing until last and it wasn’t until this point that I decided I should bring in some blue. I first had to fix my little mistake with her hair clip and then pressed on. After all was done, I placed it on a card, stamped the sentiment then used Liquid Pearls and a white gel pen to add some flowers.
“Baa-ram-ewe, baa-ram-ewe. To your breed, your fleece, your clan be true. Sheep be true. Baa-ram-ewe.” Thanks for stopping by!
We have a special collaboration post today and coloring challenge to share. Special thanks to Ann from Stamp Anniething for sponsoring this event and to Denise from Whimsy Stamp for supplying the other images to make it complete.
A few of us got together to challenge ourselves in coloring and we hope this inspires you to join along too. The rules were basic… (1) use a Stamp Anniething character, (2) the jar from Atlas Jar, and (3) to incorporate coloring water using Creative Color Placement techniques. Then (4), I added a personal objective onto myself to see how a Polka Dot Pals add-on face would work on these characters.
Following are details on my project but also make sure to visit everyone else and see their amazing projects. Everyone’s project is unique and totally fantastic!!
I started off by stamping the character and the elements on my card. I used a light no-lines color ink so I didn’t worry about masking anything except for the face area which is described further on. There were even a few things I stamped on there that I never colored too – but I don’t think you’ll spot them. Once everything was stamped, then the Creative Color Placement began.
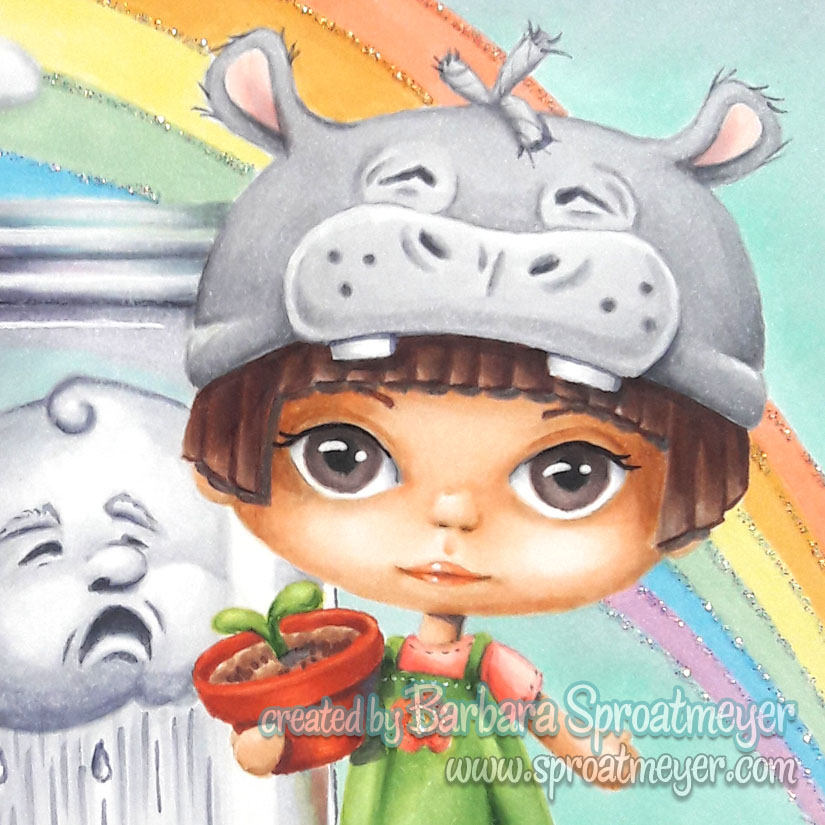
I sketched out the hippo beanie hat on scratch paper to figure out how I wanted it to look. Some stamp companies don’t like it when stampers add pencil marks or black fine-line marker to their images. But I already knew that Ann, and Denise for that matter, was completely ok with this so I lightly sketched the hippo hat onto my project. Otherwise, I would have to start coloring in the hippo without any pencil guides to satisfy the other company’s criteria. Which is what I did for the water puddle, grumpy cloud’s mouth and the rainbow since they didn’t have a lot of detail. I also gave this character a new hair dew (patterned after another Stamp Anniething character) and did this so the hat would “fit” better.
My original concept to incorporate water was to have a giant storm contained in the jar with lightning, thunder and lots of rain. Then the sky outside the jar would have a somber look after a heavy rain storm but with tidbits of a rainbow poking through with sunshine. Yea, that didn’t happen. What resulted was something a lot less dramatic so I felt I had to add another water element and colored in the puddle of water. My overall idea is still there but you’ll have to imagine the stormy ambiance yourself.
The face is a stamp element from the Polka Dot Pals Syeda set. Before stamping the character, I used a cotton swab and wiped off the ink on the original face. This gave me a blank canvas and I chose to use this Polka Dot Pals add-on face stamp. It’s a nice fit so I think any of the add-on faces would look great. If you read this much, then thank you and I hope this project inspires you to color some today. Thank you to Ann, Jennifer, Mindy and Stephen for playing along. Cheers!
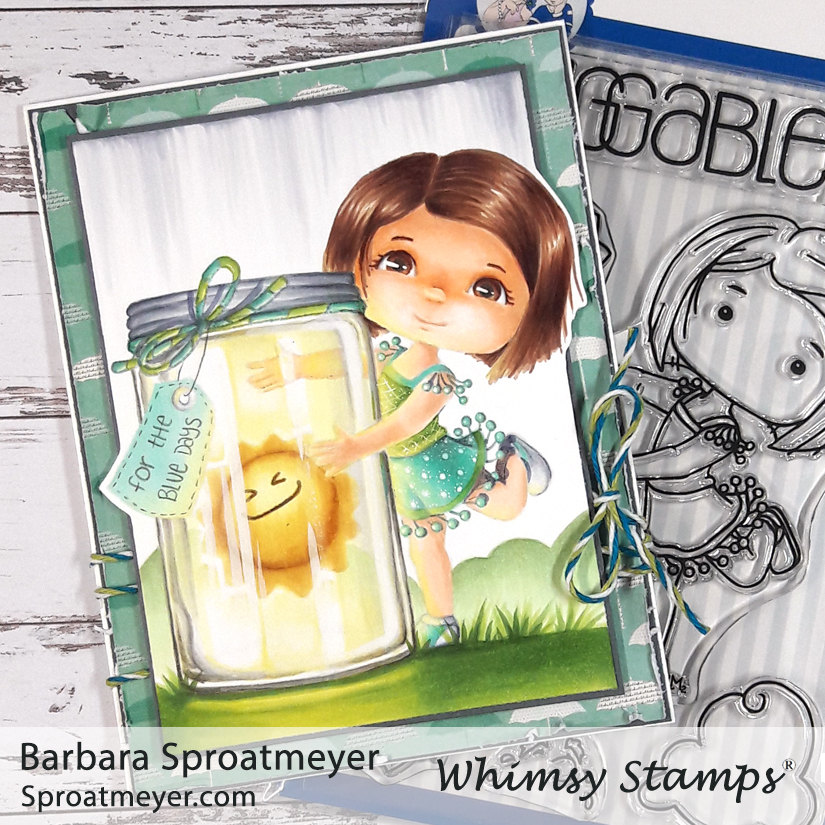
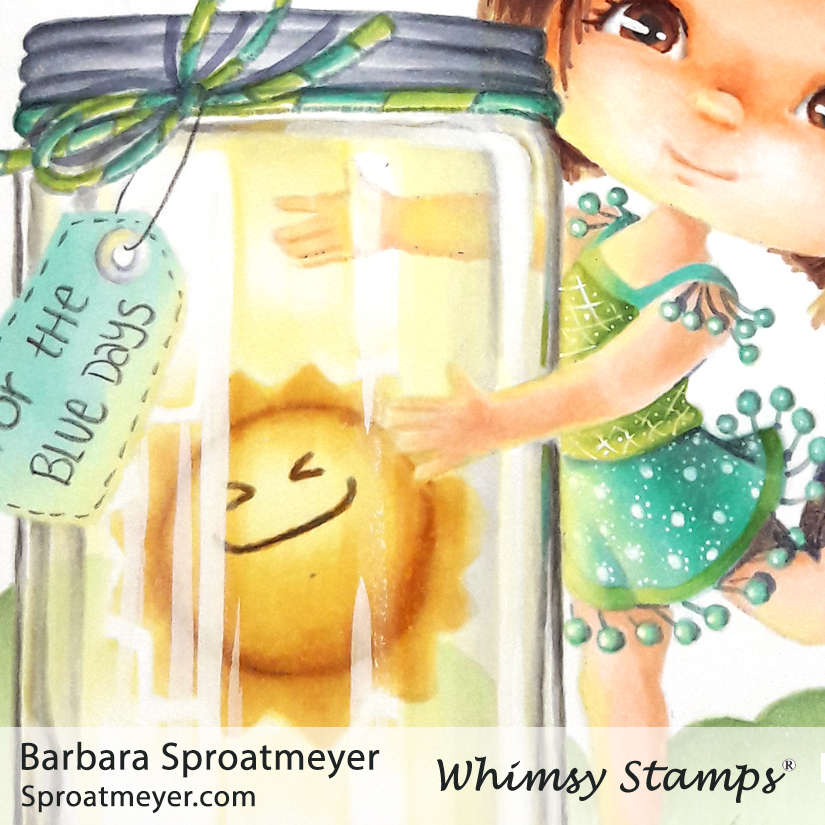
Not every day can be sunshine and rainbows – but for those blue days, sometimes it helps to have a bottle of sunshine nearby. And Polka Dot Pals Atlas here has a large jar to share!
I’m excited to announce today is a new release at Whimsy Stamps and there are two new sets that I’m using today – Polka Dot Pals Atlas and the Atlas Jar. To create this scene, I used the sun and character from Polka Dot Pals Atlas set then the jar, tag and twine from the Atlas Jar set. This was a challenge for me to color sunshine in a jar but I think it worked out alright.
On the face, I took inspiration from Amy Young on her recent projects using Polka Dot Pals Raden and Polka Dot Pals Harley and the cute way she colored their faces. Thanks Amy! This shape also worked well with the light source coming from a lower source too.
When working out the planning for this project, I colored the sun first then mapped out the where the sunshine would shine on the rest of the image. This helps me to remember the light source and to also keep a bit of yellow on that area.
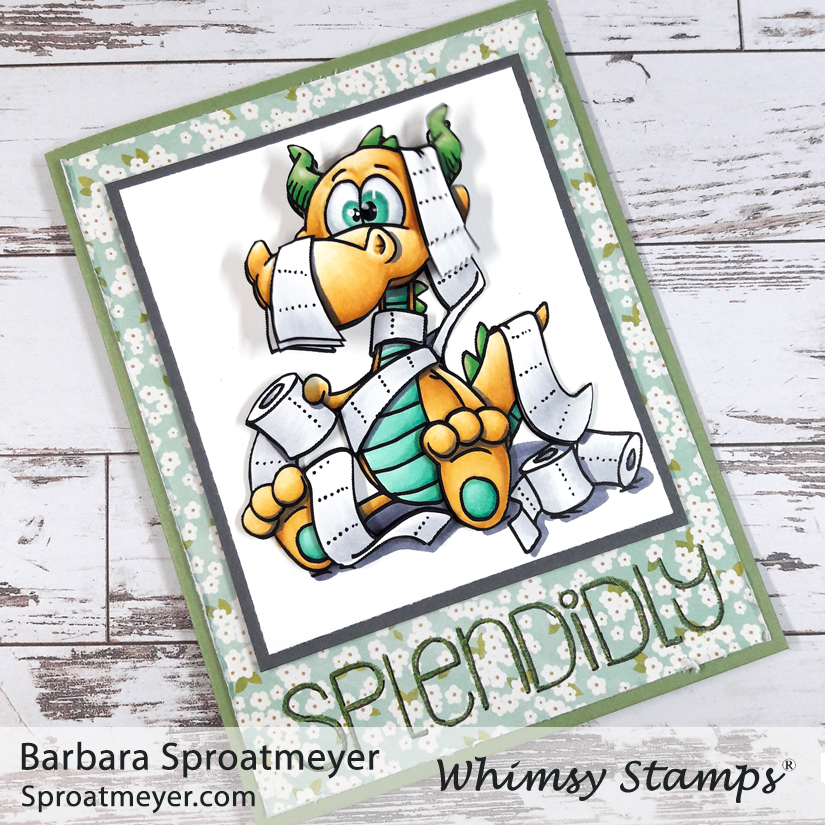
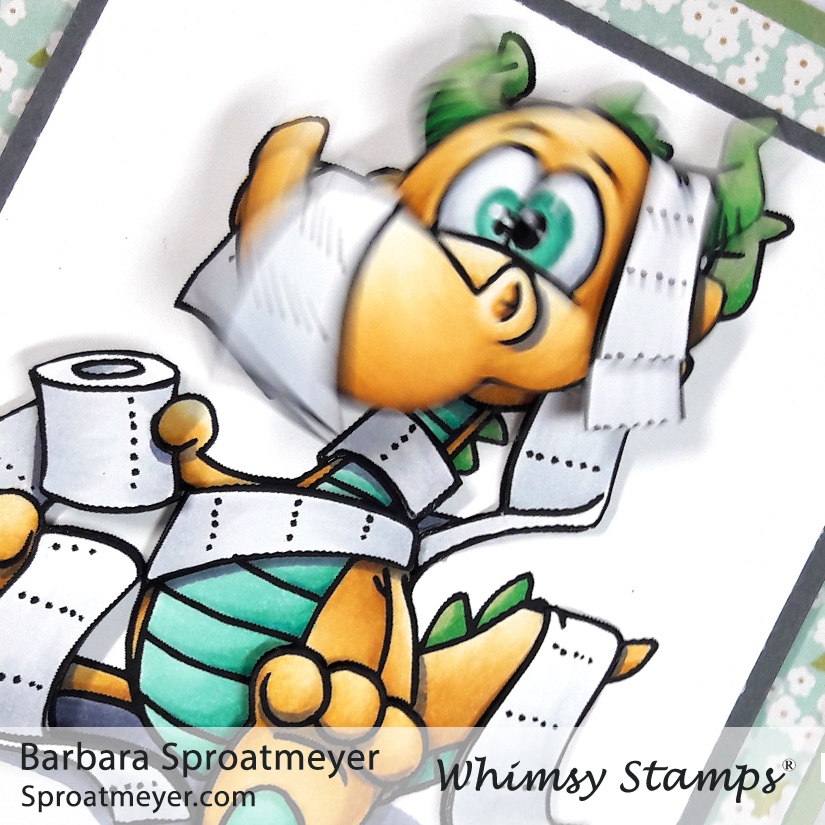
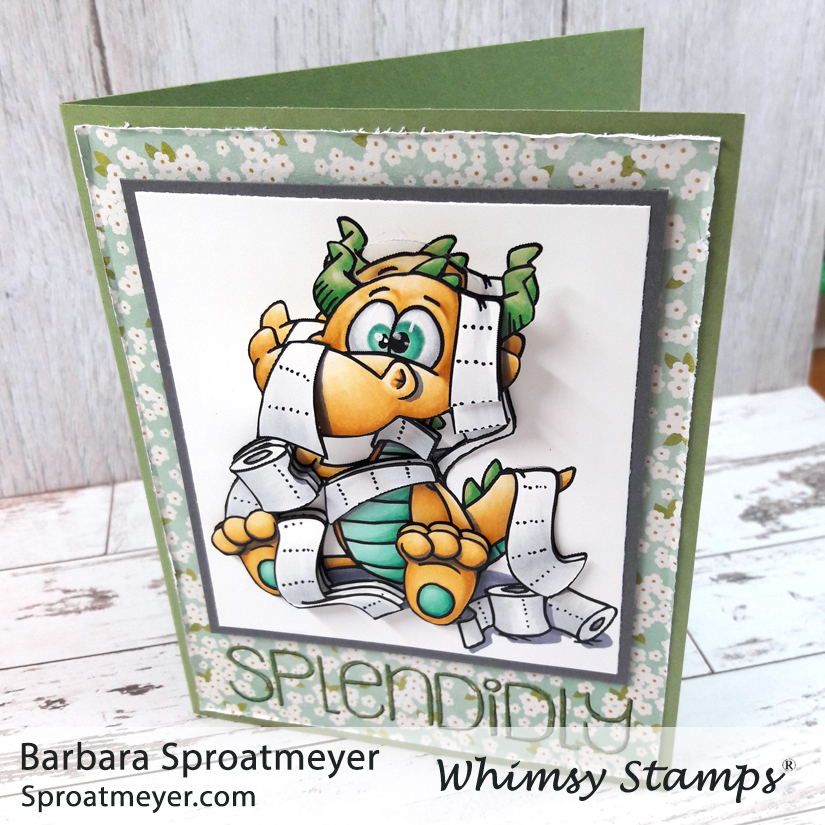
This is Toilet Paper Dudley by Dustin Pike which is a freebie at Whimsy Stamps and was one that I had to join in coloring him. I think the hardest part was to decide what color scheme. I’ve been inspired to use yellow so that seemed to be the natural choice.
I used an Action Wobble on the head to make this an action card. It’s fun to make his head wobble with the toilet paper on his head too. In addition to that, I used three images to make this a multi-dimensional image – all the toilet paper areas are popped up on foam dots as well as his head and feet. This turned out to be a really fun card.
Sometimes a project hangs around the coloring desk only getting attention here and there and this was one of those. The background was a watercolor picture Cassandra did and I nabbed it before she tossed it into the rubbish bin out of frustration. She was convinced that nothing good would come from it. So that gave me a challenge to use it in one of my projects and this is what I came up with. I’ve combined it with Polka Dot Pals Fern and the No-See All Seasons Tree die set.
To help visually separate the elements, I used foam tape to pop up the tree, mushrooms and grass from the background. I also used foam tape to pop up the character and butterfly – but on those, for added separation, I kept a white trim around the image when I cut it.
When coloring Polka Dot Pals Fern, I first stamped in a no-lines ink color. This allowed me to change the pattern of her shirt and shoes.
I hope this work as it’s my first animated GIF of this type – I wanted to show the progression of how I colored the face and gave it a shape. I did not use an Add-On Face stamp but instead colored in my own. The Copic colored listed in the clipping are E21, 25, 23, 31 and 29. I was getting a few areas gummed up so I had to go into those areas with a colored pencil to smooth it out. My faces are always works in progress and I continually try to refine the process – this is just how I’m currently doing them.
Overall I liked how the project came together and she said it wasn’t so bad either. I think that’s a win-win scenario.
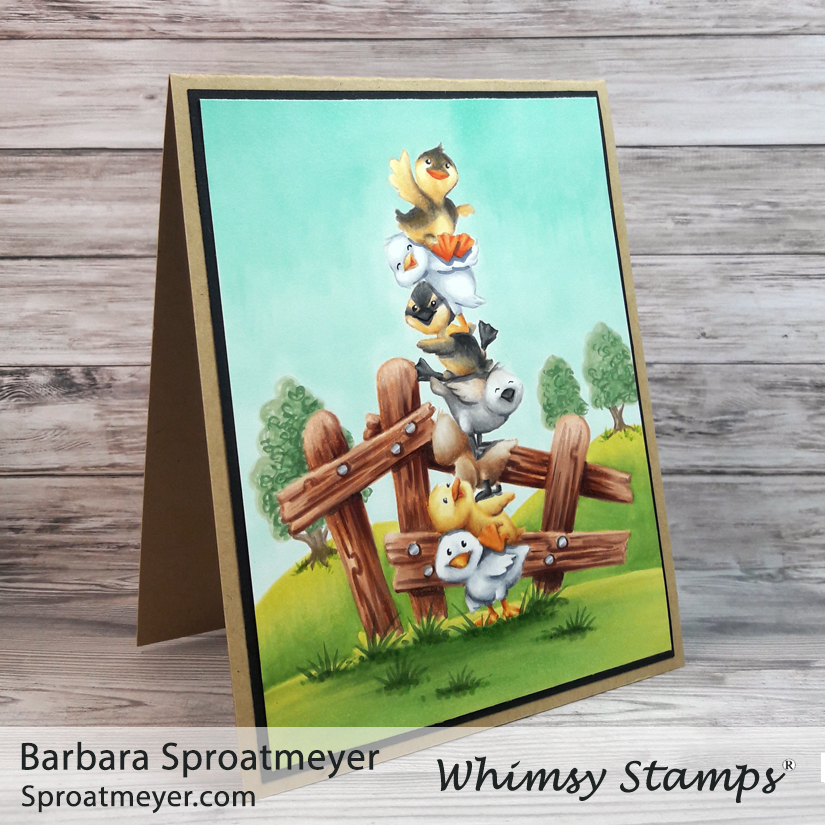
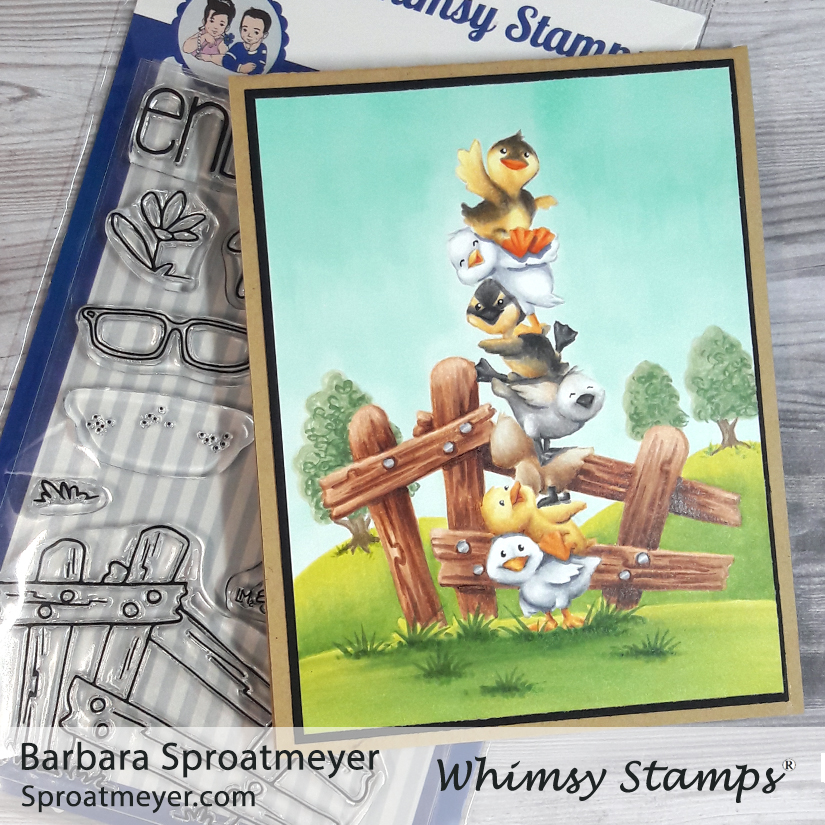
I really enjoy the stackers from Art Impressions and was happy to be able to get this Duck Stackers or ordered from Amazon last week. So I set off to use it right away and paired it with the fence from Polka Dot Pals Fern in the background. I originally was going to do a rainbow scheme but then decided I would do a rainbow of actual duck colors. After some Google research, this is what I ended up with.
The fence from Polka Dot Pals Fern made it easy to add a scene and I finished it up with a few hills in the background and some trees. I thought about adding clouds but decided I like the look of a solid sky which made me think the ducks were reaching for the sky. I think these ducks could easily be colored up as birds so that would look cool. If you try it, I’d love to see it.
I like how this turned out. I’d make a few adjustments next time such as ensuring the color placement of each duck – in this example, the brown duckling kinda gets lost with the fence. Swapping the white duck above with the brown duck would have been a better choice. Oh well, just forget what I said and you’ll never notice.