Front Door Background

Here is the latest Card Kit that I’ve created.  It uses the Front Door Background rubber stamp from Little Miss Muffet Stamps which is also the rubber stamp this is included in the kit.  I’ve been meaning to create a mostly white card for a while and I was inspired by the recent cold weather. 

Layering the card is pretty straight forward and you can create a card as large as 6×6″.  I usually create square cards that are slightly smaller, around 5.75″ x 5.75″, so I can place them in the envelopes.  However, with the supplies included, you can create a size that suits you. Each layer is 1/4″ smaller than the previous layer. 

I colored the door with light colors because I wanted the wreath to stand out. I have the colors I used somewhere on my desk so when I find them, I’ll update this section.  😀

Update: I found the Copic colors I used!  
BG000, 53, B00
YR23, 20
T0, 2
BV20, 23
YG21, 25, 28, 67
R5, 12, 17, 29, 89

This is a limited quantity card kit so grab it while you can!  

Clover Winter Friends Card Kit

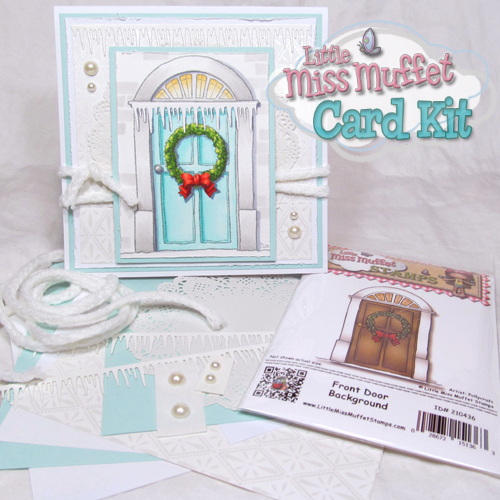
Here’s a project that is a little different from what I normally do which made it all that more fun.  I’ll explain a little more below.  This is also a card kit, Clover Winter Friends Card Kit, for one lucky person since there is only one kit left.

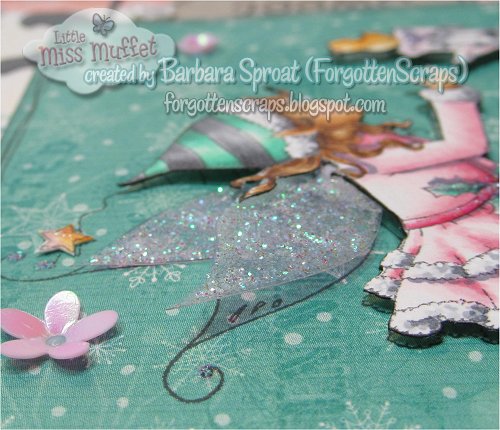
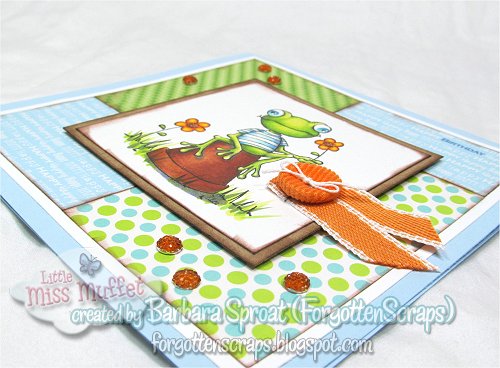
The stamp is Clover Winter Friends from Little Miss Muffet Stamps. My goal was to eliminate all the white space around the stamped image.  I could do this by coloring around the image or by fussy cutting … I chose the fussy cutting and then decided to do something fun with her wings too. 

I also want to mention the new challenge that opened up today.
 – it’s Anything Goes so come show off a project this week.  😀

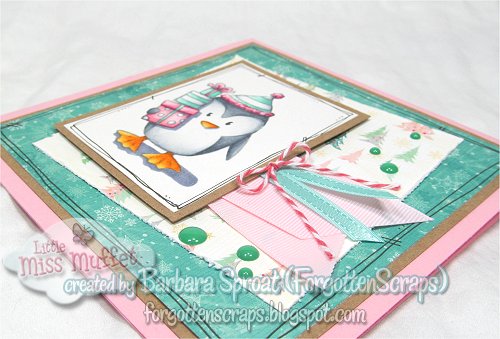
You can see how I layered and assembled the card.  I used foam dots to pop up the top layer and also the image itself.  The diecut is Birds on a Wire Metal Die, also from Little Miss Muffet Stamps.

I cut out the image and even clipped off her wings.  I usually don’t use a black marker to go around the cut edge but this time I did.  Since I wasn’t going to have the white base, I wanted to make sure the thickens of the paper didn’t stand out.  Check out below how I did the wings, which were placed on the card before I added Clover.

I stamped the wings twice on clear plastic and cut them out so I could layer them. This allowed me to use the ground plus a white gel pen for snow and to keep it separate from the image.  The wings were covered with Stickles glitter and I bent them a little at the base so they stood out from the card.  However, before I layered them on the card I also stamped the image, in black, on the decorative paper.  This helped to position the image too.  

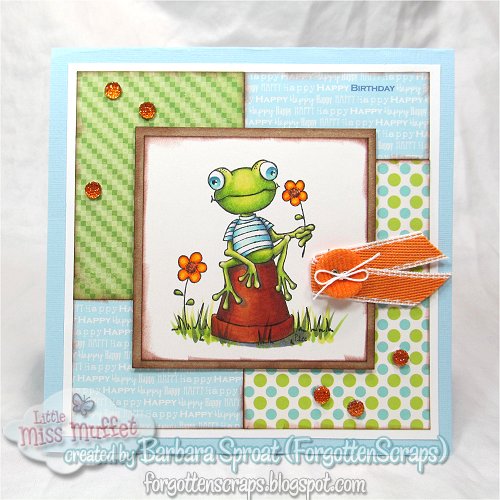
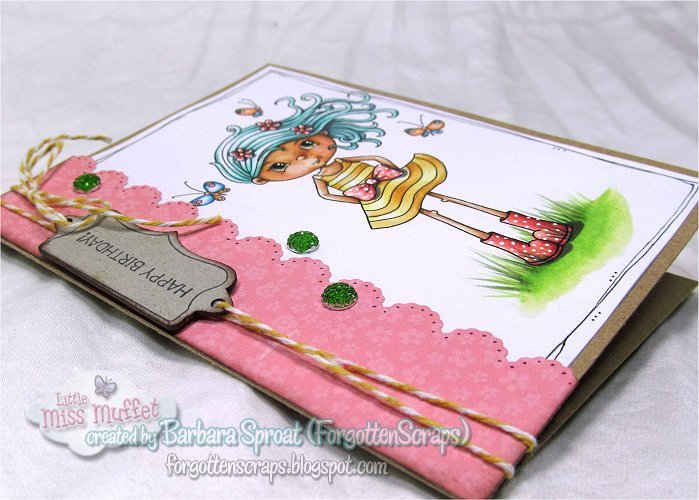
I stamped the image I colored in gray and the one on the base in black.  You can use any sentiment that will fit the chipboard embellishment, which is from the Happy Days Tab Sentiment set from Make it Crafty.  You can see I doodled around the chippie too. 
Here are the Copic colors I used:
E0000, 27, 30, 31, 34, 35, R11
C2, 3, 4, 6, 7
RV000, 11, 19, 34
BG0000, 32, 34, 75
YR18, 23, 30, Y32
BV23

Dexter Gives

I can’t say that I’m ready for Christmas but every once in a while it’s fun to color something out of the season.  This one was just perfect for the day and it allowed me to play with some other colors that I normally wouldn’t pick.  I’ve used Dexter Gives and the full recipe is below.  For some more inspiration today, check out what the Little Misses have created.  Enjoy! 

Stamp: Dexter Gives by Little Miss Muffet Stamps
Copic Markers Used:
C7, C5, C3, C1, BG72, BG34, BG10, YR14, YR21, Y32, BV23, 0
Paper: Bo Bunny Candy Cane Lane
Ink: London Gray (or Tuxedo Black) Memento

Other: ribbon, twine, teal enamel dots, black fine-point marker, white gel pen, foam pop dots, glue/tape

Broasca Frog

I’m back in town for the summer and what a whirlwind – I loved it!  I was even lucky enough to skip out on some of the hottest days in Texas while I was enjoying the more cooler weather up north.  Bliss! 

As a welcome back into the internet, I thought I’d get right into posting a project I created.  This one uses Broasca Frog and I had fun coloring him with vibrant greens and blue eyes.  I kept the project simple and focused on the techniques of coloring and mixing colors.  I like how he turned out and I even have the color combos to share, which are listed below in the recipe.

Copic Markers Used:
C5, C3, B95, B12, BG10, E27, E17, E13, E07, YR15, YR07, YR30, Y35, YG23, YG21, G85, BV23, 0
Paper: Jillibean Soup Spotted Owl
Ink: Tuxedo Black Memento, ColorBox Fluid Chalk Chestnut Roan cat’s eye for distressing
Other: Orange Twinkle Goosebumps, ribbon, twine, button, white gel pen, foam pop dots, glue/tape/stapler

Jessie Summer Breeze

This adorable character is Jessie Summer Breeze by Pollycraft.  Paula has opened up her shop again onto Etsy and you can find many wonderfully cute images to play with.  As many of you know, Paula draws for Little Miss Muffet Stamps and we enjoy new images from her all the time.  However, these images on Etsy are all different characters is you’ll want to make sure you check those out too.  This one below was one I couldn’t resist coloring myself.  TeeHee  

Also you can read about what Paula has been up to on here blog HERE.  Two of my daughters are deaf so I laughed, cried, and sympathized with her latest post all the way.  We couldn’t get the BAHA but was able to utilize cochlear implants.  If we ever get together, we can compare American Sign Language with British Sign Language.  Oh, yea!  Hang in there Paula and thanks for all the adorable images! 

Lastly I used the Happy Days Tab Sentiment from Make It Crafty to create the sentiment.  The chipboard tag also comes in the set and is always fun to use.  

Birdie

There is a new challenge opening up today over at the LMMS challenge blog and the theme is “Many Layers.” For my project, I decided to pull out the metal dies and create something with a door.  I used the following supplies available at Little Miss Muffet Stamps:

If you remember last time I had showed what I created with the Birdie packaging and so this one I actually enjoyed coloring Birdie herself and giving her some facial details too.  The colors I picked were grabbed from the paper stack that I was using and then I tossed in some yellow ribbon to help emphasis those colors.  It’s too bad that the glue showed through so I’ll have to try to use something different next time.

Lastly the Marine Creek Door was used with the small ticket insert and I added parts of the Bird on the Wire as a decal, which was cut from white felt.  Then I also used the door and hinge parts to build up the door a little more.

Hope you enjoy and thanks for stopping at my blog.