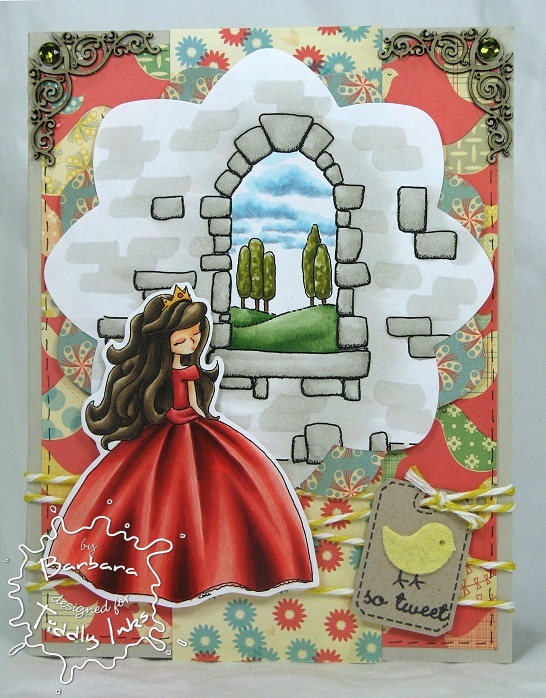
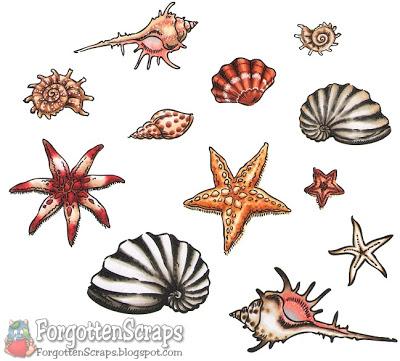
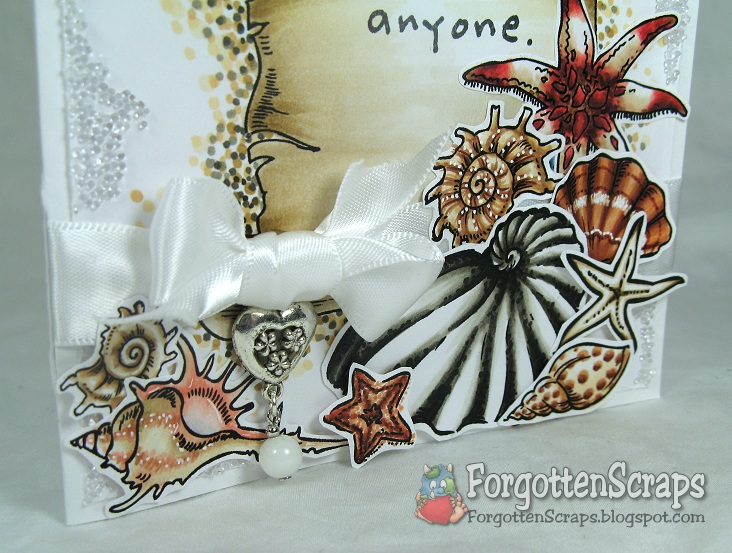
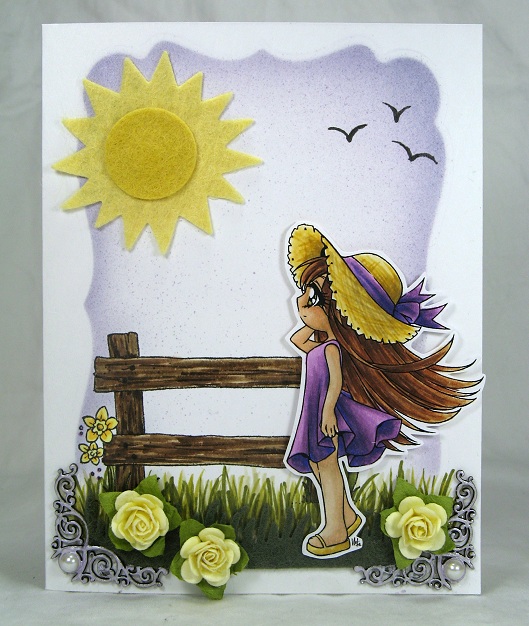
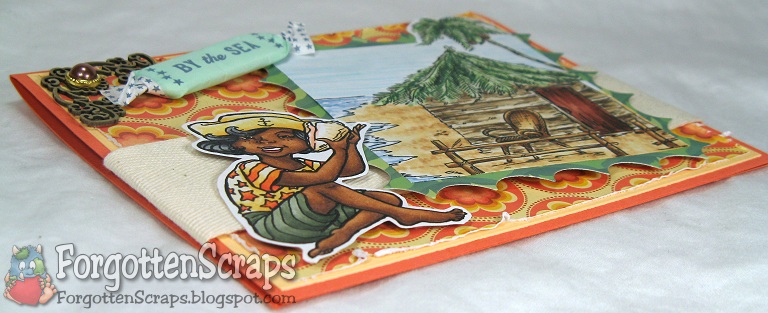
This card features the new image from Love to Stamp, called Shellphone, and another one from Make it Crafty, called Beach Hut by Sea. With so many summer backgrounds available it has been fun pairing up images and creating a scene. This one is inspired by the warm weather we’ve had lately and I wanted to use lots of warm-tone colors to represent a shining sun.
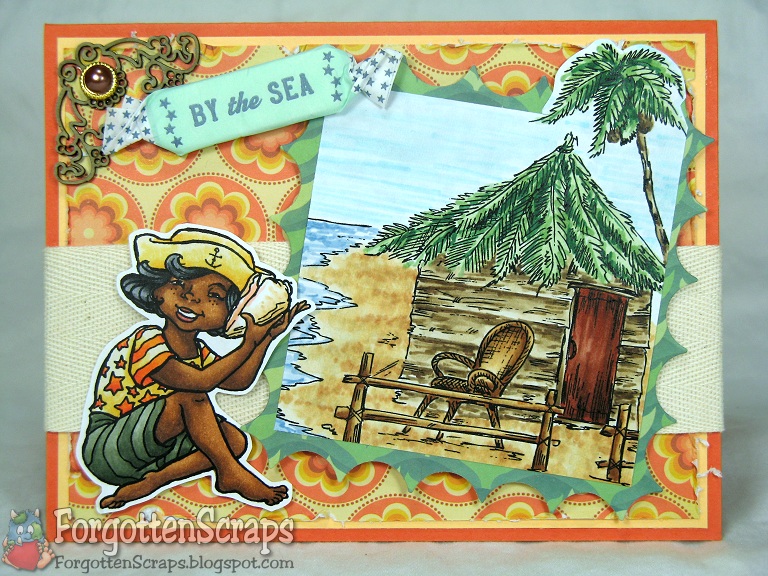
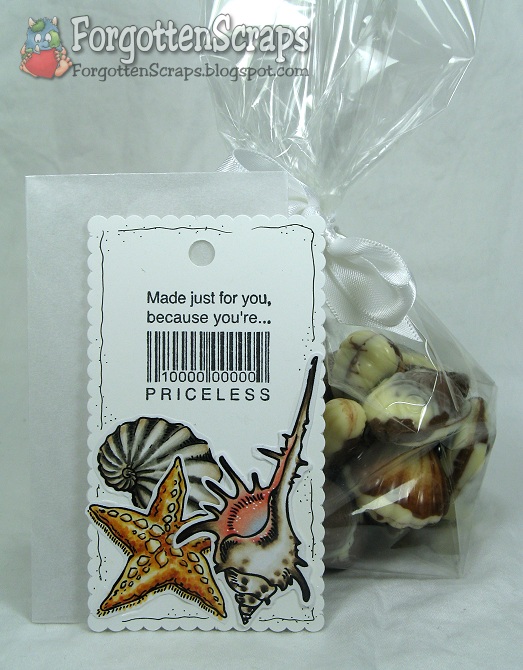
No clouds in sight but at least there is the ocean with a some cool-tone colors for a refreshing feel. The faux candy was an embellishment I had forgotten about which turnedto be a fun addition for this card. Afterall, what girl wouldn’t like a bit of Salt Water Taffy to chew on?! Yum!

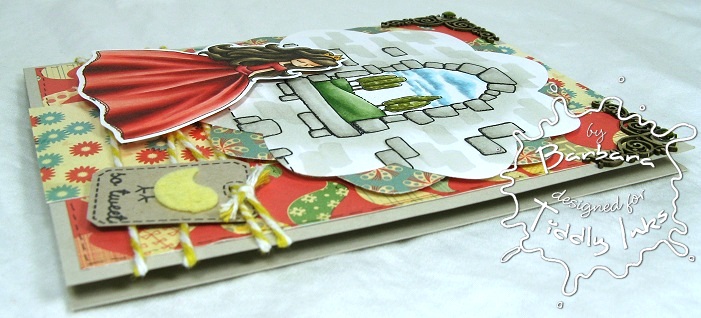
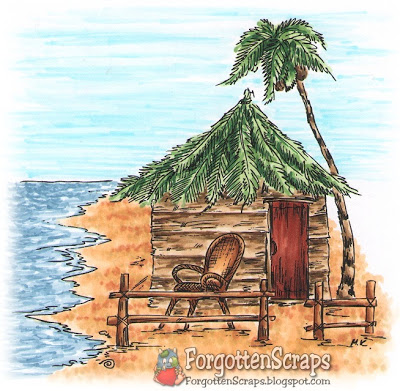
Here’s the Beach Hut by Sea background before it was trimmed down. I tried a different technique on my sand using some tips I got from Elaine but clearly I need some more practice! She colored the most perfect sand texture on her card that I was trying to duplicate.
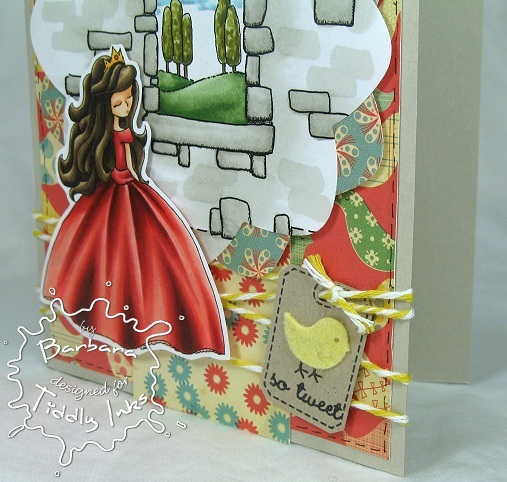
One of my staples of crafting essentials are foam dimensional dots! I seam to use them on every card don’t know what I would do without them. ;D I like how it changes the overall feel of the card by raising the main image and giving it focus. Yet the mind still takes in all the elements around them and see them as complimentary embellishments. Yep, they’re a must have in my crafting room! Hope you enjoy the card and have been inspired to make something or even to play outside in the sun today. ;D
Main Stamp: Shellphone (LTS), Beach Hut by Sea (MiC)
Patterned Paper: Salt Air (CC)
Chipboard: Swirly Corners (MiC)
Metal Die: Spellbinders Nestabilities Inverted Scalloped Square
 Copic Markers colored on Copy Paper
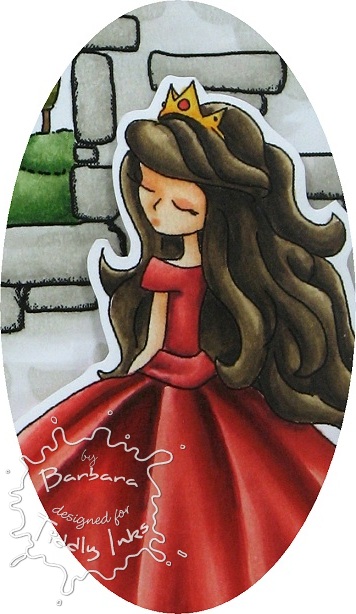
Shellphone:
-skin tone: E23, E33, E25, E27, E04, R22
-oranges: YR04, YR07, YR09
-yellows: YR30, YR31, YR21; E50, E51, E53
-greens: BG93, BG96, BG99
-pinks: R12
-grays: N4, N6, N8
Beach House by Sea:
-browns: E41, E42, E44, E47; E23, E39, E55, E51, E53; E33, E50, E51, E53
-reds: E09, E17, E18 E19
-greens: G40, G21, G24, G28, G29
-blues: B91, B93, B95; B0000, B000, B00
Did you know? The Johnstown Inclined Plane is an 896.5-foot (273.3 m) funicular railway in Johnstown, Cambria County, in the U.S. state of Pennsylvania. The funicular is capable of carrying passengers and automobiles up or down a slope with a grade of 70.9 percent. The incline and its two stations connect the city of Johnstown, situated in a valley at the confluence of the Stonycreek and the Little Conemaugh Rivers, to the borough of Westmont on Yoder Hill. The travel time from one station to the other is 90 seconds.
[Johnstown Inclined Plane, Wikipedia.org]