Picinno Mermaid

Is it Friday yet?  LOL  I seriously can’t remember what day of the week it has been lately and even today I mixed up the months and dated something for July 11th!  Yikes!  But… with all the pain and havoc… it’s pure bliss!  I love it and that’s what summer is all about.  He he he

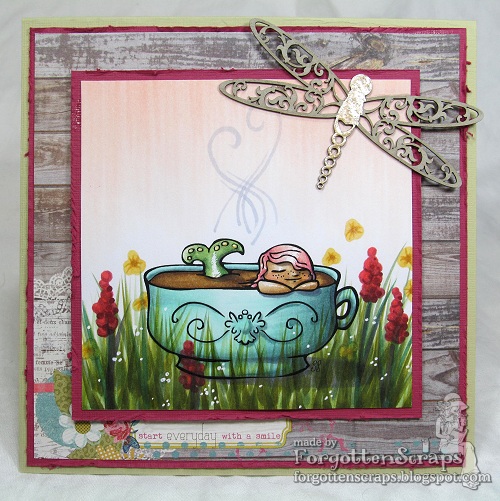
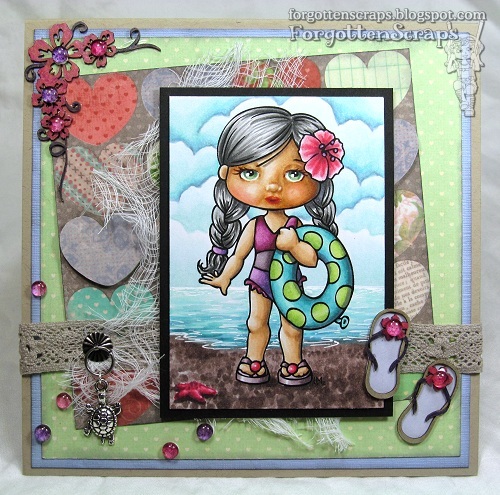
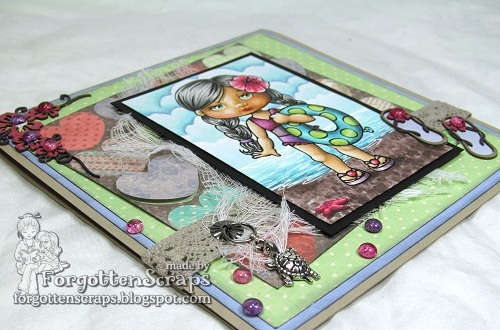
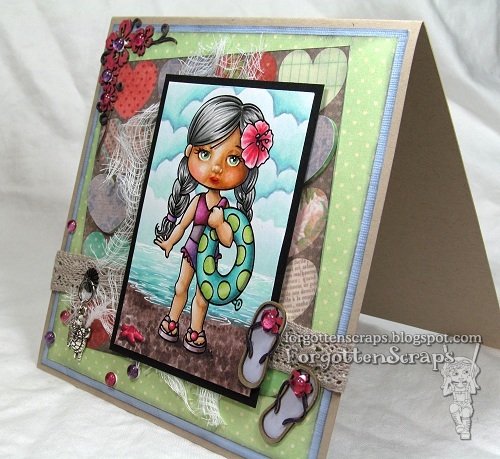
So for today, I have a project to share, which you might have seen on my Mom’s blog a while ago when we were playing the Guess Who game.  But today, I’m officially posting it on my blog and thought the theme of it matched my mood – laid back and relaxed.  😀  The stamp is Picinno Mermaid from Little Miss Muffet Stamps and it was colored with Copic markers.

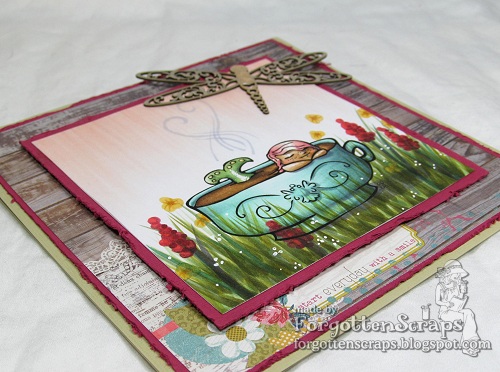
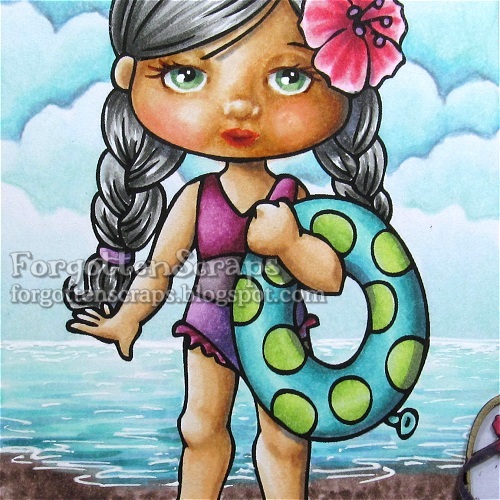
The dragonfly is a chipboard embellishment from Make it Crafty and I colored it with pearl puff paints for a bit of shine.  Here’s a closer image of the mermaid…

I hope ya’ll are having a great summer and just as laid back and relaxed as I am.  I feel like I have weeks to get projects done – which might get me into trouble, but at least the pressure is off.  😀  *Hugs

I’d like to enter this into the following Summer themed challenges:

Tea Party Friends – Maya

I have some exciting news to share and it’s a bit of a secret revealed here… that is, until I make the official announcement on the Little Miss Muffet Blog on Friday/Sunday!  What’s the secret?  I’m going to start having Friday Freebies and Sunday Spotlights!!  They’ll give everyone a chance to pick up some extra images to play with in the challenges and also discounts on certain rubber stamps in the store!  How cool is that?!

This post is sort of a kick-start to get me into the swing of things.  So for this week’s unofficial Sunday Spotlight is on this card!  For this project I used the following supplies…

Penny Black I Chart Happy Birthday

Thanks for coming by today and make sure you set your calendars and alarms for Friday and Sunday – they’ll be one day specials that you don’t want to miss out on!  😀

I’d like to enter this into the following challenges:

Cynthia

Some of the cups we have for the kiddos to drink from are double lined with water in between the two layers.  The cups are clear so you can see through it and each of them has things floating in the water with a theme to it.  For example, the Valentine cups have red plastic hearts with thick round confetti floating in the water; and on the outside is a cute bear with a Valentine sentiment. So how is this related to crafting?  Oh, yeah… one of the cups, with a winter theme, actually split around the rim and the two layers separated.  Which means that’s the end of that cup and time to toss it in “File 13!”  But wait… all those plastic snowflakes going to waste?  Never!  And thus… the inspiration of my next card was born…

On this project I used the rubber stamp Cynthia from Make it Crafty. She is part of the 60’s Girlfriend Collection and even though she’s a spring/summer theme, I thought those flowers were be perfect for Christmas!  And yes, I know they’re blue – but that was my fault as I got carried away with the red dress before realizing that poinsettias are red.  Oops!  I couldn’t do red anymore so went with the next color to match the papers.  LOL

Here’s a closeup of Cynthia.  As a lesson… I colored this on sparkling paper and had the hardest time getting to the colors to blend.  I thought for sure it was the paper… until I realized that my markers are getting dry!  I should have paused to refill them, but by time I knew what the problem was, I was mentally finished with the coloring.  Ah, well, better luck for me next time.  (Assuming I’ve refilled my markers by then!  LOL)

Thanks for coming by today and I hope you’ve enjoyed this Christmas inspired project!  Head on over to the Make it Crafty Store Blog for more inspiration using fabulous stamps and great tutorials too!
Make it Crafty Images:
I’d like to enter this into the following Christmas themed challenges:
Crimbo Crackers Challenge #43 (Read the 1st Paragraph for a Laugh)
Christmas Card Challenge #27

 Update: I was selected in the Top 3 at ABC Christmas Challenge!

Polka Dot Pals Roxie

Hello, hello, hello!  We’re having new releases at Little Miss Muffet Stamps today and I’m excited to announce several new images and styles to play with!!   Check out the LMMS Blog for all the details and design team inspiration.  And wow, let me tell you, they’ve rocked this release!!!

For my project I’ve used Polka Dot Pals Roxie from Little Miss Muffet Stamps, which is currently a digital stamp.  You may not recognize her, since I’ve colored in some facial features.  In addition to expanding her eyes with color, I’ve given her chubby cheeks, a nose and mouth.  😀  These images are cute the way they are, but I love how they look with faces too.  So have fun with them and experiment a little.

In addition to playing with the eyes, I had some fun with the background too.  The clouds were colored using this simple 4-step cloud tutorial HERE.  Then the ocean was colored with the same color blues and I stroked horizontal lines from the lighter colors to darker colors (going from top to bottom).  The sand was added with dots and even the starfish was an addition.  Last, I added some ocean details with a white gel pen.

 I’m not sure what I was thinking when I put the card together but I grabbed bits and bobs from all over my craft room.  This was also the perfect chance to use the beach themed chipboard I have from Make it Crafty.  I nabbed a bunch of packages before they were retired – I just love them!

Thanks for combing by today and I welcome any comments you have to share on this new style, the new release or even the facial features!  Don’t forget about the other projects by the design team and visit the LMMS Blog for all that inspiration!!  Have a fabulous day!  *Hugs

I’d like to enter this into the following Summer Themed challenges:
Use Your Stuff Challenges

Update: I was selected in the top five at Cupcake Craft Challenges!

Daisy Kate Hatter

It’s happening! Yes, happening for sure!!  Today is the last day my kiddos go to school full day – yikes!  Tomorrow they have a half day then the rest of the summer free!  I’m both excited and anxious. 😀  I’m looking forward to all the fun things we get to do this summer but at the same time, that means the kids will be home all day.  LOL  If I can figure out how we can all have a turn at the computer then I think we’ll be set.  ;D

Here’s a project I wanted to share using Daisy Kate Hatter from Little Miss Muffet Stamps.  I’ve gone with a shabby chic vintage feel fort his one and it reminds me of a perfect attic to explore!

I’d like to enter this into the following “shabby chic” themed challenges:

Here’s a closeup of the hat as I like how the texture came out.  I started with a darker color and colored in hash patterns around the edges where it would be the darkest.  Then I ignored them and colored the hat like I normally would, starting with the dark colors and blending my way to the lighter colors.  Because the paper I was using grabs a hold of the darker colors, it allowed the texture to stay there just slightly enough to create an awesome effect.  I wasn’t sure if it would work but it was worth a try.  😀

Dancing Party Tilda

Yeah!  I’m so excited and wanted to share the news that I passed my courses this last semester!!  I thought for sure one of them was no good and I’d have to take it over again, but I was taken by surprise on the very last day – and oh what a surprise it was too!  It’s lifted me up out of my funk and I’m looking forward to what this summer has in store for me.  😀  And somehow all that reminds me of this project that I’m sharing with you today – I suppose it’s because Tilda is tossing up her arms and looks like she’s celebrating too!

Have you ever wondered what a clothed female centaur would look like?  I image something like this.  After all, they don’t all have to be naked.  I understand this project might not be for the week of heart but I love how it turned out.  This is a Magnolia project and these are the stamps (below) I used to create it using the same techniques as my last project (click HERE).  The rest of the card was kept simple and embellishment free.

Dancing Party Tilda
Tilda’s Brunte Horse
Spring Fence

To create the scene, Tilda’s Brunte Horse was inked up half way and stamped on the page and masked.  Then the Spring Fence with the daffodils was stamped behind it.  Dancing Party Tilda was stamped on a separate sheet of paper and then cut out so she could be popped on the project with foam dots.  Of course, I colored her before transferring her over.

I used a new set of greens to color her dress and now I wish I had written down the colors.  I know many of them were YG colors with some brighter yellows and I’m going to try it again sometime because I think the combination is stunning.  The background was colored with E40 through E44, first with a blend from dark to light then adding splotches.

Thanks for coming by today and I hope you have a great weekend planned!  I have some work all day Saturday then plan take a quiet rest on Sunday if possible.  ;D

I’d like to enter this into the following challenges:
Inky Chicks Challenge #5 – Use Magnolia Stamps
Fashionista Challenge #16 – Use Magnolia Stamps