Tin Games

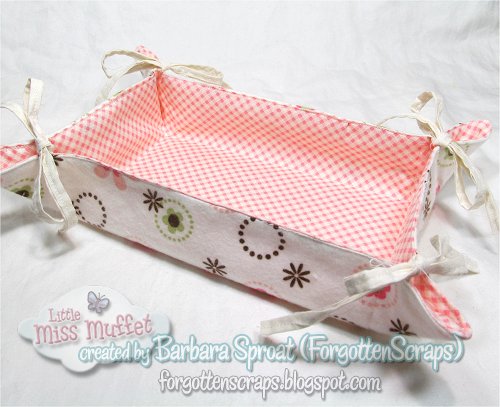
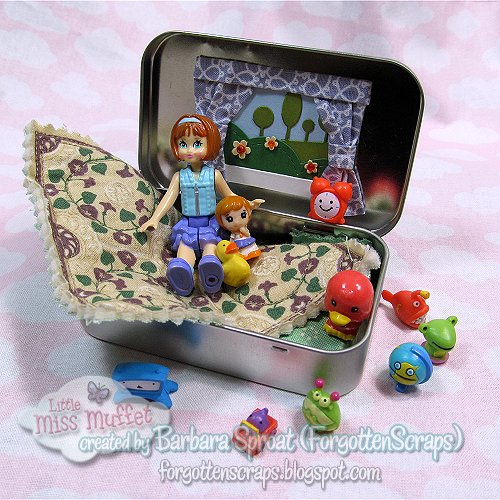
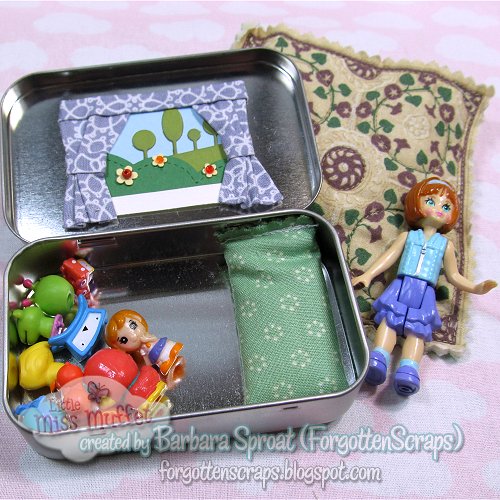
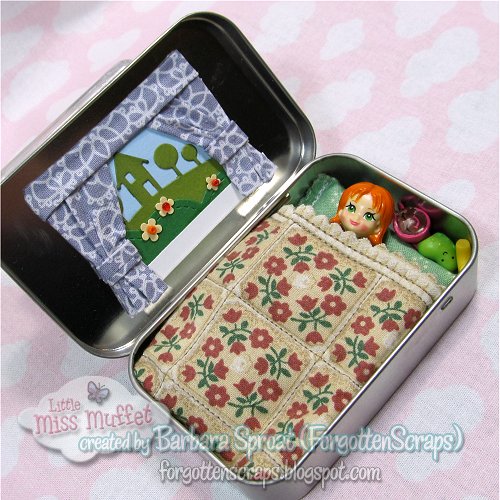
There’s a new release at Little Miss Muffet Stamps today and among them you’ll find a few new games too.  These were designed to fit in an Altoid’s tin but they can be printed much larger too.  The one featured in the tin is Gummyland which is similar to the Candyland kid’s game.  Players advance down the trail to get the hot air balloon. 

The tin games can be loose inside the tin or they can be glued to the outside or the lid of a tin.  This next game is Slides and Ladders.  It’s plain to see this was inspired by the Chutes and Ladders kid’s game.  However, instead of it based on good/bad behavior, this elephants are just having fun. 

This last game is Little Houses.  It’s sort of a combination of Sorry and Trouble.  Players start in the field and move around the board to get home.  But watch out . . . you could be trading places with your opponent which might set you back farther.  

Monster Book of Monsters

I’ve been up to more crafting lately than coloring.  These are the two projects that my daughter did at her latest book club.  The idea for the wands came from Give Peas a Chance blog.  I found a variety of ideas for the Monster Book of Monsters post-it note cover from Pinterest.  All the girls at the book club had a great time making them! 

I’ve had a little fun sewing with my Mom lately.  I created a cloth tray that holds my colored images that are ready to be used.  It’s reversible too!  Then I also created a pencil pouch to hold some loose metallic pencils I had my desk.  that’s not reversible – bummer.  But both help me get my desk a little more organized. So that’s a bonus! 

Pocket Tin Doll Set

I’m joining the pocket tin craze and have come up with this small doll set kit. The size of the tin is approx. 4″ x 2.5″ and under an inch thick . . . the size of an Altoids mint tin.

Toys used are a combination of what we had around the house including Squinkies, XiaXia Pets Hermit Crab items and some older Fisher Price dolls.

 
The blanket and pillow was made with the help of my Mom… the quilt is actually quilted! (Not pieced together, as that’s just a printed fabric, but quilted with the machine including the batting in the middle. Oh yeah, I went out of my way on that one.). The edges are just double quilted then I used pinking scissors to create a decorative edge.

I made three tins and let the kids make the toy selection. The doll (and extras) fit snugly in bed when closed.  The quilt was a bit over-sized and needs some finesse for presentation but since the tin still closes without resistance, I decided not to make alterations.

Creating the windows took most of the effort. Papers and dies/punches were used to create the scene and beads were used to add color to the flowers. Making the curtains was a complicated process that included fabric glue and coordination – definitely not something I’m making a tutorial on.

If you are looking for the same style curtains but a lot simpler, check out this adorable idea that uses ribbon . . . My Froggy Princess A Home for the Squinkies.

Polka Dot Pals Petunia and Sunflower Patch

Meet Polka Dot Pals Petunia … she’s the monthly dollar digi that is being featured in the progressive challenge on Facebook.  I didn’t have a lot of time coloring lately but with a little time here and there, I was able to get the scene completed.  I left the dress for last because I didn’t know what color it should be.  With the advise from the gals in the FB group, I chose white and yellow.  Not sure I got the “bang” I was looking for she still looks nice and I like how the project turned out.  So I can count that as a success.  

I used these images . . . 
 

On Top of the World

I’m feeling On Top of the World!  Well at least my stamp is . . . that’s its name from Gorjuss stamps.  I finally finished coloring this image and put on a card.  I had most of it done in pencil and completed the hair in Copics.  At that point, it sat on my desk for a couple days and I just wasn’t getting to it.  And there it sat.

Then this evening, I thought I’d treat myself to some ice cream.  However, when I sat down to my desk, this image called out begging to be finished.  I thought, well, OK, I’ll put a card together really quick and then have my ice cream.  I can do that!  On my mark, set, go!

I turned on the photo lights so they could warm up.  Then I raced to pull papers, cut them and assembled the card. I managed to remember to antique the edges a little so they didn’t stand out so much.  When I grabbed the Happy Birthday To You chipboard I saw that it was too big.  Ack! 

No worries . . . I was able to cut it down and have it work perfectly.   I used a few embellishments that were scattered on my desk and set the image down with foam dots.  Snap, snap, snap a few pictures and I was finished!  … and the ice cream?  Well, it had melted.  Blah!  I’ll just have to put that back into the freezer and snack on it a different day. 

… oh, wait, what this?  Cookies!