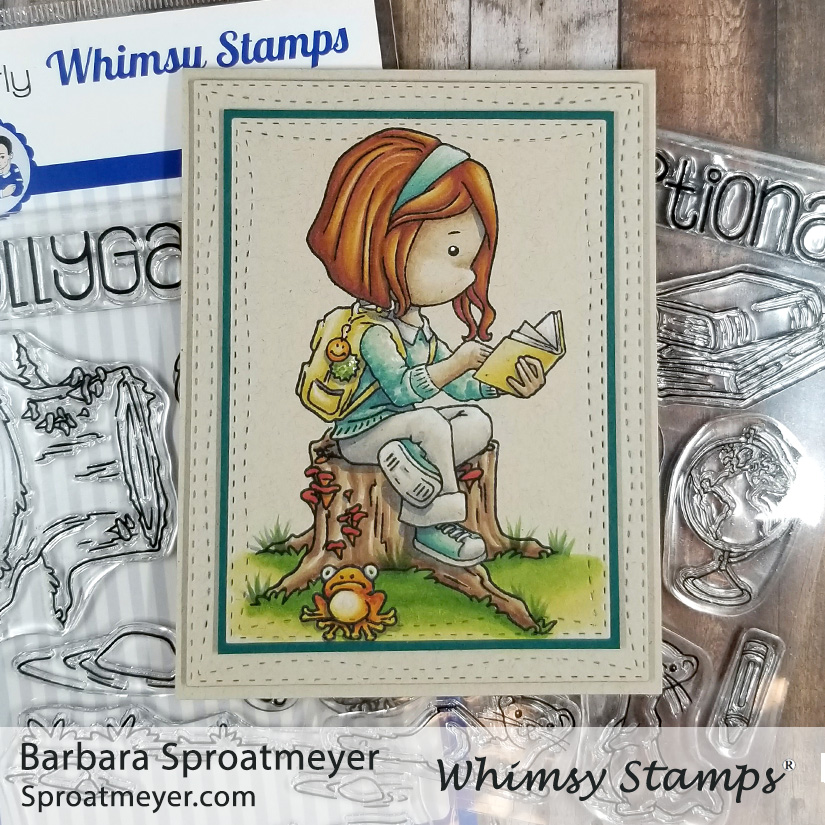
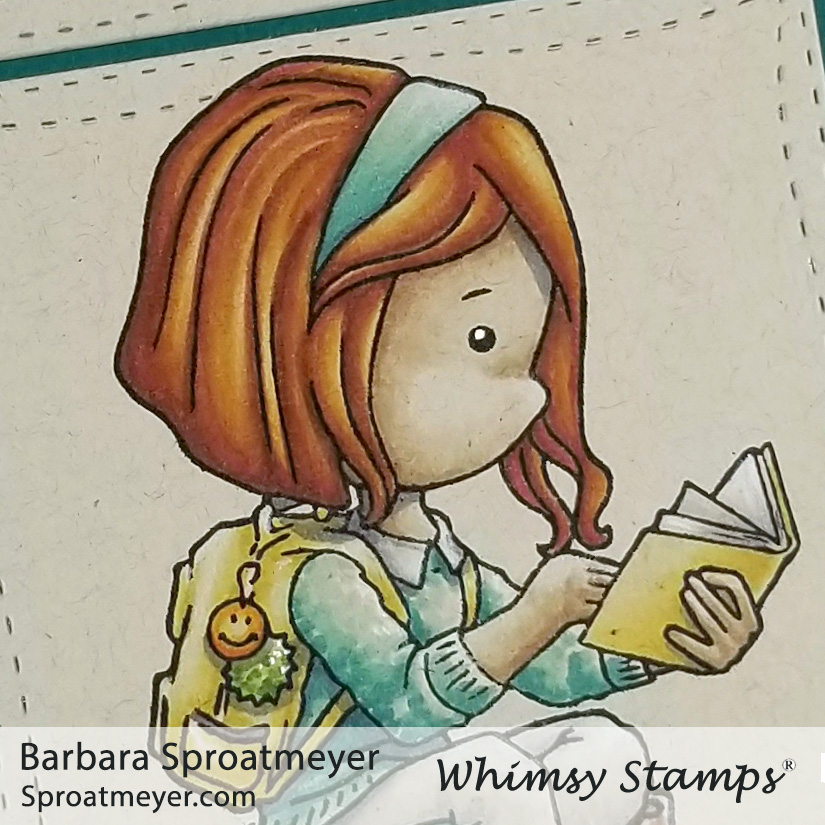
Are you looking for a cute red-head hair combo? I have one that I use all the time and have it listed on a note with my markers because it’s so bizarre that I always forget it. It’s listed below but I have some tips in the description to. So you can read below for more details on how I created this card using these key products:
I love this stamps of Polka Dot Pals Eileen and it’s been fun to color her and have her sit on various things. For this project, I decided to pull out an older set and used the trunk and frog from Polka Dot Pals Harley. The trunk is large enough that characters can sit on or other animals too so it’s been very versatile for me to use.These images were stamped on Neenah Desert Storm 80# card stock which has been very pleasant to work with. The colors are darker when they go on so there is a slight learning curve. However, the Copic markers blend like butter and the same way on the white Hammermill Premium Color 100# card stock that I normally use. After coloring, the card was assembled with some layers cut with the Wonky Stitched Rectangles dies and popped up with foam tape.Now let’s get to that red hair I was talking about! I got this combo from a friend long ago, Annika, who’s original combo was YR14, E08, E19 and E59. The idea is to use dark browns and then start blending them to the light colors of orange. So on this card, I used the combo YR31, YR14, YR27, E07, E18. I added the YR31 to give it a yellow glow and brighten it up. Sometimes I like to go even darker and I’ll add E49. So there are some options there but make sure to grab colors from both the dark browns, light browns and oranges.
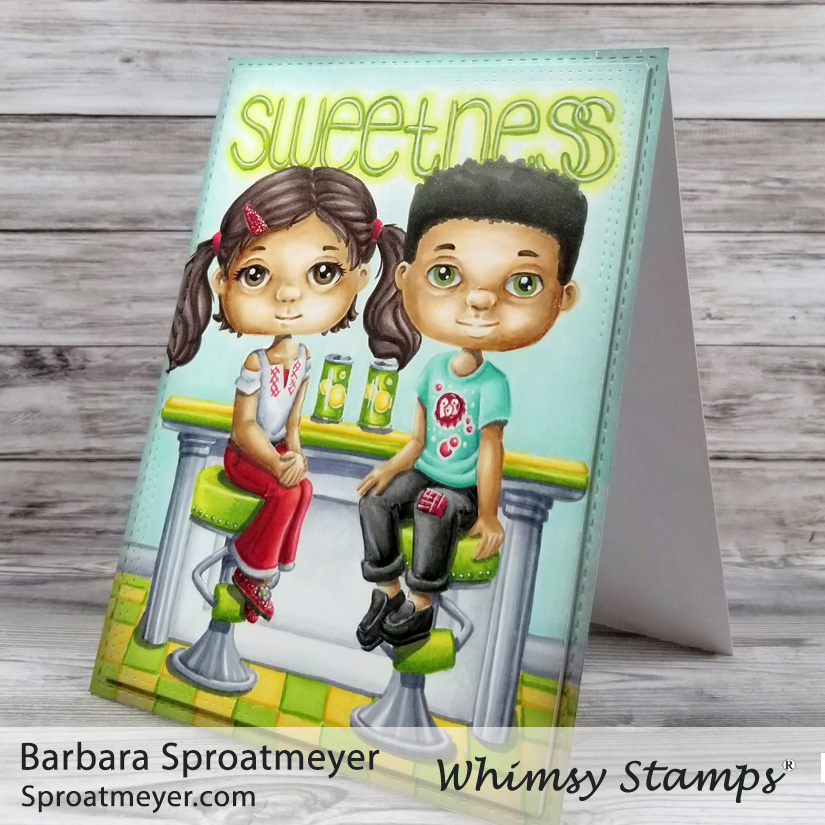
Looks like it’s time for a ice cold soda together and that’s what these two are doing. This is Polka Dot Pals Louisa and Polka Dot Pals Leland with some of their accessory stamps that I’ve used to create this scene. Read below for more details on how I created this card using these key products:
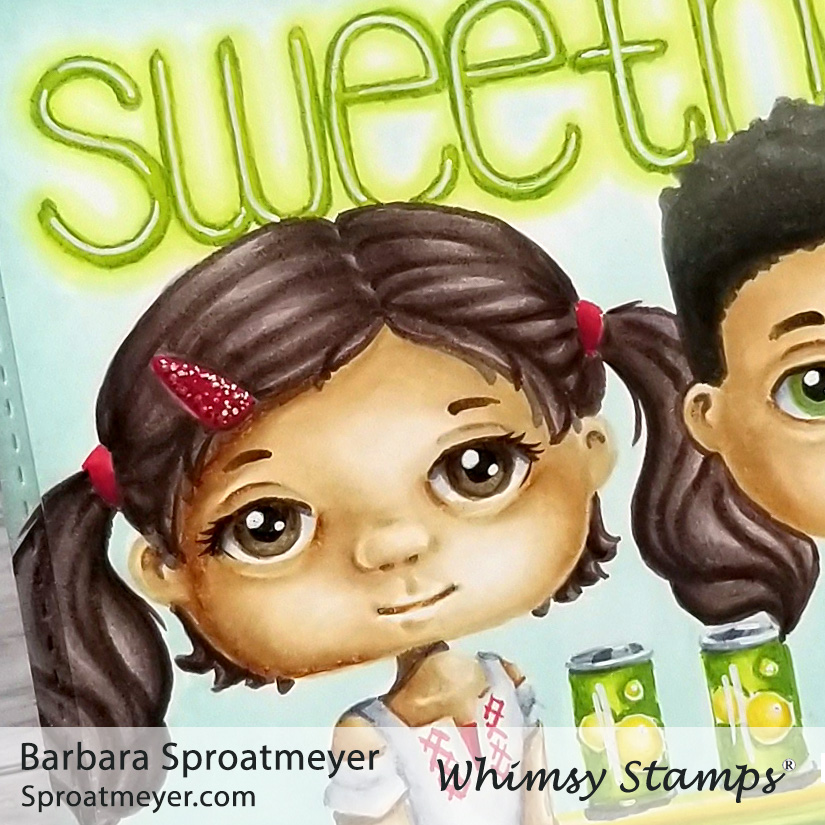
I’ve colored these two separately (see post HERE and HERE) but have been itching to get them together on the same card. Sue Hastead (see her post HERE) did a magnificent job with the same concept so I was looking for ways to make mine unique. To start with, I used the soda pop cans instead of the shake, the added hair accessories included with Polka Dot Pals Louisa, and then most noticeably, different colors. The concept I was going for was in a soda shop but at a bar that was facing the window. So I colored the background in blue and then tried to color the sentiment “sweetness” as a neon light. To do that part, I stamped the sentiment in Memento Dandelion yellow. Then I outlined the letter with YG17 and colored the inside part (the part that was stamped yellow) with YG23. Lastly, I gave it an outer glow with YG01 and highlighted the center of the letters with a white gel pen. I don’t think I nailed it but I got the general idea.The faces on these characters were colored through creative color placement based off of new add-on faces soon to come. Those will be symmetrical so for now you’ll have to ignore the imperfections on these. Really, don’t look! Ah, I think you just looked. Oh well. Hope you enjoyed this project and inspiration. 😀
** The lucky winner of last week’s giveaway is listed below! **
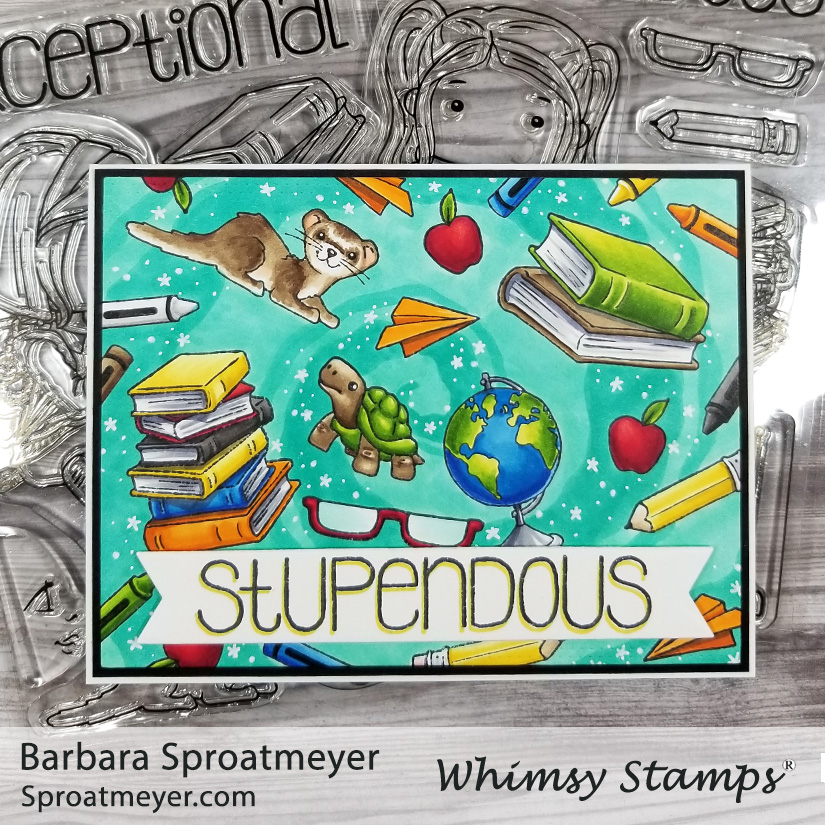
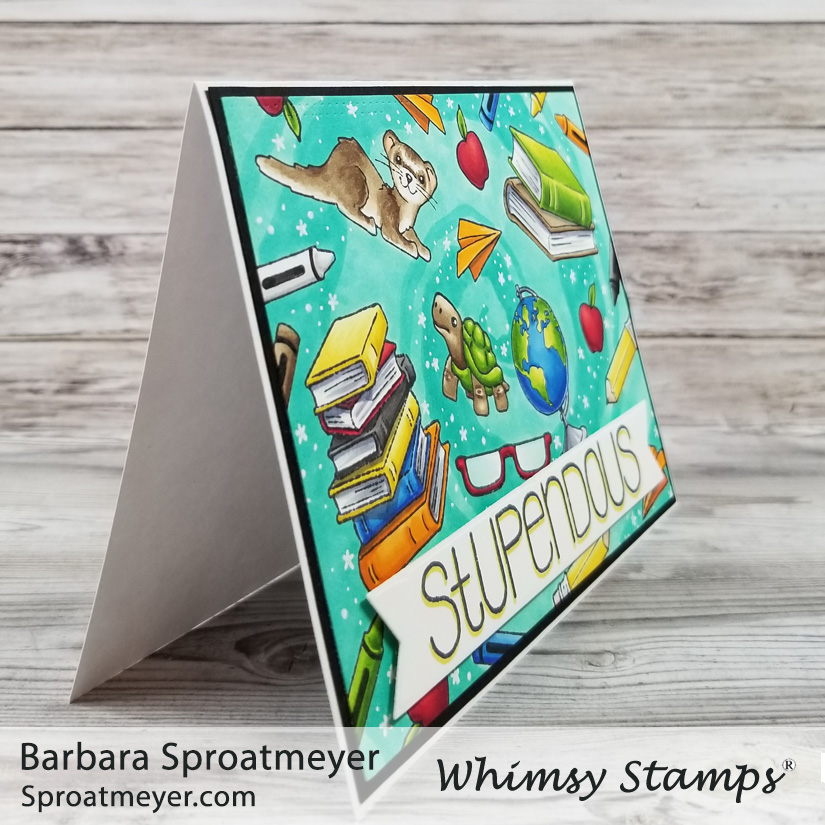
The accessory stamps included in the Polka Dot Pals Eileen set are so fun to work with and they’re great all by themselves. I loved the ferrets and thought it would be adorable to create a travel card using the globe and paper airplanes. This card features the two newest Polka Dot Pals clear sets that were released over the weekend.
For the background of my card, I used the two paper airplanes in Polka Dot Pals Delia and stamped them all around. Then I shaded the airplanes and colored the rest of the paper green. It’s a simple background and a fun way to make coordinating decorative paper for a project.For the main focus point, I stamped the globe and standing ferret from Polka Dot Pals Eileen set. With them next to each other, I thought that would make a fun story to tell. I masked them so I could use my brushes and Distressed inks to give it a blue glow. Then I used the sentiment “exploring” from the Polka Dot Pals Vera set and filled in the dot in the “i” with a gem.
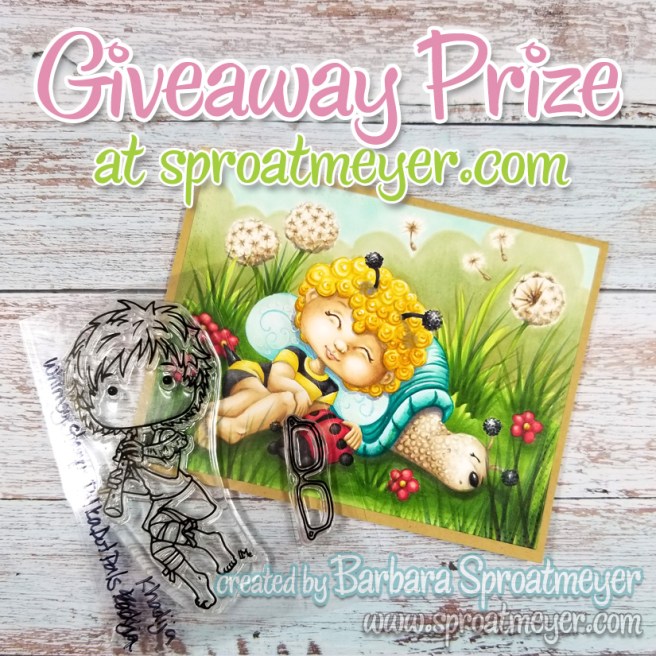
Now’s the time to announce the lucky winner of last week’s giveaway! The prize is a card I made using Polka Dot Pals Zara Fairy Dreams and the clear stamp featuring Polka Dot Pals Khadija with glasses accessory stamp. Thank to all those who participated and left your feedback and comments.
The lucky winner is… Hege
Congratulations! Please contact me with your mailing address and I’ll get it shipped out for you to enjoy. Yay! For everyone else, stay tuned as I’ll be posting another giveaway soon!
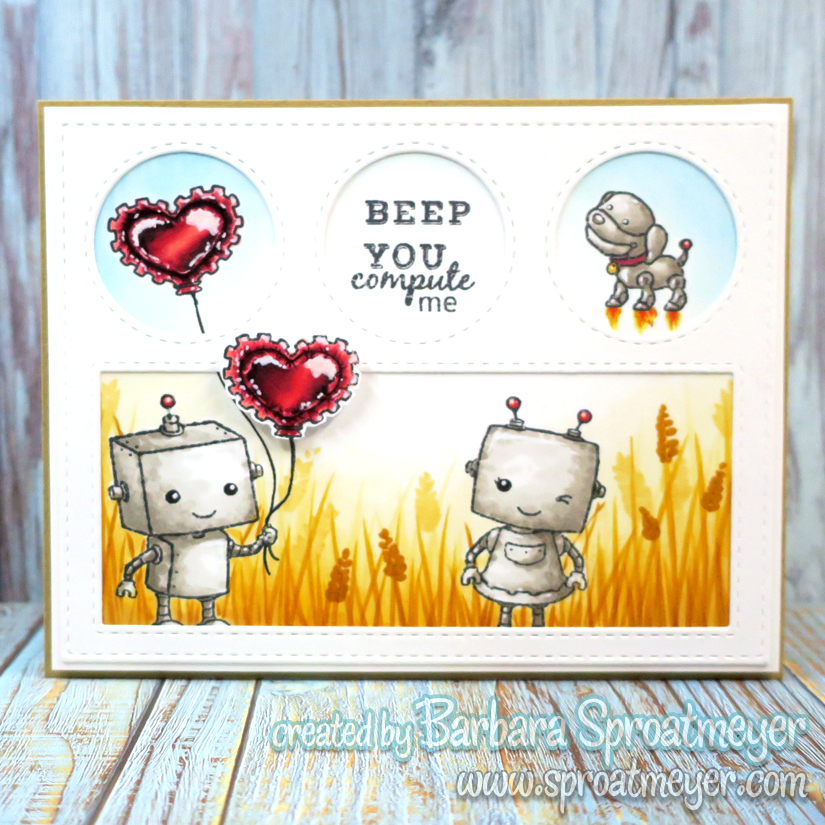
Here’s a valentine I made which features an out of season theme. I think valentines can be given throughout the year and it’s nice to be able to make some that aren’t all pink and red. This one features two robots from SugarPea Designs and assembled in a Peekaboo Window frame.
For the wheat field, I used the same technique that I use for grass but used golden colors instead. I then added some booting heads to make it more distinct as wheat instead of just golden grass. This was done with the tip of the marker at an angle for that natural teardrop shape. The lighter ones show that the best.
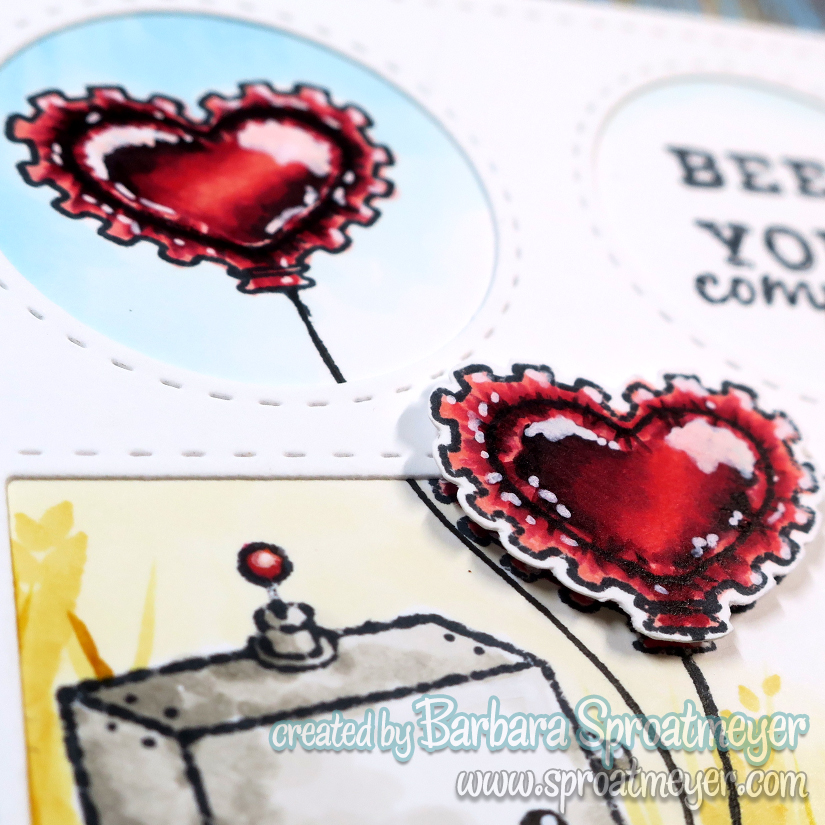
The balloons were a puzzle to work out on what color they should be. With the gear shaped edges, it was hard to imagine them being standard latex. Then I remembered what Amy Young‘s fantastic Mylar balloons and knew that would be perfect! Check our her post as she has some great tips and even a video. I just needed to translate those tips to this shape. I think they turned out well.
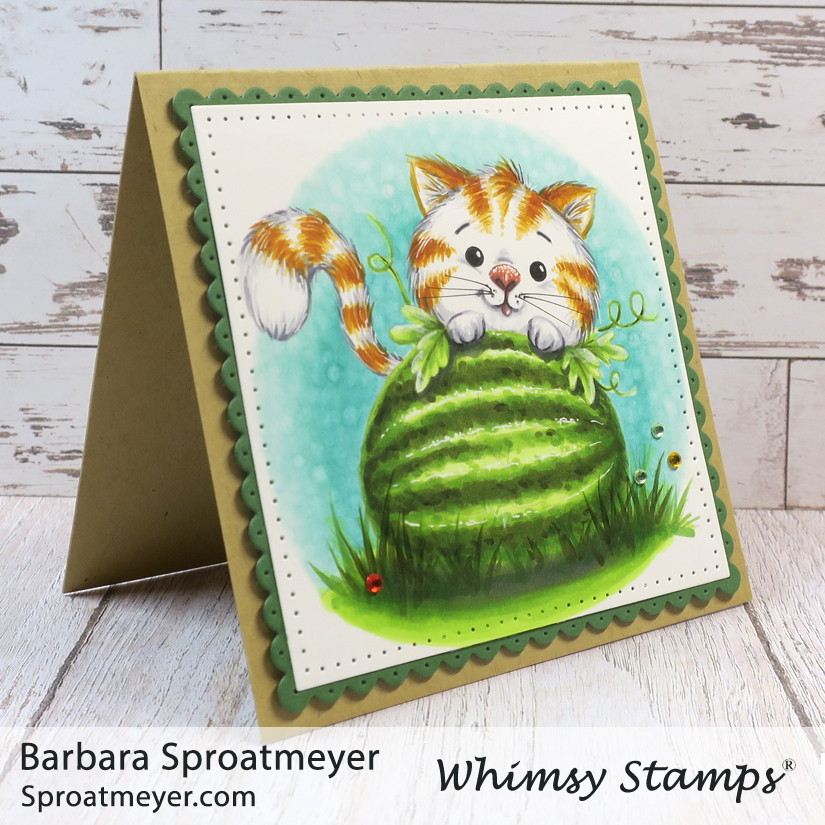
Pumpkin? No way, there are no pumpkins found around this time of year. But watermelons? Oh yea, lots of those! For this project I was inspired to take a Halloween stamp and give it a summertime revamp. This is Kitty ‘n Pumpkin and it was simple to change that pumpkin into a watermelon. After all, they’re both from the same plant family… cucurbitaceae is what Google tells me.
While coloring this image, I recorded the process for the watermelon. Because the watermelon’s coloration isn’t precise, that makes it an easy pattern to duplicate. I started with the darkest color and scribbled on some stripes. Then I scribbled in lighter colors until the it was all filled it. There are a few other things I did but you can watch the video if you’re interested.
After the image was colored, I added a few highlights with the white gel pen. I loved converting this image from a Halloween theme to the summer theme. Plus I’ve been craving some watermelons so this was a perfect fix for me. I can imagine the nice hollow sound this one would make!
I kept the card simple but cut out two layers using some generic dies to make this square card. I then popped one of the layers up with foam tape and lastly added a few gems.
I love this card I made using the accessory stamps from Polka Dot Pals Delia and Polka Dot Pals Eileen, the two newest Polka Dot Pals clear stamp releases at Whimsy Stamps. I think it has a magical feel to it. I think it the ferret with the added swirl and stars in the background that does it and makes me think of Harry Potter. This will be one card for sure that my kids will love.
To create this card, I used all the accessory stamps from Polka Dot Pals Delia and Polka Dot Pals Eileen and stamped them randomly around the card. I used the airplane, pencil, crayon and apple more than once. I knew they would help me balance out the colors if I needed that. So I made sure to color those last. Then I could decide which color would be best in that spot which is what I ended up doing with the crayons. After all the images were colored, then I filled in the rest with the turquoise blue. I wasn’t happy with how that looked and that’s when I thought of the idea to add the swirl in a darker color. It worked out well so I ran with the theme and added some white stars to help complete the magical feel to it. This will be one style that I’ll have to repeat again because it was so fun and I loved the outcome.