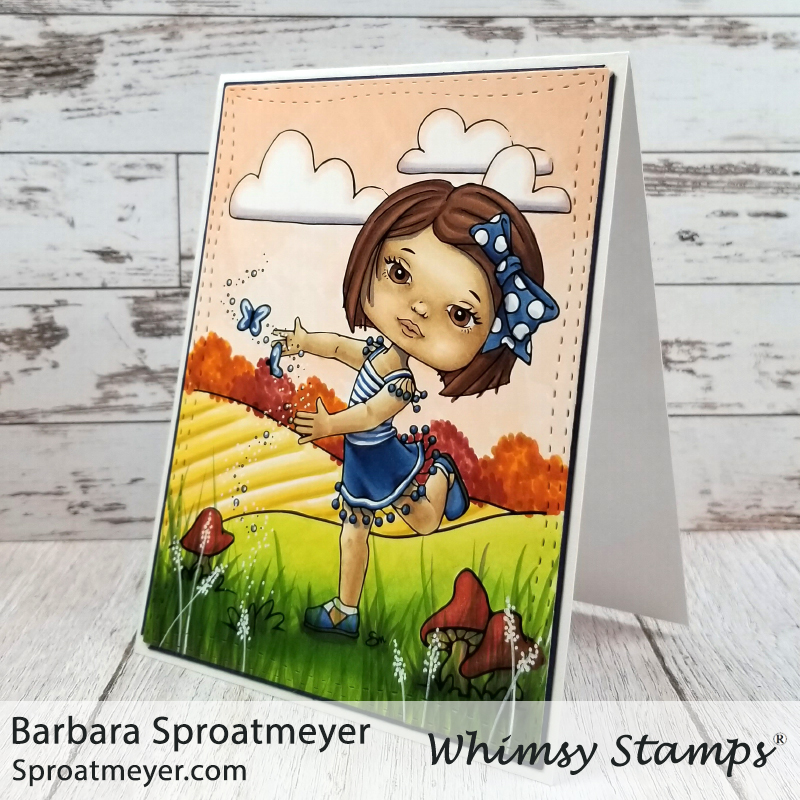
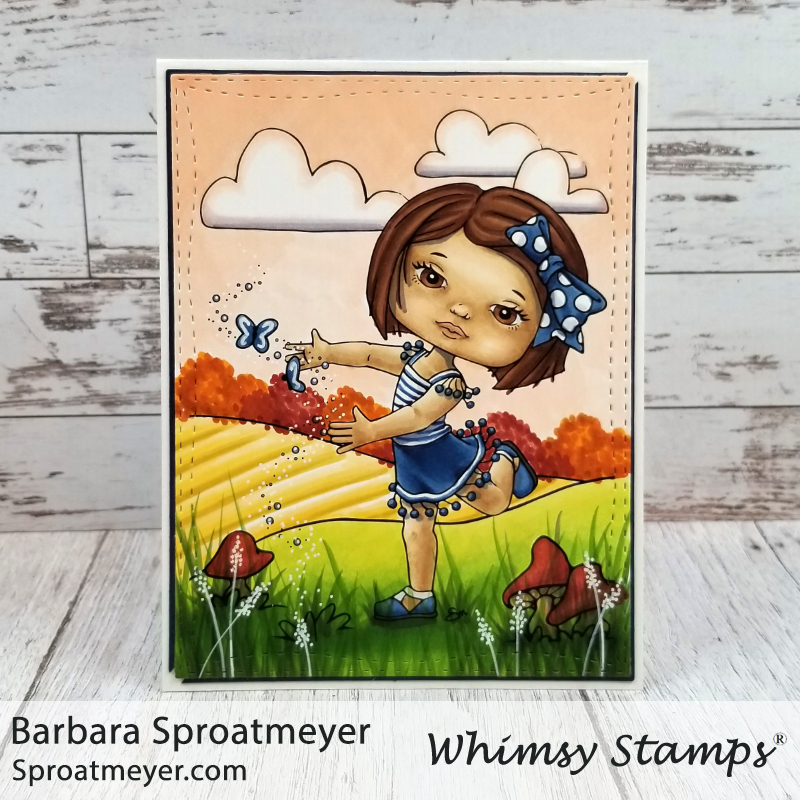
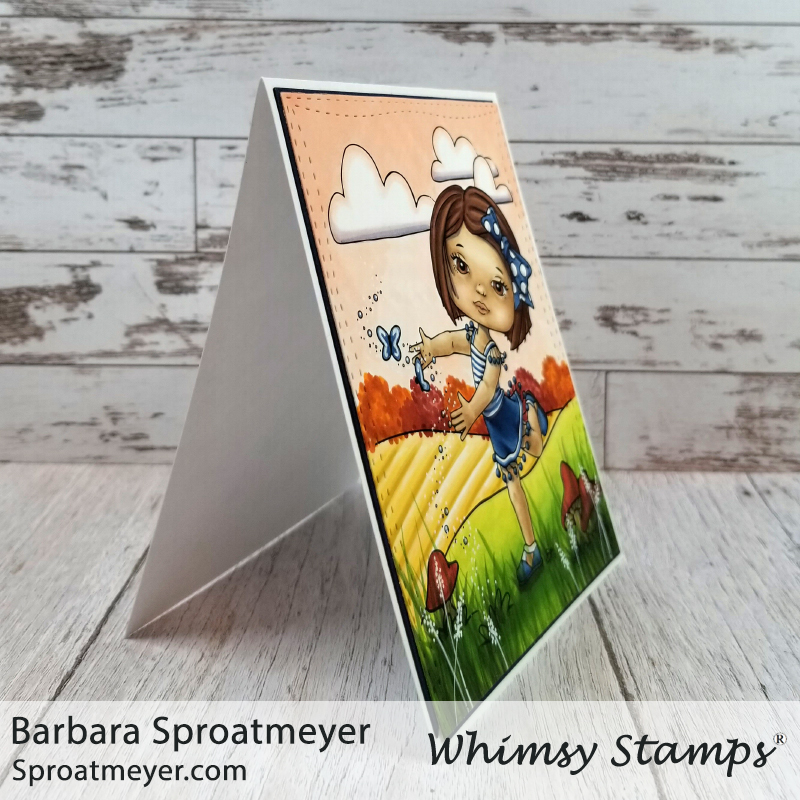
Check out all the September Digital Images released today at Whimsy Stamps. For my project, I colored the digital coloring scene featuring Polka Dot Pals Atlas Chasing Butterflies. If clear stamps are more your style, like they are mine, then you’ll be interested to know you can begin to recreate this scene using the Polka Dot Pals Atlas clear set too. Now for this project, read below for more details on how this card was created using these featured products:
To color this scene, I started with the background and this time I wanted to bring in some autumn colors and a few more as I tend to default to green rolling hills. Although I still got one of those in anyhow. I added some white in the foreground where I had made it pretty dark with the grass to help brighten up that area.Once the background was colored I surveyed the colors I used (green, yellow, orange, and reddish tints) and decided for the character I needed something on the other side of the color wheel. That meant purple or blue. I have a hard time using purple so that really only left me with blue. So there you have it… her outfit would be blue. Lastly, I used the Wonky Stitched Rectangles to cut out the scene and mounted it on my card.
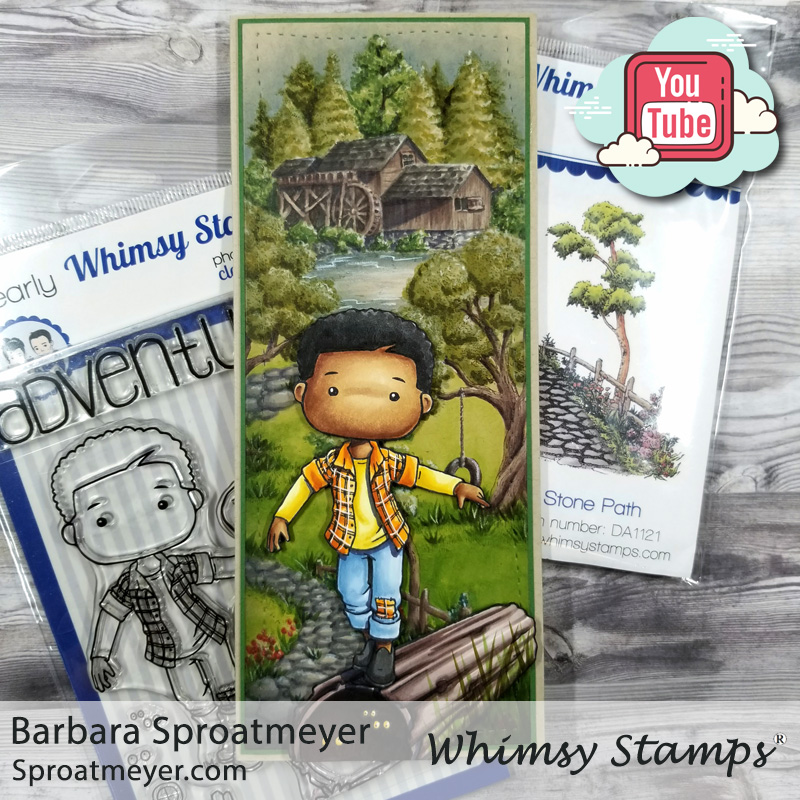
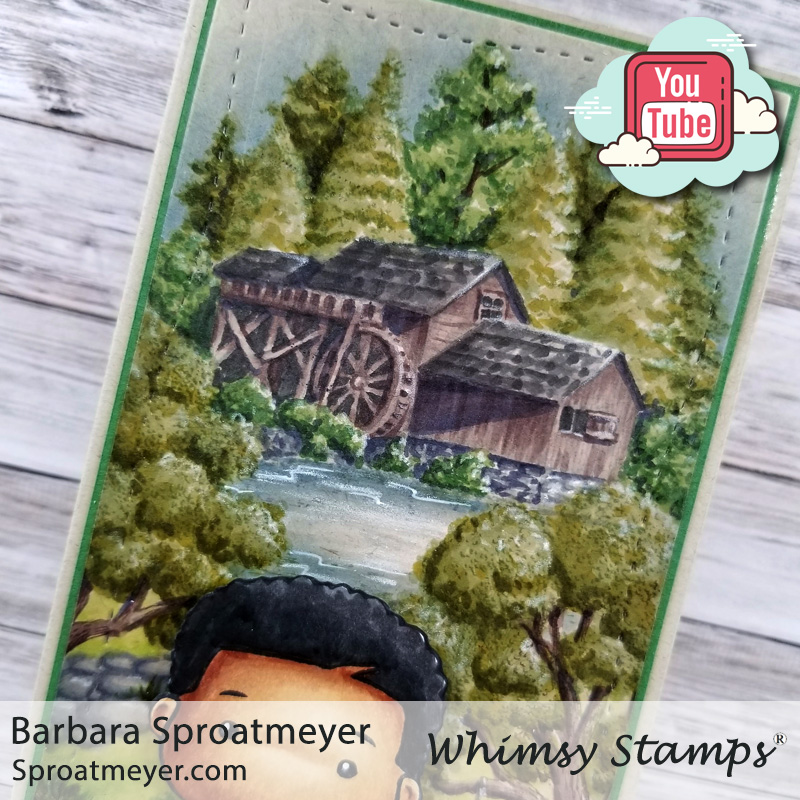
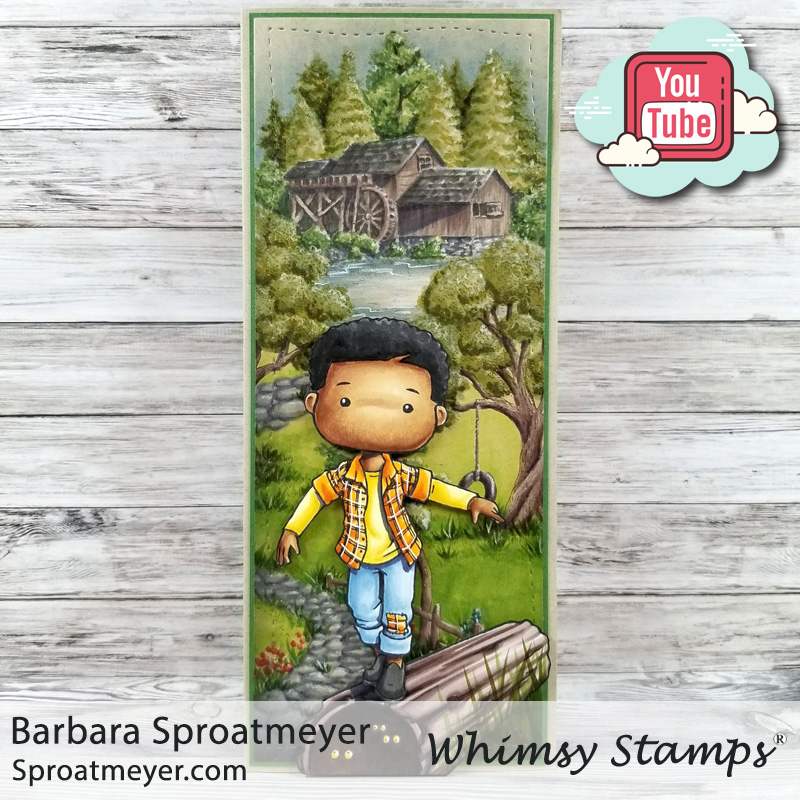
I have an epic project to share today and the main event is on YouTube as we’re having a Whimsy Stamps’ Slimline Dies Video Hop and your first stop on the hop is HERE. I’m on that hop and this is the project I created. You can watch me speed color these images on my YouTube channel and then below I’ve provided the details. Read below for more details on how this card was created using these featured products:
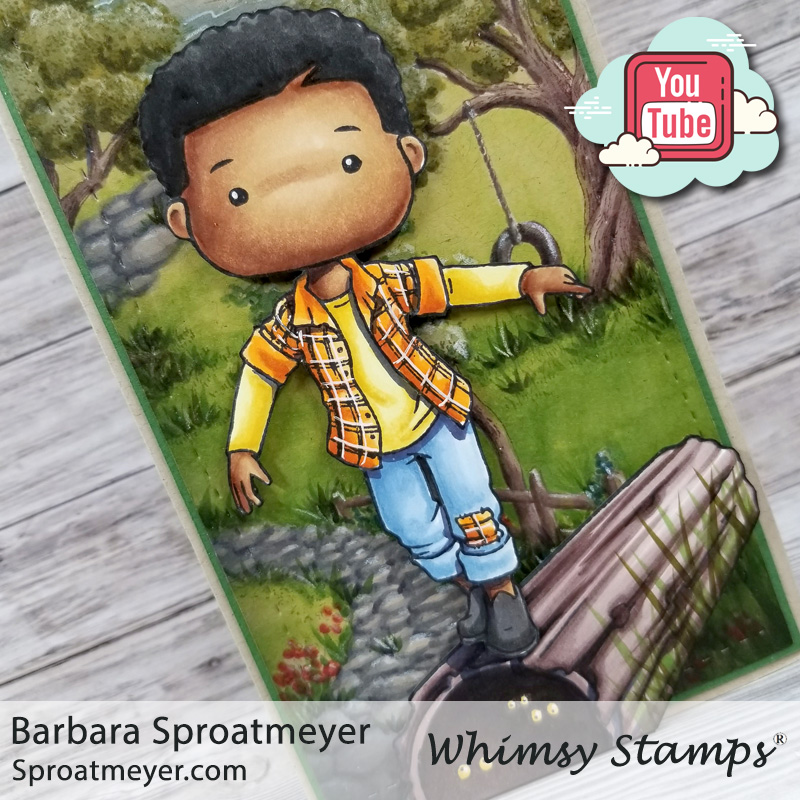
The first thing I decided in making this card was the size and orientation – Slimline is the theme of the hop so I really only had to figure out portrait or landscape. I knew I wanted to mix DoveArt stamps with the Polka Dot Pals to create a scene so that’s where I started by selecting the background stamps. I could have picked a number of stamps to set up the background so I kept in mind of which character I was going to use and how they would all coordinate together.Coloring on this started at the top and I worked my way down. I stamped and colored the background on Neenah Desert Storm 80# which adds a nice earthly feel to the project. It changes the colors a bit on how they look when compared to coloring on white so the background is less bright and more muted. That’s what I was going for.The character, Polka Dot Pals Raden, was stamped and colored on Hammermill Premium Color 100# white paper. As you can see here how much brighter he looks. It’s a great way to add focus to the character while having a busy background scene. Coloring Polka Dot Pals Raden was really quick too because I kept the color blending simple and also used black ink to stamp with. I think he was colored in 12 minutes from start to finish.Here’s the background that uses Water Mill, Tree Swing and Stone Path before I used the Slimline Card Builder Die on it. I had colored it on a larger size so I knew the whole area would be covered, but once it was finished, it was very hard to cut down.One of the final touches was to add a scratch & sniff sticker that smelled like pine trees. I’ve had these for a while but didn’t have an opportunity to use them until now and the theme fit perfectly. So I wrote the words “scratch & sniff” on the card and placed the sticker. I bought some new smells too so I’m excited to use them more often.
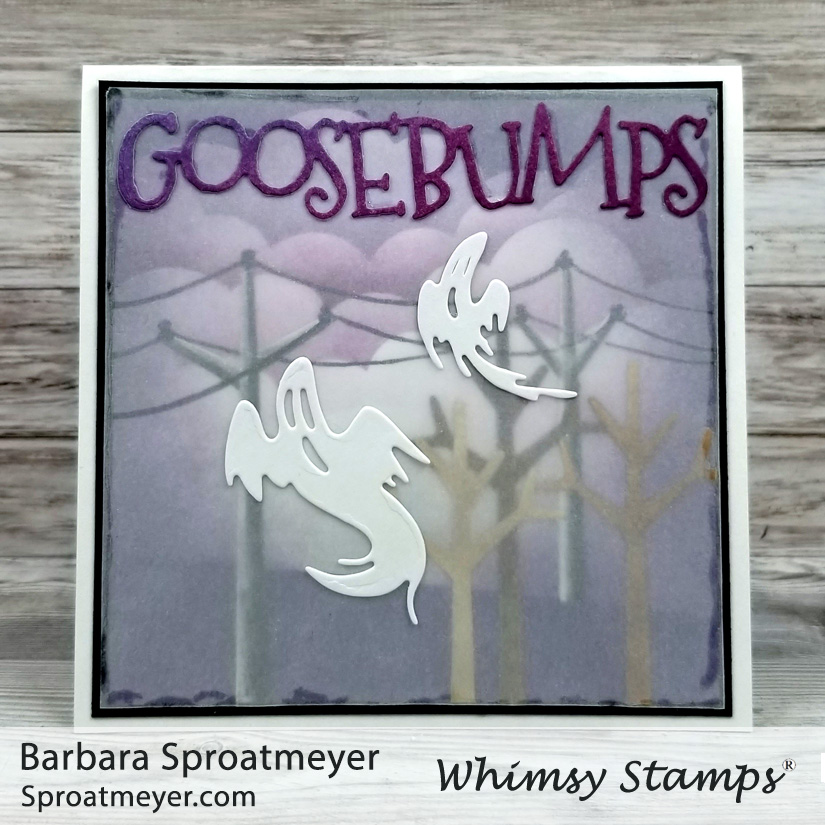
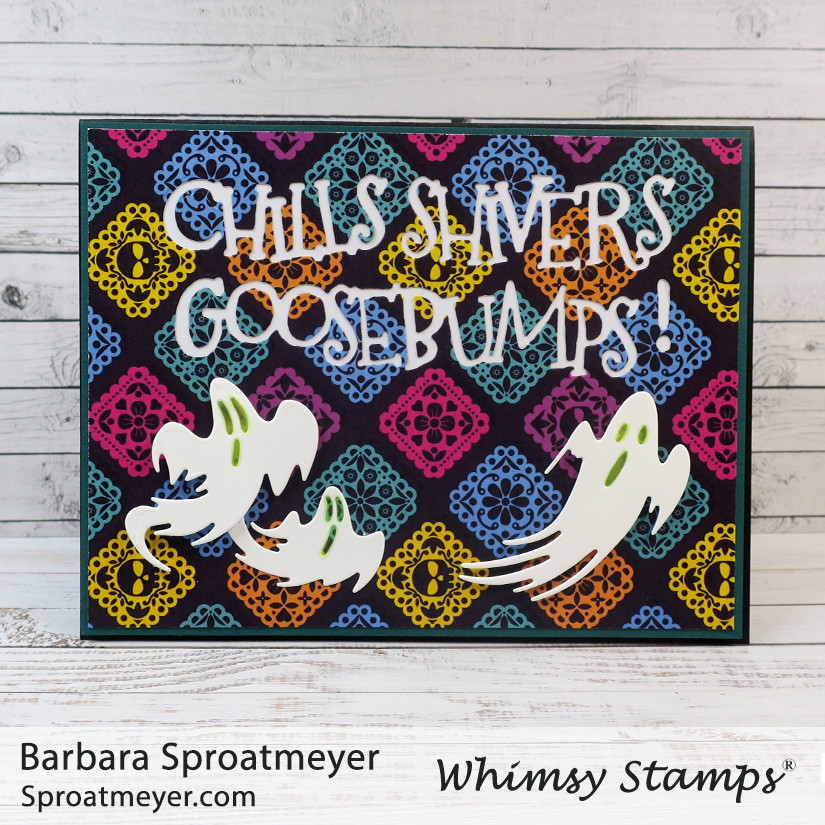
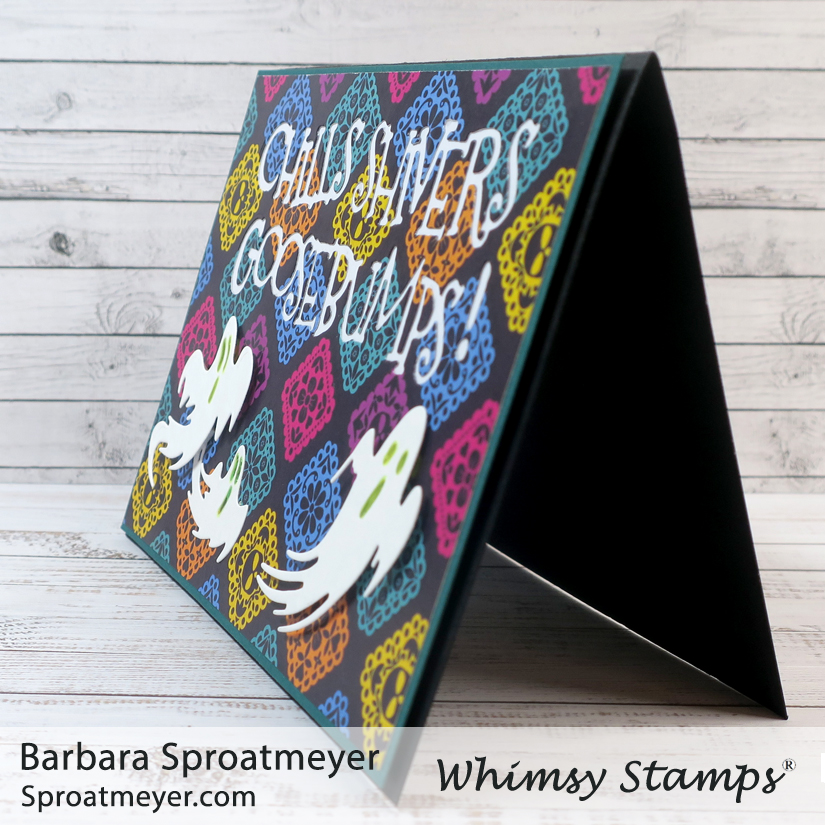
For today’s project I wanted to see if I could create a spooky scene using the new dies from Whimsy Stamps. I’m not sure I’m ready for Halloween to come but the challenge was interesting and stretched my imagination a little more. Read below for details on how I created this card using these key products:
I had seen inspiration where someone had used vellum paper to mute the background of their scene so it would stand out from the character. I thought that was a neat idea and went back to find the details but sadly couldn’t find the link. (So if that was you, please let me know because it was a brilliant idea!) So I tried that on my scene here. I wish I had thinner vellum paper to work with but the end result worked out for this card. I need to figure out how to adhere vellum paper differently because the glue kind of shows through – any suggestions out there?The background was created with Distressed Ink and blending brushes to create the clouds, ground and to color the die cuts. The die cuts are actually left over trees from an unknown trees die set. The ones with two branches, I colored in grays and made them look like power lines by connecting them with drooping lines. The others were colored in browns for bare tree in the autumn. After that was created, I covered it with a layer of vellum paper before adding the sentiment and ghosts in the foreground.
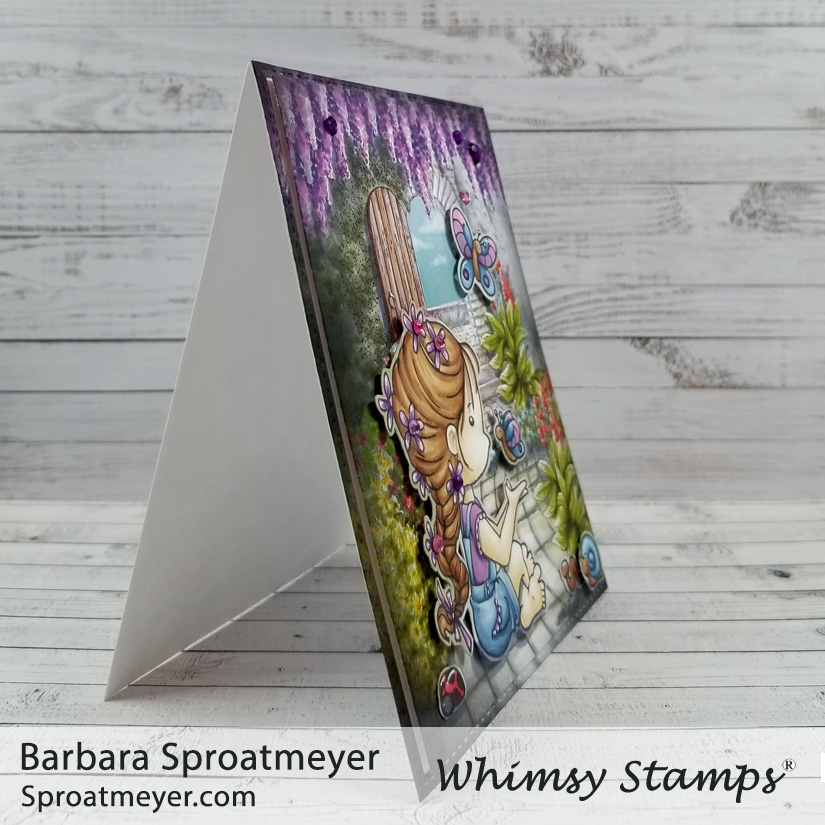
Here’s a familiar scene but now it’s been filled with curiosity and good friends. This was my original aspiration for the Garden Door stamps but the background turned out so well that I had to show it off individually before continuing. Now Polka Dot Pals Imogen has arrived. Read below for more details on how this card was created using these featured products:
The background is the Garden Door stamp and you can see what it looked like before our friends arrive. Click on this link HERE to see that. I then proceeded to color the character stamps, Polka Dot Pals Imogen, and all her insect friends to fill out the scene. I colored Polka Dot Pals Imogen in purple and blues because I wanted to pull the colors from the wisteria flowers and the sky beyond to help round out the focal point. Plus it helps to make her stand out more among all the other colors.The extra stamps were cut out and instead of leaving a white border around the edges, I used the lighter colors from the background and colored that part. Before the white stood out too much and was distracting. Now it looks more like she is part of the scene and that they were meant to be together. Polka Dot Pals Imogen comes with the sentiment “BONHOMIE” which means “cheerful friendliness; geniality” and would be a great sentiment to add to the inside.
This was a quick project to put together and the use of the new decorative paper adds the color. The Chills Word Dies were cut right into that and I layered a strip of white paper behind it. Then the ghosts were popped on top with foam tape.
For a bit of spooky fun, I added glow in the dark Nuvo Crystal Drops in the eyes and mouths of each ghost. I hope that feature gets discovered at night by the receiver with just a hint of chills down their back.
Winners announce plus step through this enchanting Garden Door into paradise! With lots of flowers and an inviting terrace, this garden door can meet a variety of needs. I chose to go for a sympathy card and I added wisteria and double stamped a few sections to create this scene. Read below for more details using these key products:
The Garden Door is an awesome stamp and with the little bit of foliage hanging down the arch, I knew right away that I wanted to add purple wisteria along the top. Wisteria has actually been on my to-do list of coloring so I’m glad I was able to fit it in. This stamp’s dimensions are squarish but I knew I could extend the image and create a full size image for the card. I knew the wisteria on the top would fill in that section so I stamped the door on the top but positioned down 1/3 the card. I then inked up the lower two corners, separately, and stamped just those parts again lower down. You can see what that looks like in the image below.Next was to extend the cobble stone path. This took a couple tries to make it look right because I had trouble deciding which way the path should lead. In the end, the direct path (pun intended) seems to be the best. After sketching it in with pencil, then I used C1 and C3 to draw in the lines. Later I added more color and depth with C5, YG91, BG23, E71 and E72. It’s an odd combination but worked. Lastly after the whole image was colored, I used my Sakura Gelly Roll White Pen to bring in some highlights and darkened the outside edge with Black Soot Ranger Distressed Inks (which was applied with the Crafting Ink Blending Brushes).
Thank you everyone for participating in the Facebook Tagging Party and for following this blog. I’m super excited it was shared with so many friends too! Random.org was used for the winners.
The winner of this giveaway (the stamp and card) is … Katya Bess