Polka Dot Pals Vickie

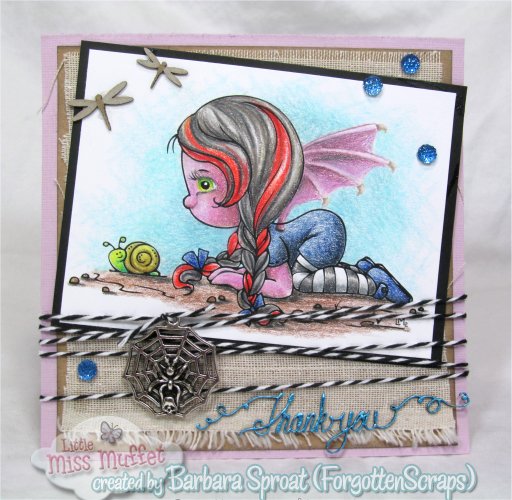
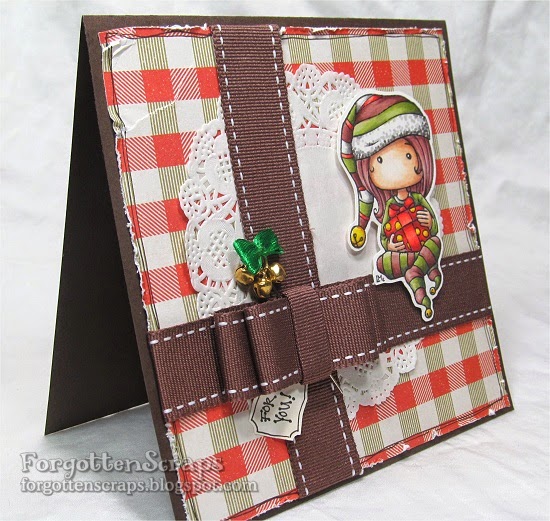
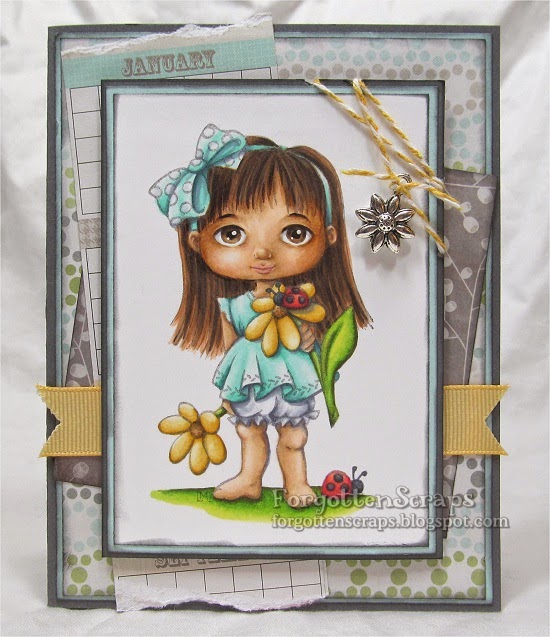
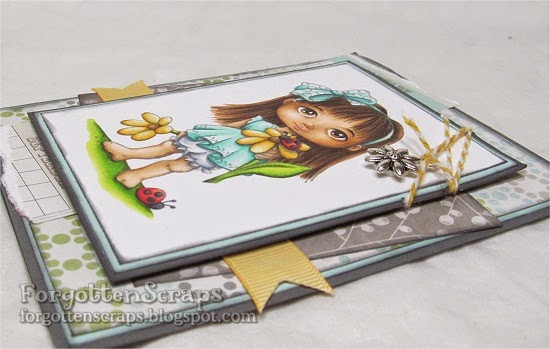
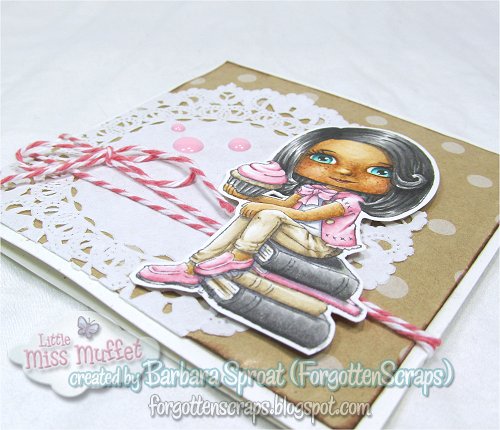
Today, Little Miss Muffet Stamps is sponsoring Cards und More Challenges.  The challenge theme is to use “no pattern paper.”  I had to think about that for a while because it’s usually my first go to item.  But hopefully I managed and was happy with how the card turned out.  🙂

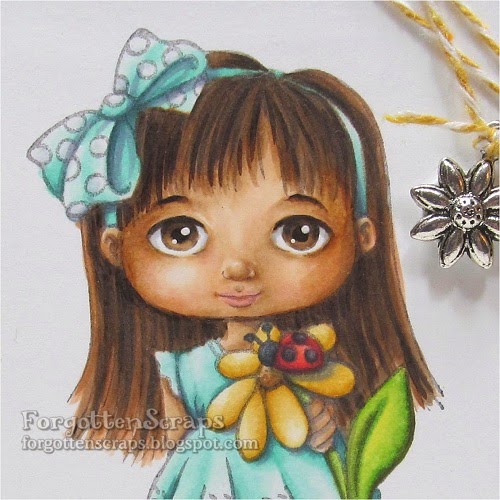
I used Polka Dot Pals Vickie and colored in some wings and a detailed eye.  I was going for a more Halloween vibe for a little coloring fun this season.  Thanks for coming by – I hope you enjoy and have a great day!

Polka Dot Pals Yang

Here’s a card I’ve been saving up to share.  This mini card was created to show what you can do with the little gift you’ll currently receive when placing a rubber stamp order.  I wanted to include something that you could use and this is what I created with my supplies.  The girl, Polka Dot Pals Yang, and the books, Cupcake ‘n Books, were masked and stamped then colored to match the supplies.  This was inspired by a card Faye created and the freckles on Yang’s face was inspired by an image Zoe colored.  Thanks ladies for your inspiration!


Polka Dot Pals Danielle

Get ready, I have a project for you to drool over!  How do I know… cuz I’m drooling too.  LOL  This is the Linking Train scene I created last week and have put it on a journaling page.   It allowed me to use a slightly larger surface and also fit the linear size a bit better.  And true to form… I’ve added everything but the kitchen sink to the page.  Beaming!

I’ve normally skipped out on an extensive supplies list but this one needs it!  Let’s see if you can spot everything (and hopefully I didn’t leave anything off either.)

From Little Miss Muffet Stamps
Gears chipboard from Make it Crafty
Simple Stories I Am 6×6″ paper
enamel dots
clouds metal die and white felt
“Admit One” ticket 
FAVORITES for the week ending January 20, 2018

Polka Dot Pals Lark

This is Polka Dot Pals Lark and she’s been clowning around in the Little Miss Muffet shop!  Can you spot what she’s been up to?!  Happy April Fool’s Day!  I thought it would be perfect to release an image like this today.  🙂

The face and hair was colored with Prismacolor Pencils and the rest was with Copic markers.  It’s not quite a mix of mediums but rather a hybrid.  Some day I’ll apply pencils over the markers.  Someday. The card was kept simple since the image was so large so all I added were some corduroy buttons and brads.

The other image I used on this is the Confetti Background.  Both that and Polka Dot Pals Lark are digital stamps from Little Miss Muffet Stamps.  Thanks for coming by and have a wonderful and fun Fool’s day!

Polka Dot Pals Neva

Little Miss Muffet Stamps is sponsoring Barne Mix back in November as they shared various articles.  The theme was “Winter, Snow and Christmas” and I created this card using one of my favorite Christmas stamps.  😀  This was colored using Marvy Le Plume markers and I’ve listed the colors below.  Then the card was put together to resemble a large package.

The stamp I used on this project is Polka Dot Pals Neva from Little Miss Muffet Stamps. This is one of the cards I colored at Scrappin Goodtime when I was teaching a class.  Here are the colors I used:

Yellow: Y627, 624
Brown: E859, 858, 855, 853
Greens: YG649, 647, 645, 642
Skin: OR827, E853, OR820
White: AG877, 875, 873
Red: PV778, R818, R815
Extra: V742, 747

Thanks for coming by today and I hope you’ve caught up on all your holiday cards this year!

Polka Dot Pals Jamie and Polka Dot Pals Add-on Faces

The challenge at Little Miss Muffet Challenges is CAS (aka Clean and Simple) however, I’m going to be a prime example of how not to follow the challenge rules as this is certainly not CAS.  However, I still wanted to post a project and this is all that I had up my sleeves.  Plus, we might overlook the rules if you use a Little Miss Muffet Stamps too.  ;D

For this project I used Polka Dot Pals Jamie and Polka Dot Pals Add-on Faces rubber stamps from Little Miss Muffet Stamps.  The face I used are the ones without the eyelashes and I used the pre-punched holes to help aline the face onto the stamped girl image.  I practiced a few times on a scratch paper until I was certain I could get it right then used gray to stamp both images.

After the stamping is finished then the coloring part begins – the fun part.  Here is a close up of the face and you can see where I’ve added highlights and shadows to shape it.  My markers started to go wacky on the darker sides so I had to leave it at this stage.  But I was happy with it so that’s always a plus.
 

We hope you have time to join our challenge this week and have a great weekend!  Thanks for dropping by today and have fun creating.