Some cards take their sweet time, and that’s part of the magic.
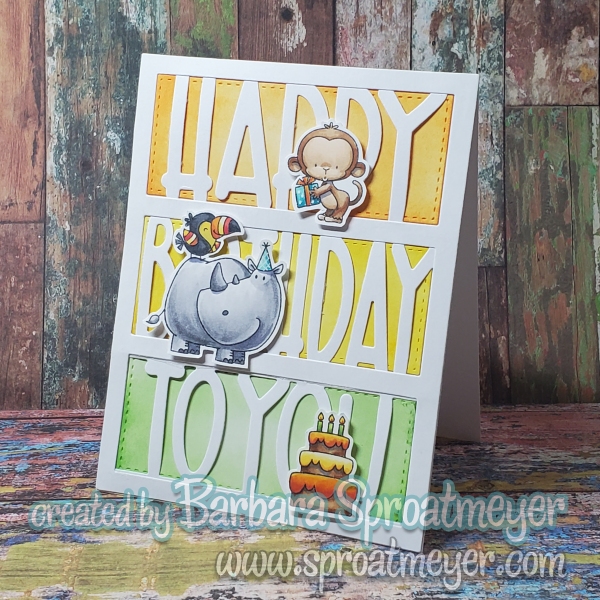
This cheerful image also from the “Birth-Yay” set from My Favorite Things, colored three years ago and patiently waiting for its moment to shine. Fast forward to today, and I finally gave it a home using Whimsy Stamps metal dies for the card base and the bold Happy Birthday sentiment.
I’m still loving this color combo — sunny orange, warm yellow, and fresh green — bringing all the happy, celebratory vibes. Proof that creativity never expires; sometimes it just waits for the perfect finishing touch.
Thank you to everyone and your welcoming back. I had worried that after so many years the crafting community changed so much that I’m practically starting over as a “newbie.” Although with the rate that technology is changing it feels like that anyway on the back end. But stay tuned – I have some exciting news to share! I’ll post as soon as I have it set up. 😉
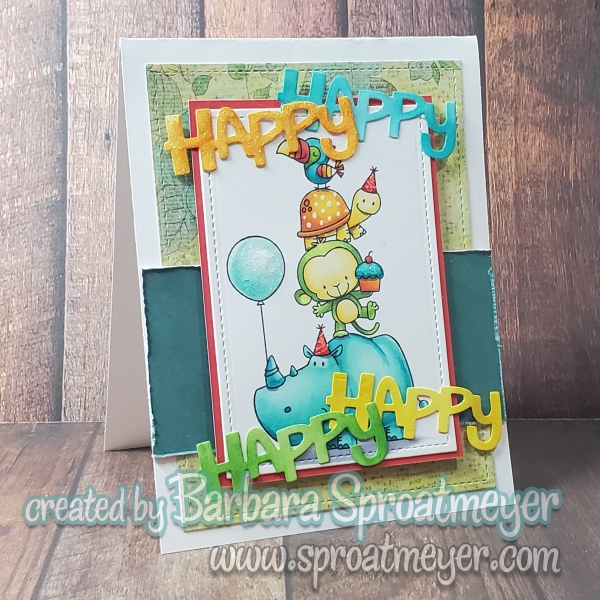
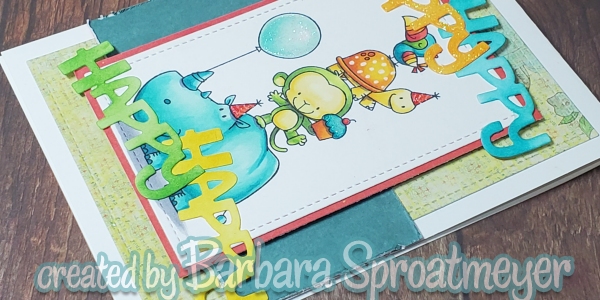
I found the name of this stamp too – it is Birth-Yay from My Favorite Things. This was also colored many years ago and I all it needed was a card base. It’ll be a nice card to send out in the mail to someone special. I have one more to share using the same set.
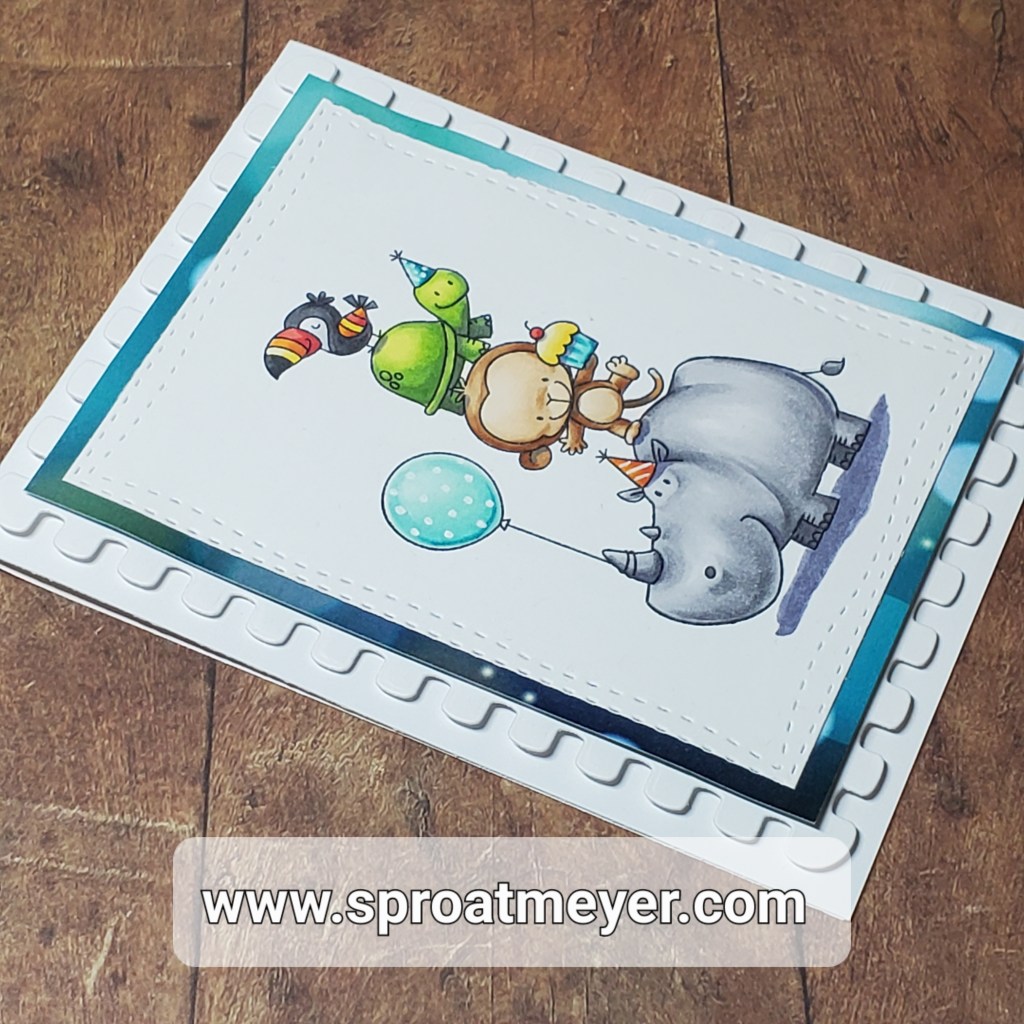
Bringing in the New Year with a card I made in December 2022. I don’t have any details on the card; not even the name of the stamp or the stamp company. (Edit: the stamp is Birth-Yay by My Favorite Things)I was a certain if I could log in to my website to post anything. I feel like I’ve practically forgotten everything. It’s been a solid 3 years since I have drawn, colored, or even made a card. I’m going to officially label that absence as the Black Hole Era. However, Time has passed, wounds have heeled and it is time to get back to crafting. I have some exciting new things to share, including a few crochet creations that I finished. So leave some loves and stay tuned.
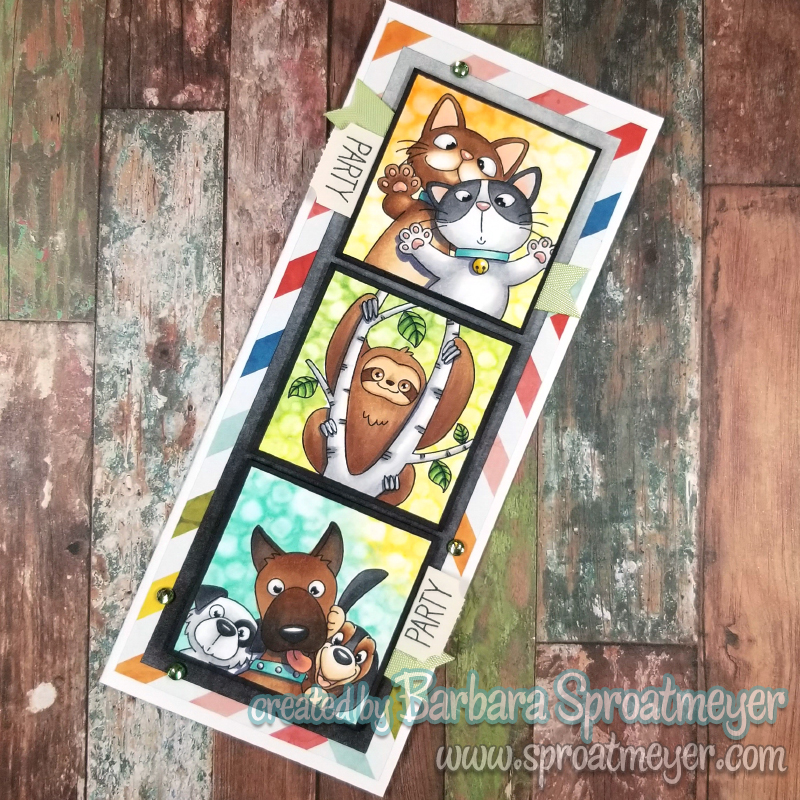
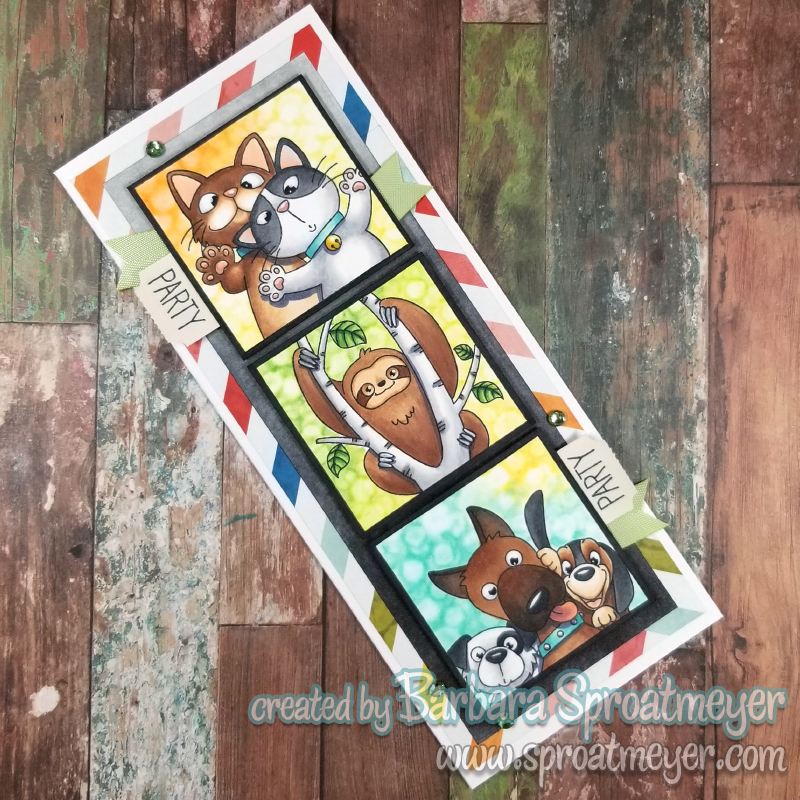
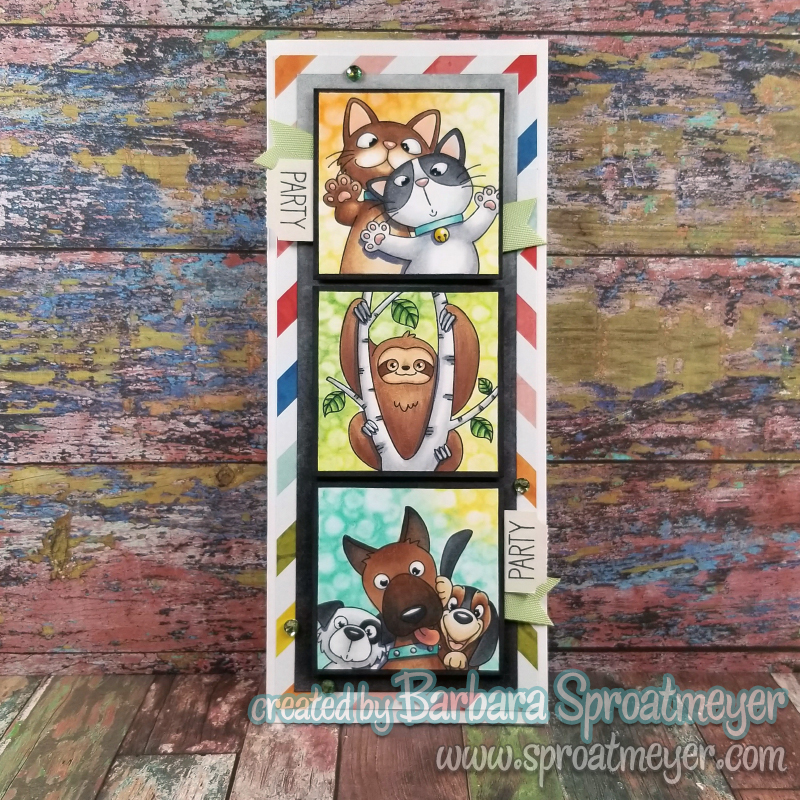
I’ve enjoyed using the selfie stamps from My Favorite Things on slimline cards so I took the opportunity to color with my Mom and used her stamps to create this one. She purchased the Christmas sELFies and I picked out my two favorite squares to create this fun holiday card.
I started the with the background and put down the turquoise colors and began to drop away with the alcohol to create the texture. I then colored the characters. Since the snowmen were going to be white, I knew I wanted the bear to be a non-white color. In reality I started with the idea of a black bear but didn’t realize the colors I chose until the end were brown. Ack! But the bear turned out good so I’m with that. The last thing I added was the snowflakes which really finished it off.
Here’s another birthday card I made for my stash using Picture Perfect from My Favorite Things. This is one of those projects I had to deconstruct because I didn’t like how it turned out. I think the newer version is much better so that makes me happy. Read below for more details on how this card was created using these featured products:
Picture Perfect
What was wrong with my original design? I had used a muted rainbow paper pack but once I got it together the dark black layer and the brightly colored images looked off. It just wasn’t making me happy so I found some bright rainbow paper and just that one change made a huge difference. Have you ever had that happen before?For a Sunday project, I really enjoyed coloring the Picture Perfect stamps because I can stamp out all six and then color them together. The cards go together super easy and the images are a no-brainier to color. Although I wonder what these would look like with some mad coloring skills and texture?! I know just the person who could do them justice too. wink, wink
(Update: It helps if I add the winner details. LOL) The winner from the yesterday’s giveaway is… Mary Nass. Congratulations! Contact me so I can mail a little smile to your mailbox. For everyone else you have another chance to DIBS in future posts. Keep an eye out.
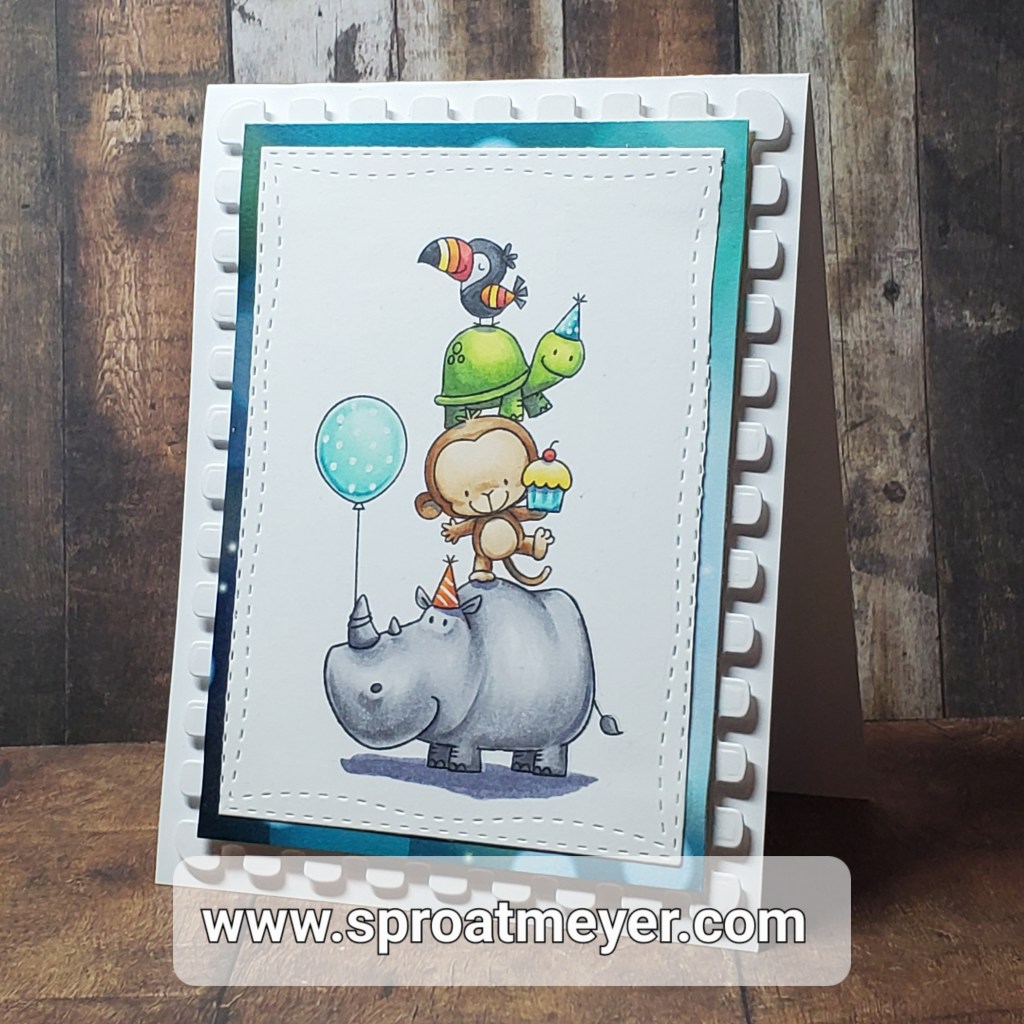
I’m lacking in my stash of birthday cards so this weekend I whipped up a few (slimline style by Whimsy Stamps) using the Picture Perfect stamp from My Favorite Things. Read below for more details on how this card was created using these featured products:
I was inspired by Chrissy’s Gnome project and loved the background she did. I’ve seen the technique before but that one inspired me crack the whip and finally get to it. So for these animals, I did the alcohol drop method to create that background. What I learned? Make sure to let the drop dry in between layers.These birthday cards are about the same as the other Picture Perfect projects I did but I don’t mind. The layout works out well for these stamps so I’m happy with that. I just wanted to get to coloring so that’s what I worked on. Hope you enjoy!