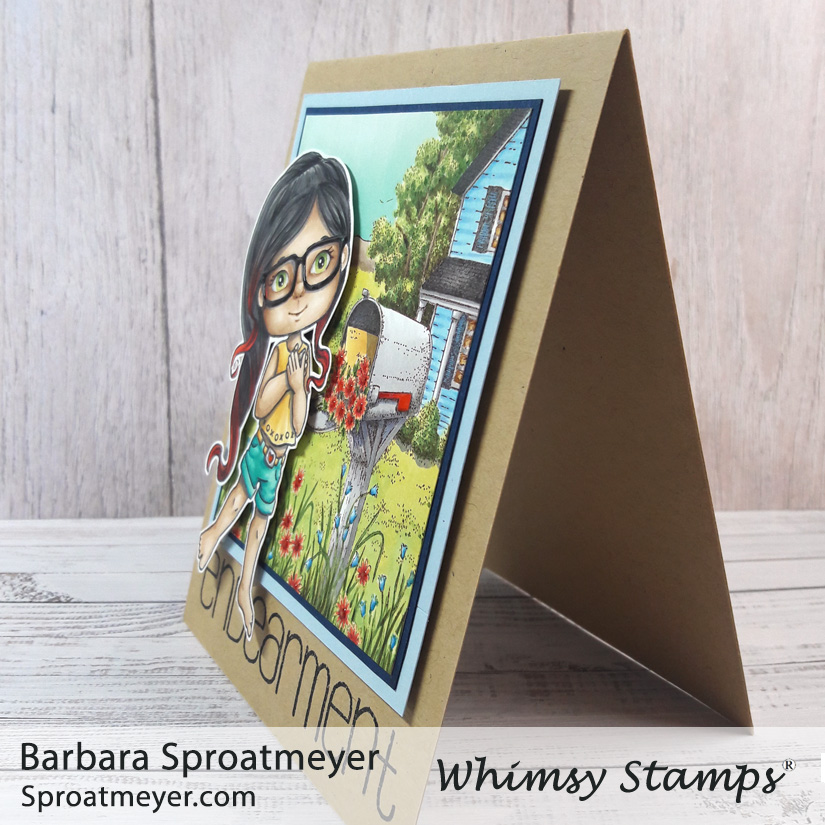
I liked the full size background of this stamp so much that I needed to make a second card. This is The Mailbox rubber stamp by DoveArt Studios and available at Whimsy Stamps. The color scheme on this one was so that the flowers, Indian Paintbrush (Castilleja coccinea), would stand out the most.
I colored the bird as Northern Parulas which matched well with the letter in the mailbox and the house. Another thing I did was to extend the stamp size in height and width. So the extra set of windows on the house and the top part of the trees were added through creative color placement. It might have been easier to add to the other side but I wanted more of the house so I took the time on that side.
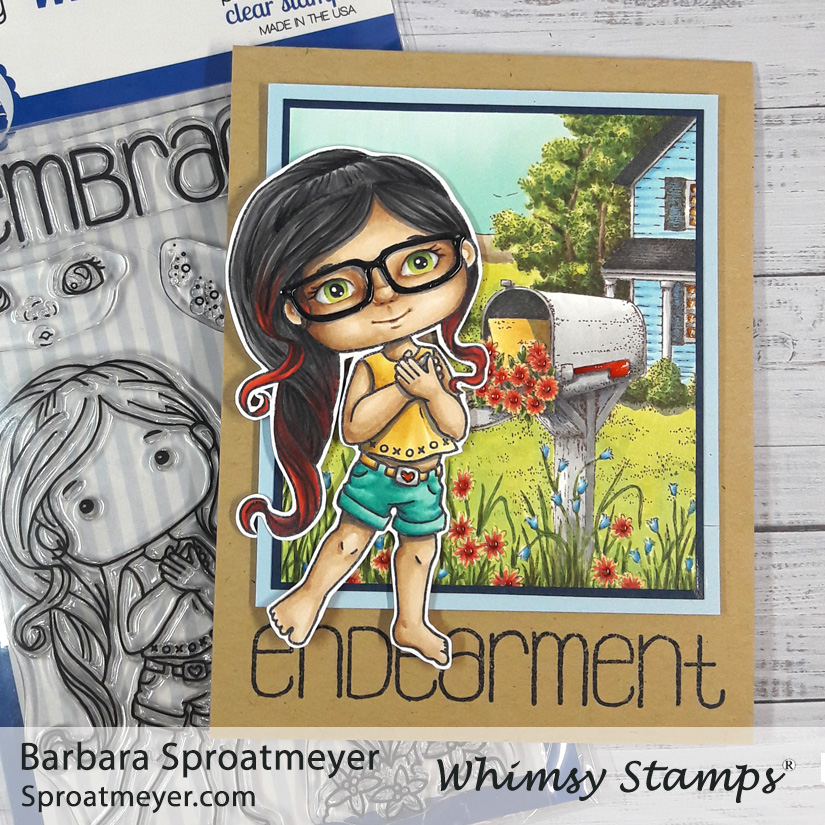
The sentiment is a chipboard embellishment from Make it Crafty and I happily have a stash that I can pull from. However, there are some chipboard embellishments available at Whimsy Stamps. This one comes in two layers which Make it Crafty was the trend setter of this style. I colored the top layer with my Copic markers in the same color as the flowers.
For this project, I’ve mashed up a Polka Dot Pal with a DoveArt stamp and created this scene. These combination is always fun to work on and they make great scenes. This one features The Mailbox in the background and Polka Dot Pals Mason as the character. I’d swoon too if someone put a friendly note in my mailbox with flowers. Sigh
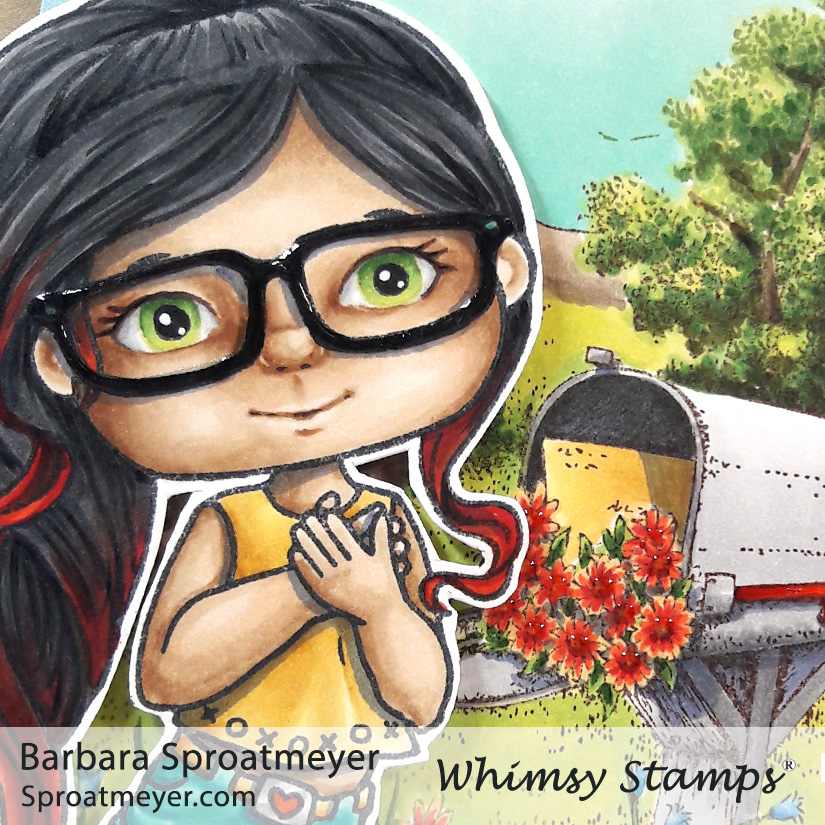
The red and yellow flowers are colored like Indian Blankets which are pentifiul this season around Texas. I think the yellow tips are stunning and pulls this flower over from the weed category into the desirable category. I’m so glad there are fields and fields of these to enjoy.
The character is Polka Dot Pals Mason and I’ve added elements from the Polka Dot Pals Fern set – her glasses and the sentiment. On the glasses, and the center of the flowers, I added some Nuvo Crystal Drops to give it a little more texture and shine. It’s a subtle effect but looks great when see in real life.
The background was stamped in green and brown ink. To do this, I inked up the entire stamp in green then dabbed the brown in sections such as the mailbox and the house. I didn’t worry about getting some on the green trees/grassy area and thought that would add extra dimension when I colored it. The character was stamped in black.
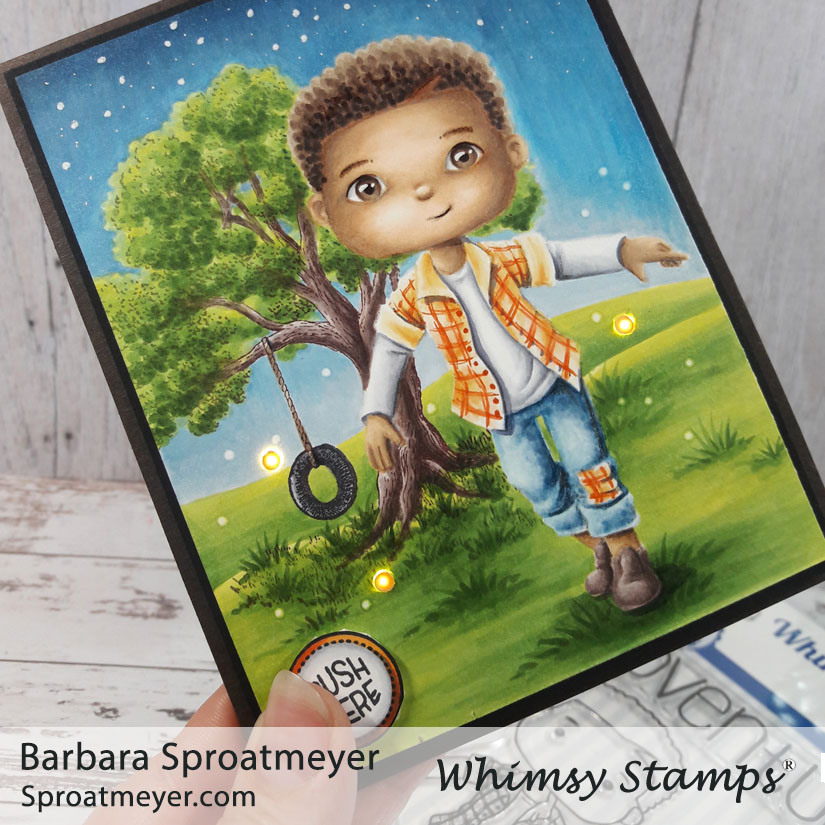
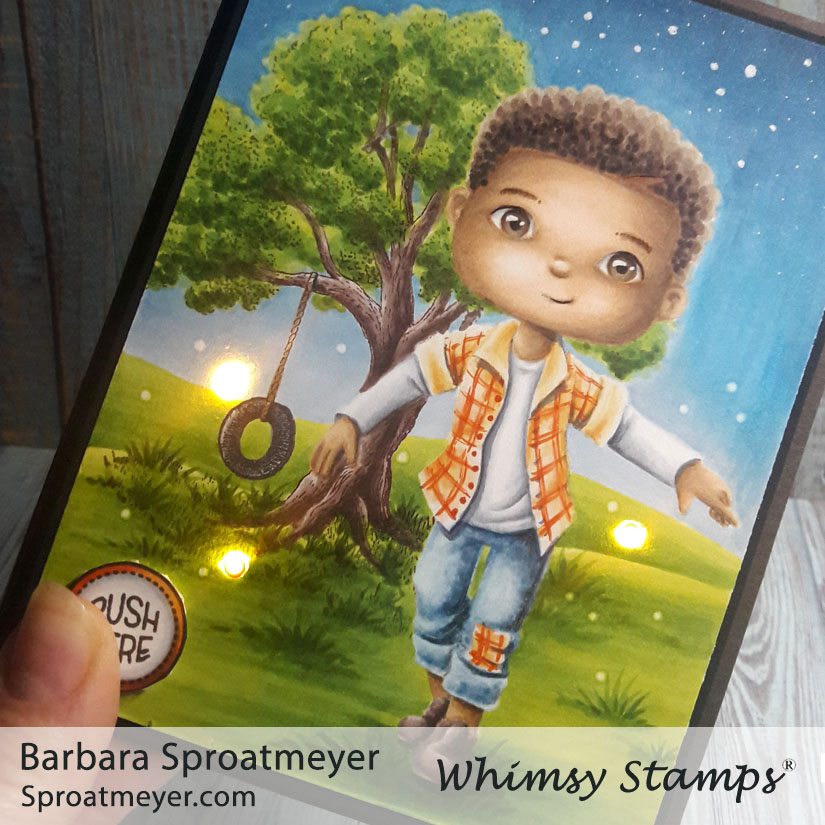
This was a fun project for me that I’ve been working on this week which uses electronics. The scene was created using Polka Dot Pals Raden and Tree Swings from Whimsy Stamps. I then used an EZ Light kit to make this an interactive card.
The character in this scene is Polka Dot Pals Raden and instead of using the elements in the same set, I decided to pair it with a DoveArt stamp, Tree Swing. I used creative color placement technique and colored in the face of Polka Dot Pals Raden myself. The faces I color in are always different as I get inspiration from my fellow colorists. On this one the nose and mouth was inspired by Faye and her awesome coloring of Polka Dot Pals Atlas and Polka Dot Pals Syeda.
I usually color the face and character first before the background but I was so excited about the idea of light up fireflies that I reversed my process and started with the background first. Once it was complete then I used my small hole punch for the lights to poke through and taped the light kit on the back. After testing it, I realized those little LEDs are b-r-i-g-h-t! Too bright! So I had to get a larger punch tool out to create yellow dots to cover the lights. Next time, I’ll need to test out the lights before punching holes to see the effect. Lesson learned.
The PUSH HERE button is a small set from Lawn Fawn set and I colored it with Copic markers then attached it to the card with foam dots. Between the two layers of cardstock there are also two layers of foam tape to give space between the layers for the light kit. With all those layers this is a sturdy card to hold.
It’s time to jump back and create the iconic post of “what I colored at boot camp” and show off all the things I did. These, of course, were all done using Copic markers. Jennifer’s Boot Camp is amazing and great friends too – shout out to everyone I was sitting next to during the camp and at lunch day after day: Kellie, Karen F, Wendy, Cathy T, Therese, Meenu, Taya, Cathy R, Janice W, Nan, Ginger, Charlene, Mags and Luigi. Thank you to all the helpers and it was so much fun getting to know you all: Patty, Cassandra, Ellie and Becky. Also thank you to all the sponsors. Thank you Jennifer for everything.
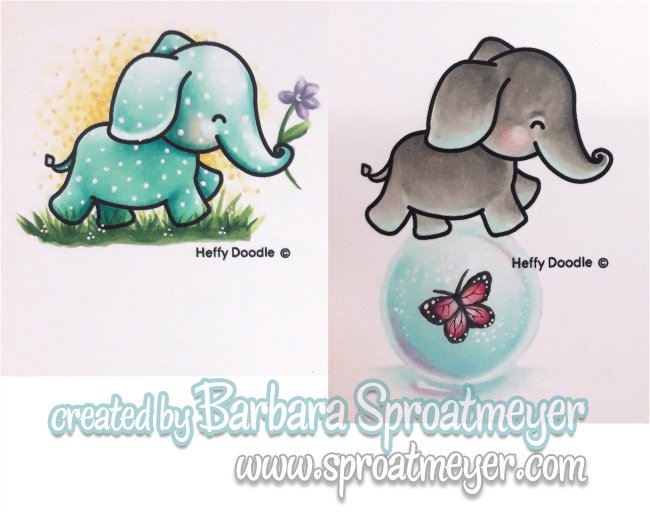
Elephant of Surprise by Heffy Doodle
Thankful Owl and It’s Owl Good by Technique TuesdayGnomey Drew by Make it Crafty
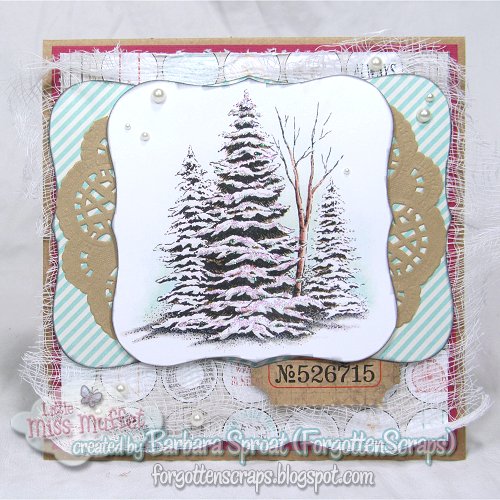
I’m using the DoveArt line of stamps Create A Scene Forest to put together a quick winter scene. Seeings how cold it is for me right now, I thought this would be fitting. The stamp was embossed in black then I used the Karin Brushmarker watercolor markers to color the background and some shadows.
The white snow was created with a Marvy Snow Marker then heat set to puff it up. The sentiment is a Make it Crafty chipboard embellishment colored with Copic Markers. The background layer of paper was also colored with Copic Markers.
You can find most of these products at Whimsy Stamps:
It’s new release week at Whimsy Stamps and I’m excited that the DoveArt Winter Pines is included in the list. This is such a fun stamp and can be used on it’s own but also in the background with other stamps. I’ve already created two cards with it that I wanted to reshare to give some inspiration for the release.
You might be surprised how this first one was create – very quick!