Alf and Dylan Flying a Kite

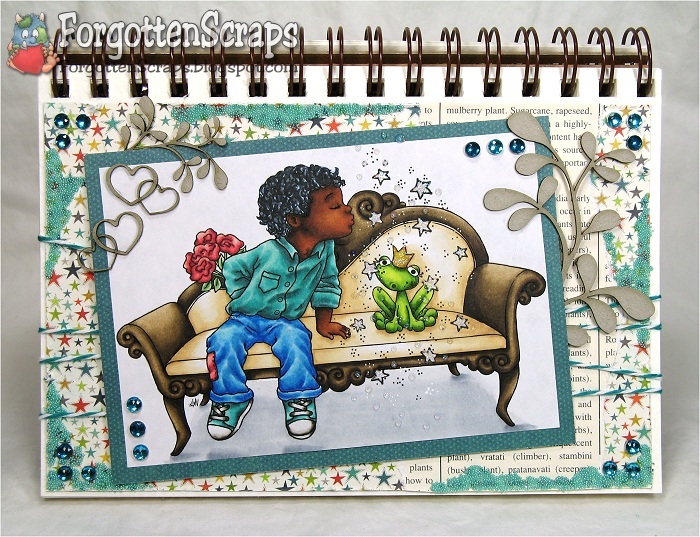
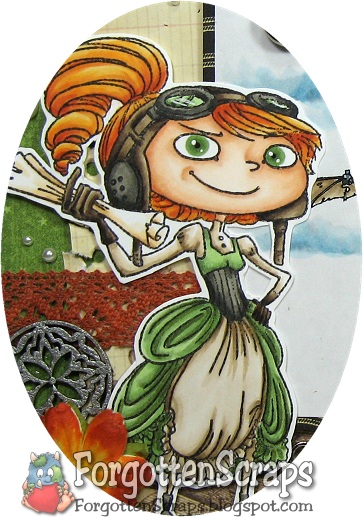
Here’s a card that I made for my Father and thought it was a fun summer theme as well. I used all the manly colors …. blues and neutrals… plus I tried to stay away from the flowers and lace in my embellishments to come up with this “man” card. I think I pulled it off… at least my Dad appreciated the effort that went into it so that counts. ;D


The image I used was Alf and Dylan Flying a Kite from Make it Crafty. To get the image to fit on the card I often like to use a diecut and cut around the edges… which is something I call “outside the diecut.” However, I’m sure it has another name that’s more appropriate! LOL


Here’s what it looks like before I put the image through the cutting machine. I cut around the image on the places that would have been chopped – you can see my pencil marks as guidelines. Then I fit the diecut in and out so the image “spills out” of the metal frame.

If you happen to know the technical term just drop me a comment. ;D But now that you know how this works you’re going to need it soon! So start practicing and be back soon for more details.


Below are the list of colors I used and hope you enjoyed the card! Cheers and happy coloring!

Copic Markers colored on Copy Paper:
-skin tone: E000, E21, E53, E04, R12
-browns: E40, E41, E42, E43, E44, E49; E07, E08, E18, E19; E53, E57, E59
-yellows: Y23, Y26
-greens: YG93, YG95, YG97
-blues: B91, B93, B95, B97, B99; B0000, B00, C1
-grays: 0, C1, C3

Can I Kiss You?

It’s Saturday and you know what that means…. another Make it Colourful challenge!! This week’s challenge is sponsored by Crissy’s Art ‘n Heart and our challenge is to color dark skin. This one is going to be a simple one but if you looking for color choices, make sure you visit the challenge blog for several other combinations.


For my project I merged three images… and yes, I merged instead of cut! LOL My inspiration is centered around Can I Kiss You from Whimsy stamps (also one of Crissy’s images) and thought he would be perfect sitting on the Victorian Chaise from Make it Crafty. Now the next thing I needed was a sweet girl for her to kiss…


… but as you can see, as soon as he kissed that sweet girl she turned into a frog!! (Froggy Thoughts from Tiddly Inks.) They’re too young to be kissing so it’s all his fault that happened. 😀 Now they’ll just have to wait until they’re both much, much older to break the spell. So if my daughters are reading this…. better watch out and save those kisses for later!!


To give this image the magical effect I tried drawing in some pixie dust and stars. Then I colored them with my white gel pen and squeezed some glitter glue in the area for some sparkle. I’d probably do it differently next time but this at least conveys the story well enough that I left it be.


The skin tone combination is E00, E11, E13, E25, E29, E59 and E49 and I like how it turned out. I was also trying for extreme lights and darks in the clothes and frog but gave up on that idea by time I started coloring the chaise. I need to practice more with that but luckily that wasn’t *this* challenge. ;D Have a great weekend!

Quinceañera Daydream

Here it is… the start of a new art journal… even though this isn’t the first page it is the first to be previewed! This one features a new release from Little Miss Muffet Stamps called Quinceañera Daydream and she has been merged with Rise and Shine from Make it Crafty.


The two images weren’t designed for each other but it turns out they play nicely together! LOL For embellishments, I used more Make it Crafty chippies, pearls, wide twill tape and some ribbon flowers I had in my stash. I also distressed some edges and drew in some faux stitching.


With these two images together it looks like this princess had the night of her life! She still has her shoes so I’m assuming she has the prince’s phone number for later. ;D


The ribbon flowers are actually rather thick and after gluing them onto the page I had to press them down with a dictionary and my Cuttlebug machine! They compressed to half their size with was more than I thought possible. I’ll have to keep that dictionary handy!

I’d like to enter this into the following challenges:
Cardmadfairy’s Digi Days Challenge #13 – Oh So Girly
Crafts 4 Eternity Challenge #30 – Anything but a card
Inspire Me Friday – Anything goes
Pattie’s Creations Challenge – Stitching, faux
Sew Many Cards Challenge #62 – Anything goes

Camila

Yikes!! I got so busy last night with the New Releases that I forgot to upload my own creation here! LOL So check out what is in store at Little Miss Muffet Stamps and enjoy this little I tag I made using Camila! Then make sure you come back tomorrow as I’m already working on that so I don’t forget. ;D


These tags are always fun to make and I usually follow a simple recipe to get it done… colored image (check), tag shape (check), scrap of paper (check), twine, pearls and small embellishment (check, check and check). That’s about it and they dress up a small gift of plate of cookies really well.

I’ll come back and enter her into some challenges, but for now … hope you enjoy! Cheers!

Aud Sentiments Challenge #33 – sentiment to make someone smile (Fabulous)
Art Impressions Stamps Challenge #26 – inspiration from nature (clouds)
Digi Doodle Shop’s Best Challenge #69 – anything goes
Papercraft Star Challenge #55 – anything goes
The Paper Shelter Challenge #24 – anything goes

Annie’s Teddy

Welcome to another Tiddly Inks Tuesday Challenge and this week’s challenging is “Ticket or Tag me! – Create a jumbo tag or use a ticket somewhere.” I chose to go with a jumbo tag as those are always fun to use on a gift for a plate of cookies. 😀


I used Annie’s Bear from Tiddly Inks as the main image and some Lime Twist paper from Basic Gray. Then a few scraps of print paper, bound it up with Baker’s twine and added a few embellishments to finish it off.


This is my last post as a Guest Designer for Tiddly Inks and I have had so much fun getting to know the gals there – they’re super talented and so friendly – so thank you so much for having me on the team as your guest!! And a huge thank you to Christy – you’re images are adorable and were so fun to color up! ;D Big Hugs!

Genevieve

Welcome to another Saturday and challenge at Make it Colourful! This week we’re challenging you to change the colors of your embellishment… any of your embellishments. So get out your markers, ink refills, paints and whatnot and come along to join in the challenge. ;D


I colored three of my embellishments… (1) Colored the ivory lace ribbon with my YR18 Copic marker, (2) colored the white Prima flowers with YR18, YR14, YR12 and Y23; and lastly (3) painted the chippies (Filigree Jewels from Make it Crafty) with Silver Adirondack Acrylic Paint Dabber.


The images used are Genevieve from Kraftin’ Kimmy Stamps and in the background I used the Steampunk Flying Machine from Make it Crafty. For some reason orange and green always goes well together so with all the green on the project, I chose a bright orange for the hair. I think I used Y32, YR12, YR14 and Y18 – the same colors as the flowers.


This is the eleveth page in my journal and as you can see there is no way this book is ever closing flat again! It’s even to the point that it props itself up from the other pages… as you can see. ;D But just as well… the journal will look better opened than closed. LOL


I used a type set alphabet to create the sentiment… “Adventure”. I wasn’t sure how to attach them because the prongs would go through the paper and thought I must be missing a tool or something. So I just bent all the prongs in then attached them with glue dots – an easy fix for now. ;D

Hope you enjoy this project and have a great weekend full of coloring! 😀

Oh I forgot to mention that I have all the these journal pages labeled with “… Art Journal” so you can click on that and see all the pages in the book. And those clouds were colored with B52, B21, C3, C1, B00, and B000.