Poorly Chester

Oi… it’s Monday!  This has been us this past week – all stuffed up with allergies and sinus problems with a few infections here and there.  So I thought it was a perfect card to show today!  LOL

The images I used are Poorly Chester from Little Miss Muffet Stamps and designed by Pollycraft, and Totally A-Maze-ing from Stampin Up.  I’ve wanted to use the maze for a while but it’s so huge that it’s hard to fit on the card.  I think I’ve managed to get it one on there okay and also came up with another idea which I’ll show later on. 

I think PJs always look cute as the traditional blue and white stripes but this time I wanted to try something different and went with turquoise and yellow to match the paper. And of course, I had to give him a pink nose!  LOL

We’re all on meds and we’ll be feeling much better – just in time for the holiday weekend next week.  Whohoo… a 3-day weekend!!  Then after that, one week of school and the kiddos will be out for the summer.  Yeah… that should be fun.  😀

BBQ Chester

It’s another challenge day at Little Miss Muffet Stamps and this fortnight we’re challenging you to use the colors Kraft, Red and White!  Make sure you head on over to the LMMS Challenge blog to check out all the other DT creations – they’re fabulous!!  For my project, I decided to take this opportunity to try coloring with Copic markers on Kraft paper and this is what I ended up with…
 

I used BBQ Chester from Little Miss Muffet Stamps drawn by Pollycraft.  In the background I also used the accessory chef hat that comes with this stamp to create a custom background paper suited for the theme.  😀  The butterfly is chipboard embellishment from Make it Crafty and the tag is a diecut from Stampin’ Up (I think.)

Here’s a close up of Chester.  I loved how his skin color turned out, however, I would have like to have the white more… well, white!  LOL  Maybe next time I’ll try paper piecing and see how that works. 

It’s raining outside this evening here in Texas which got me to wonder, how many different ways there are to describe rain. I’ve heard that Eskimos have an unusually large number of words for snow (see HERE for a good chuckle.)  However, is it true for rain too?  I’ve found a few sites that will list some by my favorite so far is one from BBC News titled “Fifty Words for Rain.”  Out of that one… my favorite, and most fitting for the weather outside is … “Raining Stair-rods: Any garden furniture not taken indoors floats away. Reporters on 24-hour news channels began using words torrential and holding their hands out with their palms upturned.”  So in other words, I need to hurry up and click on “Publish” before I loose power for the night!  LOL

Batty Baxter

It’s been an interesting couple of days but I’ve finally received my test scores for my grade and I’m excited to report that I’ve passed all my classes this semester!!  It was a relief for me that the passing point was much lower than I ever expected but I’m not going to argue with that!  LOL   So after I figure out a few things and organize myself, that means I can finally set back into a routine.  Ahhh, that will feel nice!

Anyway, I wanted to quickly share a project I made a while back using Batty Baxter from Make it Crafty plus the Ornate Corners chipboard which I’ve colored black.  I colored and created this last fall so I’m not sure what all my motivation was.  I think I was experimenting with black and red blending on the wings but that’s about all I can remember.  Hope you like it anyway and thanks for dropping by today.  Have a great Monday!!  😀

Annie & Sitting Flowers

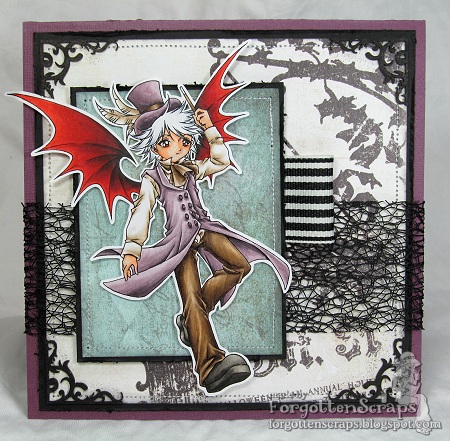
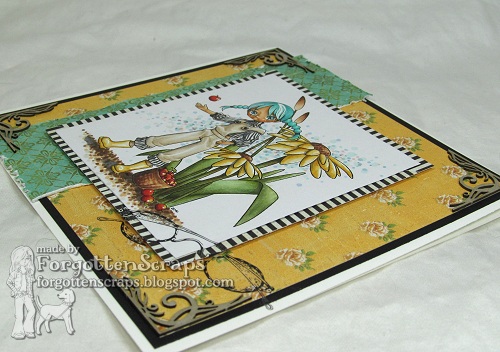
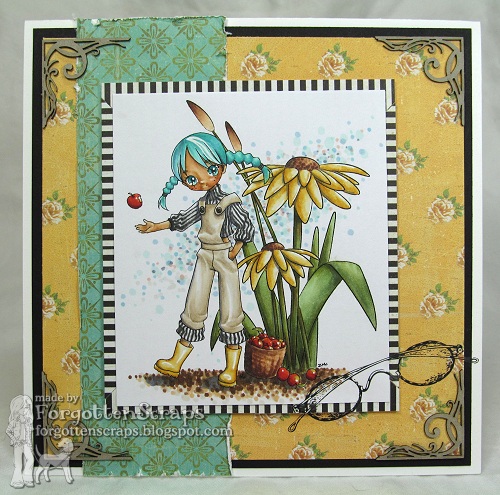
I wanted to share a project I colored this week using the new adorable images from Make it Crafty… specifically the little girl Annie!    These new little girls are great color and you can go simple or complex and they’ll turn out great either way!  I went for complex and tried out a few things on this one.  First of all, I merged it with the Sitting Flowers background which matches the detailed style of this image perfectly – not too detailed, not too simple.  At my house we’ve been watching the film Arrietty repeatedly so that was my inspiration for the sizing of the images.  But hay, it’s better than watching a Disney musical over and over and over and …. so I’m not really complaining.   LOL

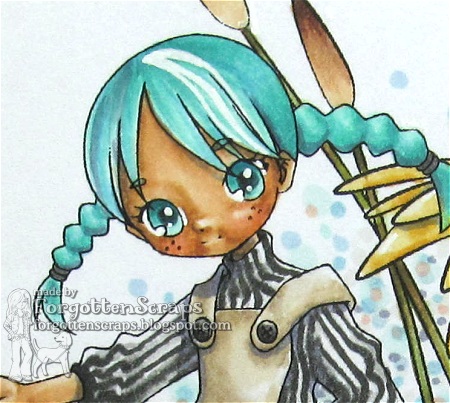
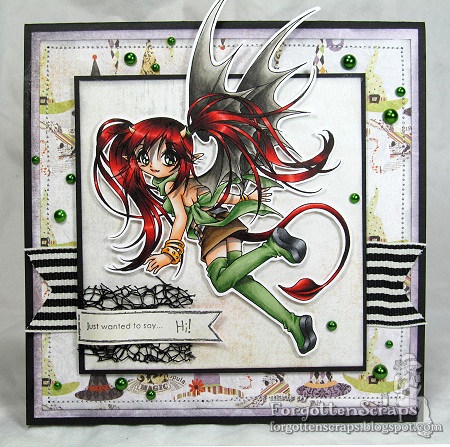
For part of the clothes I tried to go for a pin striping look but as you can see my hands were a little shaky and heavy so the stripes are a little more bold than I had originally planned.  However, they match the paper I was using so it all works out.  The other section I had fun with was her hair! It’s been a long while since I’ve colored bright hair so that was a lot of fun.  😀  Then I added white streaks just for good measure.

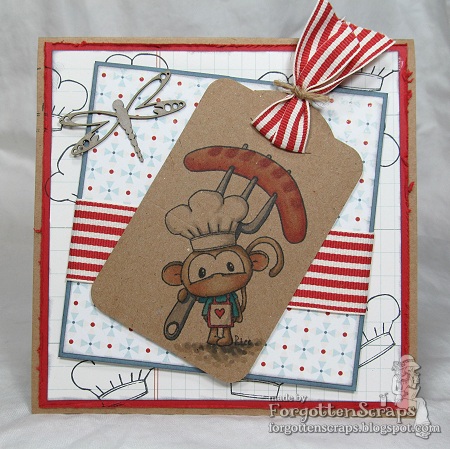
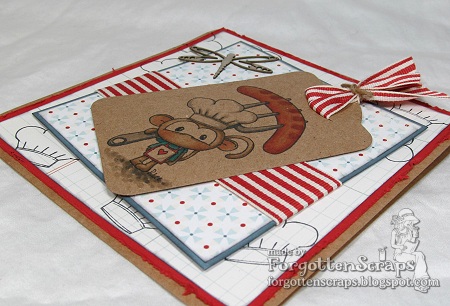
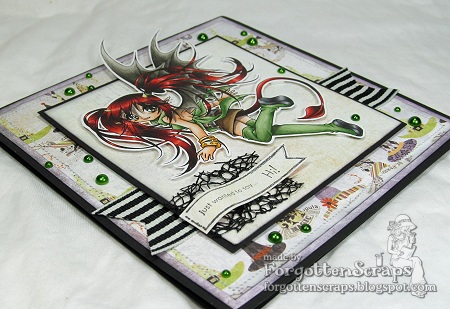
The card was simple to put together and I was even able to use a paper pad that was almost all gone – it always feels good to use up ALL the paper!  I only have 2 sheets left so we’ll see if I make it all the way.  Corner chipboard was added in the colors and I liked the raw looks so I didn’t need to do anything there.  Then I had these spectacles rub-on sheets on my desk so I decided to use that too.  And it also helps with the illusion that this girl is a little person so that was a bonus.

Thanks for dropping by today and I hope you’ve enjoyed this bit of inspiration today!  Maybe it will inspire you to try out a button nose, crazy bright hair or perhaps it got you in a mood to eat your apple today – as long as it inspired you to do something that was my intentions.  LOL  Have a great weekend!

Here’s the stuff on this project that you’ll want to get from Make it Crafty!
If you have subscribed to view this via email, click HERE to view post on the MiC blog.

Zabel Reading

It’s another release day at Little Miss Muffet Stamps and I’m sure you’re going to be excited about this latest batch!  There are seven new rubber stamps – most of them are forest friends but there is one Little Misses that added into the mix.  😀  That one is Zabel Reading which used to be a digital stamp but I changed her hair just a tiny bit and wanted to release her in rubber – after all… this is practically me at all the wee hours of the night trying to get the last little bit of studying in!  LOL

For the background, I wanted to try something different.  I shaded it in with E40-E43 going from the darker to lighter.  Then I used the blender marker to create splotches and later went back in with E42 and E43 to add some dots.  I’m not sure what I was going for exactly but I liked how it turned out.  You’ll never guess the colors of her shirt… I ended up using E07, R08, R22 and R12 to get the colors to match the papers.  (Or at least, get CLOSE to matching!)

After you get done here, you’ve got to head on over to the LMMS Challenge blog to check out all the other new releases and inspiration from the DT – you’re going to luv what they created!  All the images were featured at least one and you can grab them for yourself in the What’s New section of the store this week.  😀  Have a great Thursday!

Sweet Devilina

Do you remember a loooonnnngg long time ago, I had shown some coloring inspiration using Sweet Devilina from Make it Crafty?  We’ll she finally made it onto a finished project!  I had described a little about how to create sharp shadows (HERE) and this gal was my example.  😀  Check it out…
 

For this project I’ve used Sweet Devilina from Make it Crafty plus the sentiment stamp Just Wanted to Say also from Make it Crafty, which I layered with some web-like ribbon.  I haven’t the faintest idea what that ribbon is called but it’s been fun to use and works great with Halloween projects too!  Anyway, aside from some stitching, self-stick pearls and ribbon, there isn’t much to this project – I think it’s the colors that really sets it off.  You can click HERE to see more pictures of Sweet Devilina in details.