Swings ‘n Slides Fireflies

There is an Anything Goes challenge over at Little Miss Muffet Challenges that anyone can enter using any products!  We want to see what you’re up to this month so head on over and add your project for a chance to win a gift certificate to the store.  😀

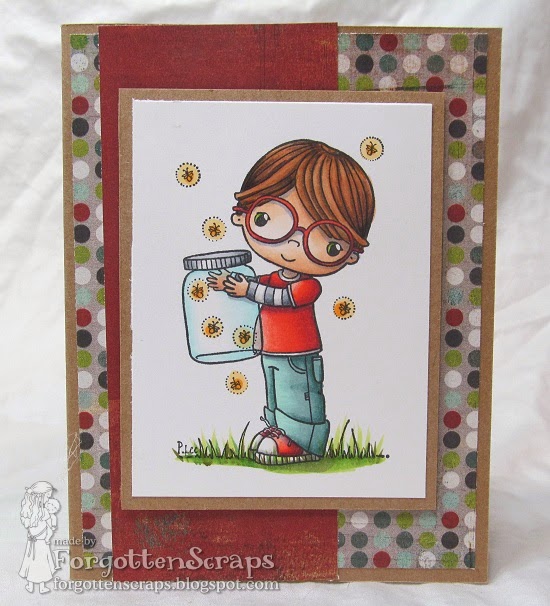
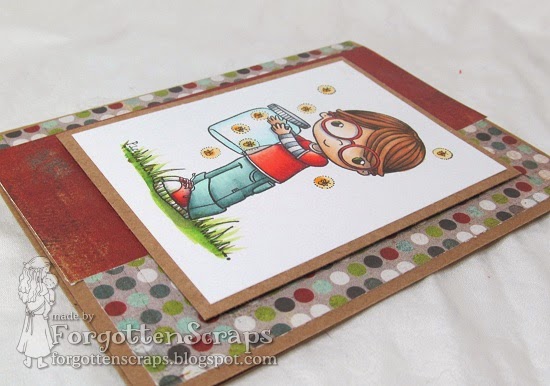
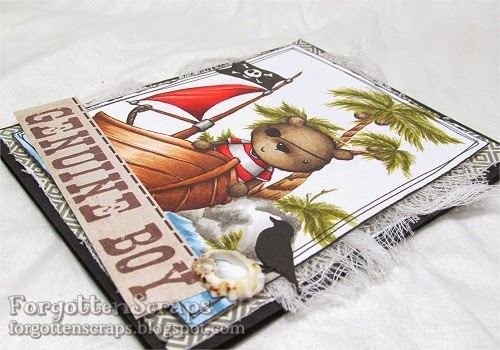
For my card today I’ve used Swings ‘n Slides Fireflies in rubber from Little Miss Muffet Stamps, of course.  I colored it with Copic markers and then used these supplies below for a simple card:

Inks: Memento Tuxedo Black colored with Copic MarkersPapers: Basic Grey Oliver decorative paper and generic Kraft cardstock 

Swings ‘n Slides Bump!

Little Miss Muffet Stamps is sponsoring Sketch Saturday this week and I wanted to create a project to support their challenge.  Plus my sweet friend Carla is hosting and I so that’s a double reason to join.  😀   For this project I’ve used Swings ‘n Slides Bump and then also included a puppy from Puppy Additions; both stamps from Little Miss Muffet Stamps, of course.

On the challenge blog where they show the sketch to use, in corners were staples.  I’m sure this is to make the sketch presentable, and it is, but I was also so inspired by them that I added them to my project too.  😀  It’s been a while since I’ve used staples – I really should put that closer to my craft table.  LOL

I hope you’ve enjoyed this inspiration and we all hope you’ll come on over and play along!

Cuthbert Yo Ho

Avast!  Sept 19th be International Talk Like a Pirate Day and we at Little Miss Muffet Stamps thought it would be fun t’ celebrate with a mini release of… well… pirates!  Get into t’ spirit o’ thin’s today and instead o’ sayin’ “Hello!” you can say “Ahoy, Matey!” 

At t’ LMMS Blog t’ Beauties have chosen t’ showcase two o’ the new stamps but thar be more includin’ aft-grounds and characters from Make it Crafty and Roberto’s Rascals.  Feast your eaye on these creations and be aye t’ pick up your favorites for they be on sale through t’ weekend.  Click HERE t’ go forth and pillage!

Drop anchor and let’s see what crawled out of the bung hole… 
 

(Special thanks goes to this English-to-Pirate Translator.)

Swings ‘n Slides Books

Books, books and more books!!  This cute stamp, Swings ‘n Slides Books from Little Miss Muffet Stamps, has the girl and stack of books as two separate stamps which makes this one versatile girl!  I’ve stamped the girl then masked her to stamp the books…  not once, but twice.  So the last two books there on the bottom are the additional books.  Oh yeah!

This image was colored using Copic markers then matted and placed on a 6″x6″ card.  I used burlap looking ribbon for texture and a light bulb metal embellishment for fun.  Sprinkle a few sparkling gems and this card is ready to be sent to an avid reader and fellow book lover.

Swings ‘n Slides My Bike

I finally got around to creating a boy birthday card and this time I’ve used Swings ‘n Slides My Bike from Little Miss Muffet Stamps.  I was able to use some scrap papers that I had on the side of my desk plus some red felt for color and texture. 

The dragonflies were added for embellishments and I felt the need to glitter them… but that might have been too much.  Do boys in general like glitter? The sentiment was created with one of those label makers that emboss the letters.  So when it was completed, all I did was taking the backing off to stick it onto the card.  I like how it turned out and Happy Birthday was just the right size!

Swings ‘n Slides Little Miss Christmas

Here’s another page I’ve added to my ATC Journal book, this time using Swings ‘n Slides Little Miss Christmas in a Christmas theme, of course.  This is a rubber stamp from Little Miss Muffet Stamps

The image was colored using Copic markers then cut out and popped on the project.  The papers in the background are from a Christmas themed stack and I was lukcy enough to have some ribbon to match.  I think ribbon was very “IN” a while ago because I seem to have a huge quantity!  LOL  Now I hardly use it so it feels good to use some of my stash once in a while.  😀

The rest of the page was decorated with a paper doily (thank you Faye!), some metal snowflakes and a few chipboard corners (from Make it Crafty).  Lastly, I tied a little piece of string at the top of the ribbon to keep all those layers together.  I wasn’t sure if the layers of ribbon would show up in the picture but it turned out ok.  😀  I hope you enjoy this project and thanks for coming by to check it out!