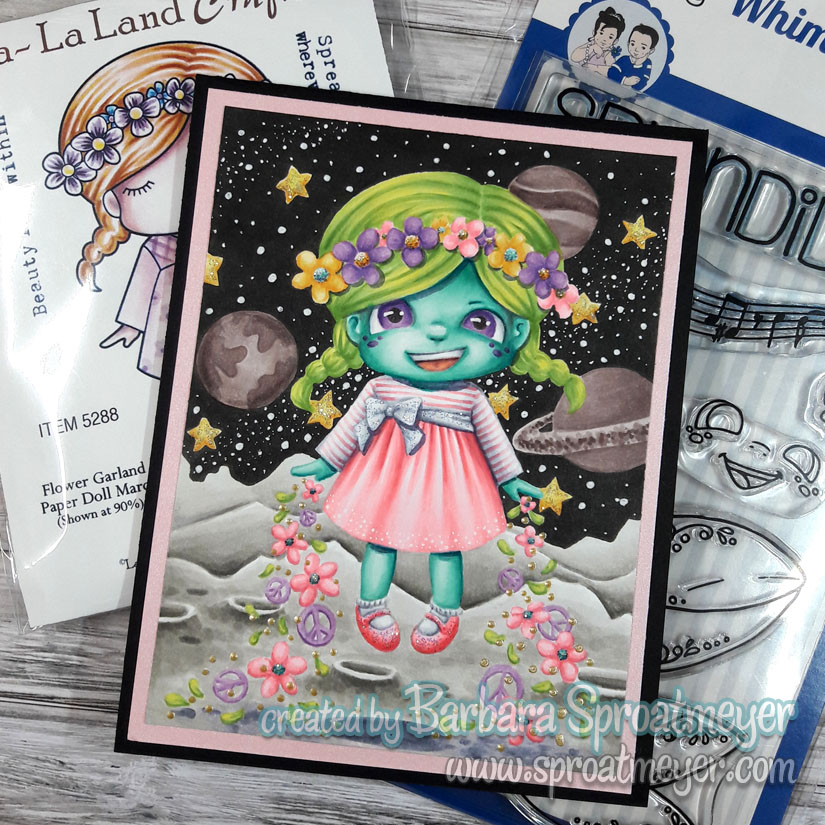
Here’s a far out project that I wanted to share. This project combines three different stamps – Flower Garland Paper Doll Marci from La-La Land Crafts, Polka Dot Pals Khadija from Whimsy Stamps and Space Scape from High Hopes. This was an unusual combination for me and I’m not sure how one thing let to another – except I can say that I was tried of choosing a skin tone and wanted something different. Blue is different right? The rest is history.
I have to say this is one of my favorites projects this week. I think it has to do with using black in the sky (for space, of course) and for adding unique elements to make it even better.
In this section, I colored the white bow around the waist, added socks and glittery pink shoes. The pose on these hands always throw me for a loop on what to do so I went ahead and gave this girl some flower power. Her super power is to spread flowers and peace wherever she flies – oh yea, and she can fly too.
The faces from the Polka Dot Pals sets work naturally with the La-La Land characters. The images can be stamped in a light color or the ink can be wiped away from the character before stamping. Then the Polka Dot Pals Add-On Face can be added.
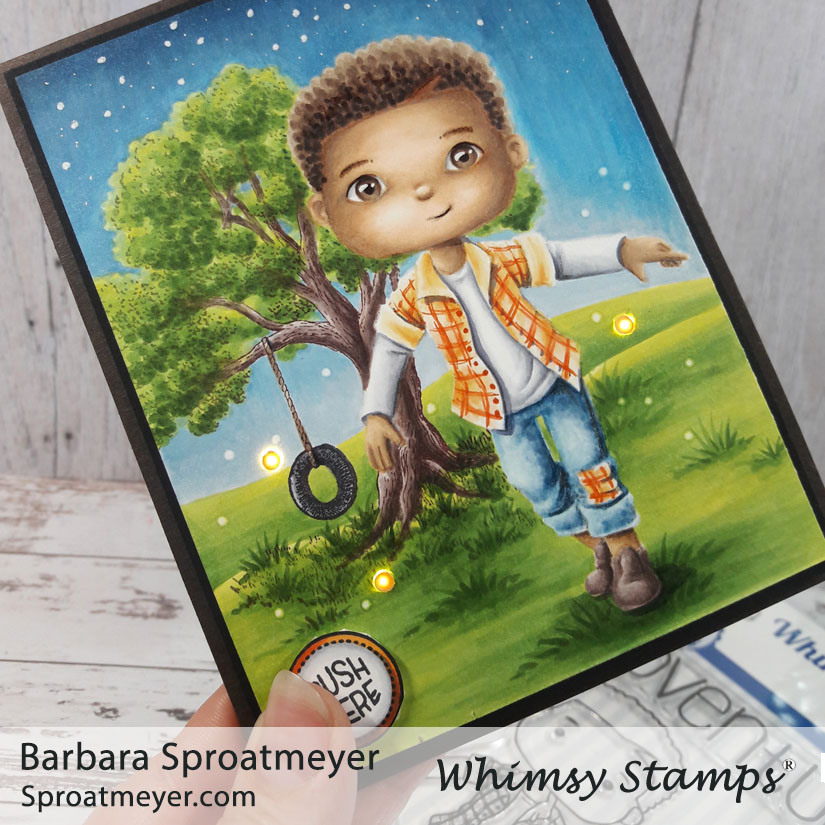
This was a fun project for me that I’ve been working on this week which uses electronics. The scene was created using Polka Dot Pals Raden and Tree Swings from Whimsy Stamps. I then used an EZ Light kit to make this an interactive card.
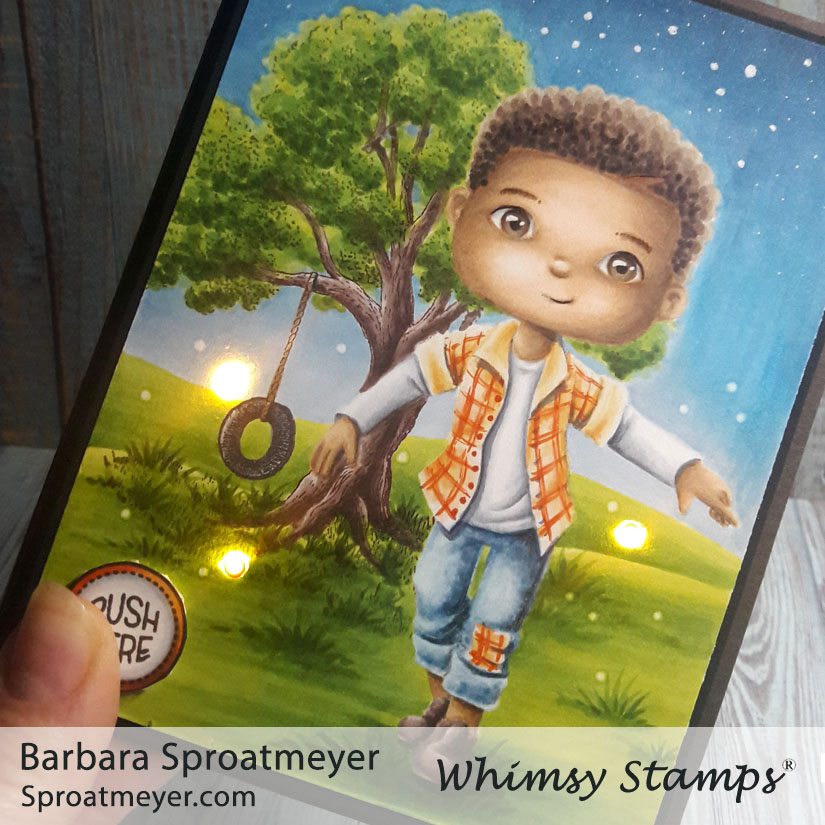
The character in this scene is Polka Dot Pals Raden and instead of using the elements in the same set, I decided to pair it with a DoveArt stamp, Tree Swing. I used creative color placement technique and colored in the face of Polka Dot Pals Raden myself. The faces I color in are always different as I get inspiration from my fellow colorists. On this one the nose and mouth was inspired by Faye and her awesome coloring of Polka Dot Pals Atlas and Polka Dot Pals Syeda.
I usually color the face and character first before the background but I was so excited about the idea of light up fireflies that I reversed my process and started with the background first. Once it was complete then I used my small hole punch for the lights to poke through and taped the light kit on the back. After testing it, I realized those little LEDs are b-r-i-g-h-t! Too bright! So I had to get a larger punch tool out to create yellow dots to cover the lights. Next time, I’ll need to test out the lights before punching holes to see the effect. Lesson learned.
The PUSH HERE button is a small set from Lawn Fawn set and I colored it with Copic markers then attached it to the card with foam dots. Between the two layers of cardstock there are also two layers of foam tape to give space between the layers for the light kit. With all those layers this is a sturdy card to hold.
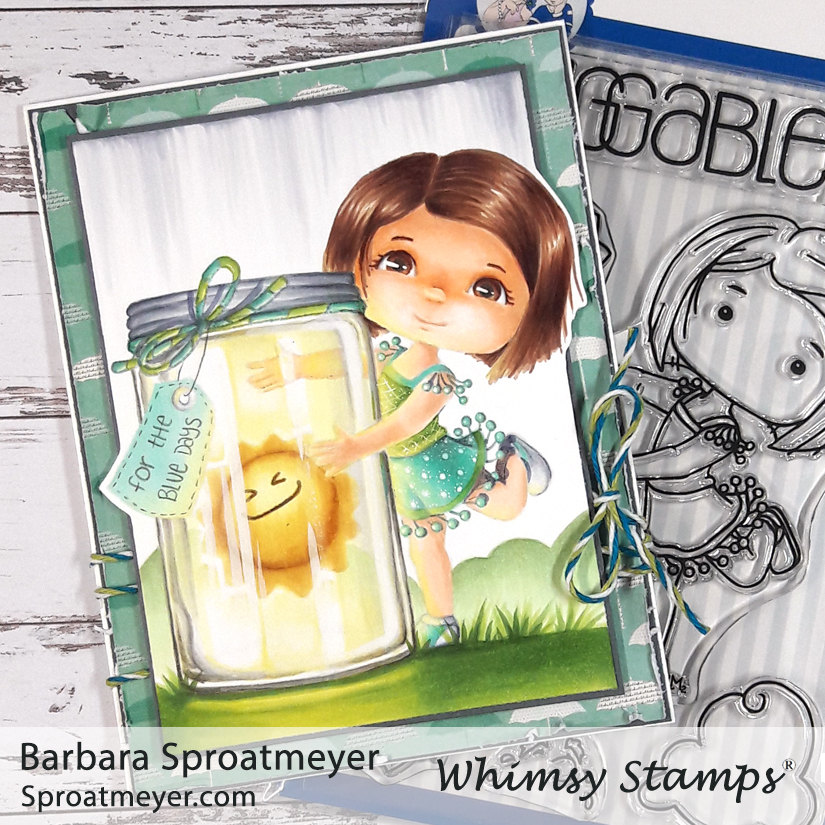
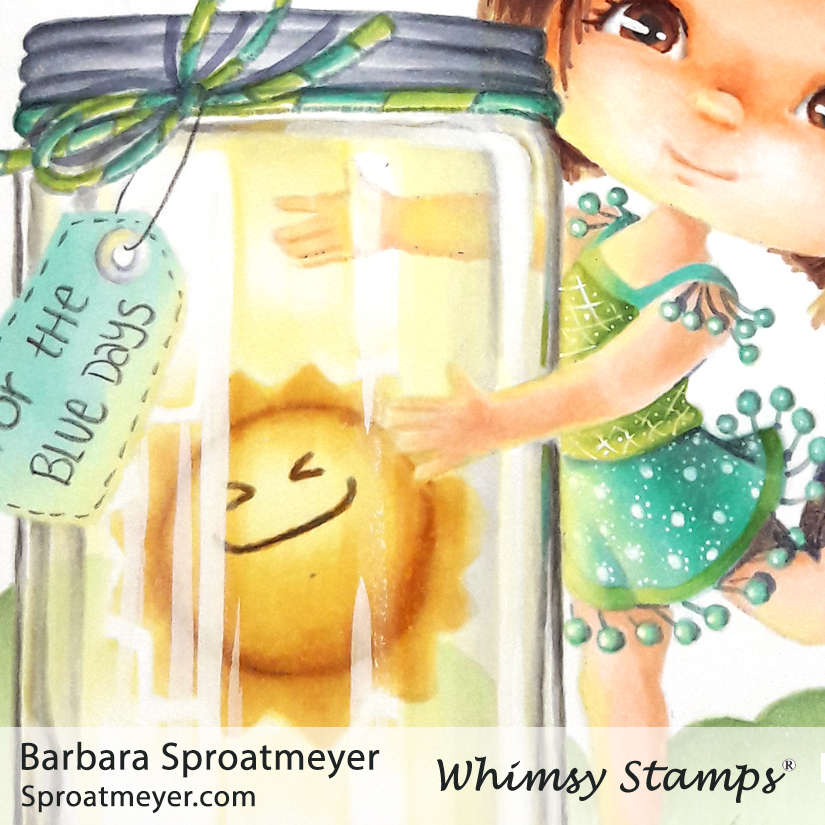
Not every day can be sunshine and rainbows – but for those blue days, sometimes it helps to have a bottle of sunshine nearby. And Polka Dot Pals Atlas here has a large jar to share!
I’m excited to announce today is a new release at Whimsy Stamps and there are two new sets that I’m using today – Polka Dot Pals Atlas and the Atlas Jar. To create this scene, I used the sun and character from Polka Dot Pals Atlas set then the jar, tag and twine from the Atlas Jar set. This was a challenge for me to color sunshine in a jar but I think it worked out alright.
On the face, I took inspiration from Amy Young on her recent projects using Polka Dot Pals Raden and Polka Dot Pals Harley and the cute way she colored their faces. Thanks Amy! This shape also worked well with the light source coming from a lower source too.
When working out the planning for this project, I colored the sun first then mapped out the where the sunshine would shine on the rest of the image. This helps me to remember the light source and to also keep a bit of yellow on that area.
Sometimes a project hangs around the coloring desk only getting attention here and there and this was one of those. The background was a watercolor picture Cassandra did and I nabbed it before she tossed it into the rubbish bin out of frustration. She was convinced that nothing good would come from it. So that gave me a challenge to use it in one of my projects and this is what I came up with. I’ve combined it with Polka Dot Pals Fern and the No-See All Seasons Tree die set.
To help visually separate the elements, I used foam tape to pop up the tree, mushrooms and grass from the background. I also used foam tape to pop up the character and butterfly – but on those, for added separation, I kept a white trim around the image when I cut it.
When coloring Polka Dot Pals Fern, I first stamped in a no-lines ink color. This allowed me to change the pattern of her shirt and shoes.
I hope this work as it’s my first animated GIF of this type – I wanted to show the progression of how I colored the face and gave it a shape. I did not use an Add-On Face stamp but instead colored in my own. The Copic colored listed in the clipping are E21, 25, 23, 31 and 29. I was getting a few areas gummed up so I had to go into those areas with a colored pencil to smooth it out. My faces are always works in progress and I continually try to refine the process – this is just how I’m currently doing them.
Overall I liked how the project came together and she said it wasn’t so bad either. I think that’s a win-win scenario.
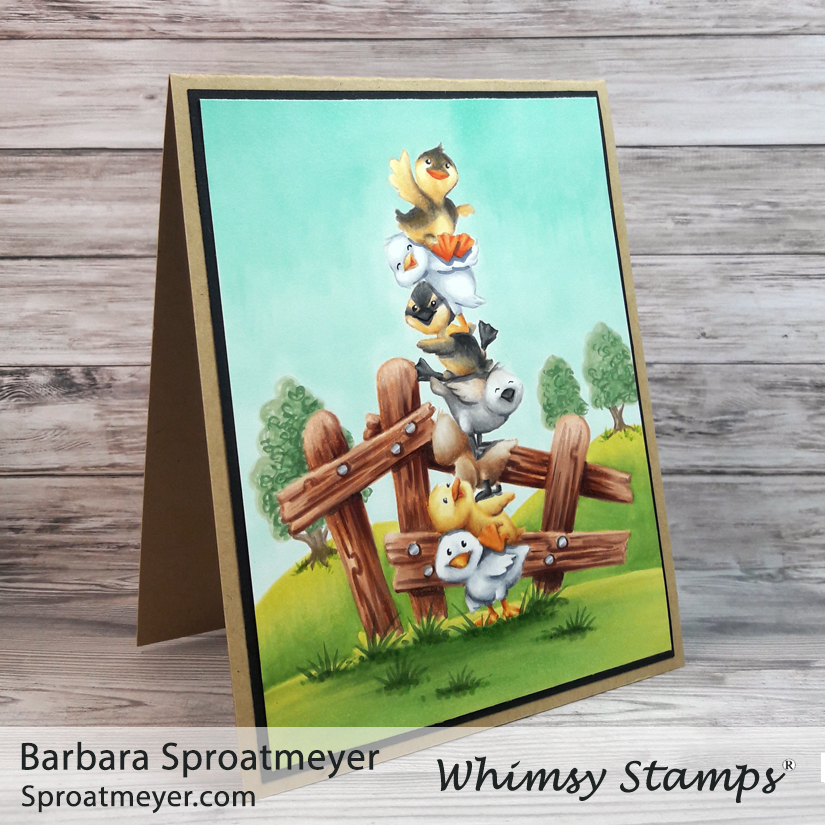
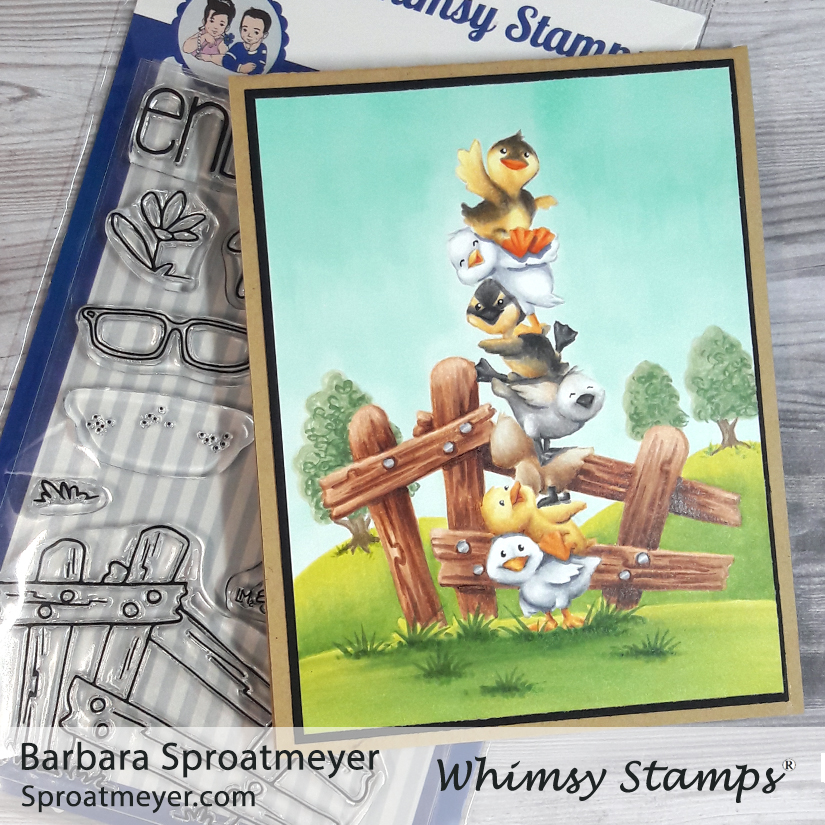
I really enjoy the stackers from Art Impressions and was happy to be able to get this Duck Stackers or ordered from Amazon last week. So I set off to use it right away and paired it with the fence from Polka Dot Pals Fern in the background. I originally was going to do a rainbow scheme but then decided I would do a rainbow of actual duck colors. After some Google research, this is what I ended up with.
The fence from Polka Dot Pals Fern made it easy to add a scene and I finished it up with a few hills in the background and some trees. I thought about adding clouds but decided I like the look of a solid sky which made me think the ducks were reaching for the sky. I think these ducks could easily be colored up as birds so that would look cool. If you try it, I’d love to see it.
I like how this turned out. I’d make a few adjustments next time such as ensuring the color placement of each duck – in this example, the brown duckling kinda gets lost with the fence. Swapping the white duck above with the brown duck would have been a better choice. Oh well, just forget what I said and you’ll never notice.
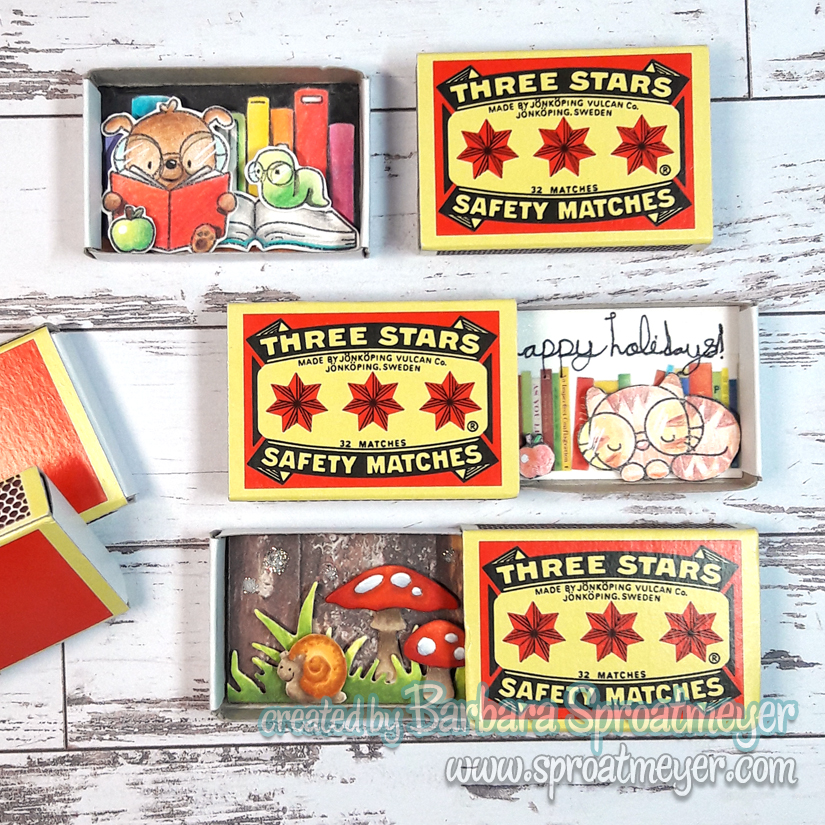
I’ve been collecting a match boxes and specifically like to look for vintage or unique ones at antique stores or flea markets. There are not very many but occasionally I’ll spot one for a good price. I even found a small vintage pill box that I’m excited to use one day. I would like to create small scenes in them like a world of their own but I’m afraid I’d ruin them in the process. So I decided to buy some to practice with and spotted this interesting brand on Amazon: Swedish Three Stars Safety Matches.
In these boxes are just paper scenes but that’s a good place to start. My first one was the snail with mushrooms. I used die cuts from Whimsy Stamps and the snail is from Polka Dot Pals Imogen set. The other two use stamps from Mama Elephant called Bookworm. My daughter gave me a box of colored pencils so we sat down and colored together – she did the cat one and I did the dog. Other supplies were used as well and are all listed below.