Picture Perfect Party Animals from My Favorite Things

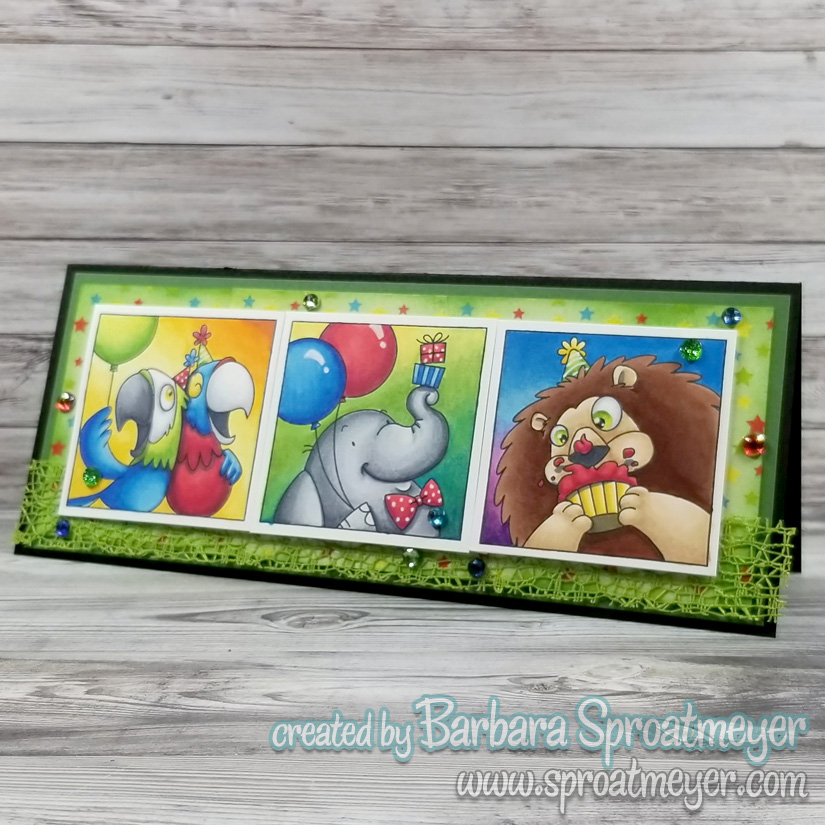
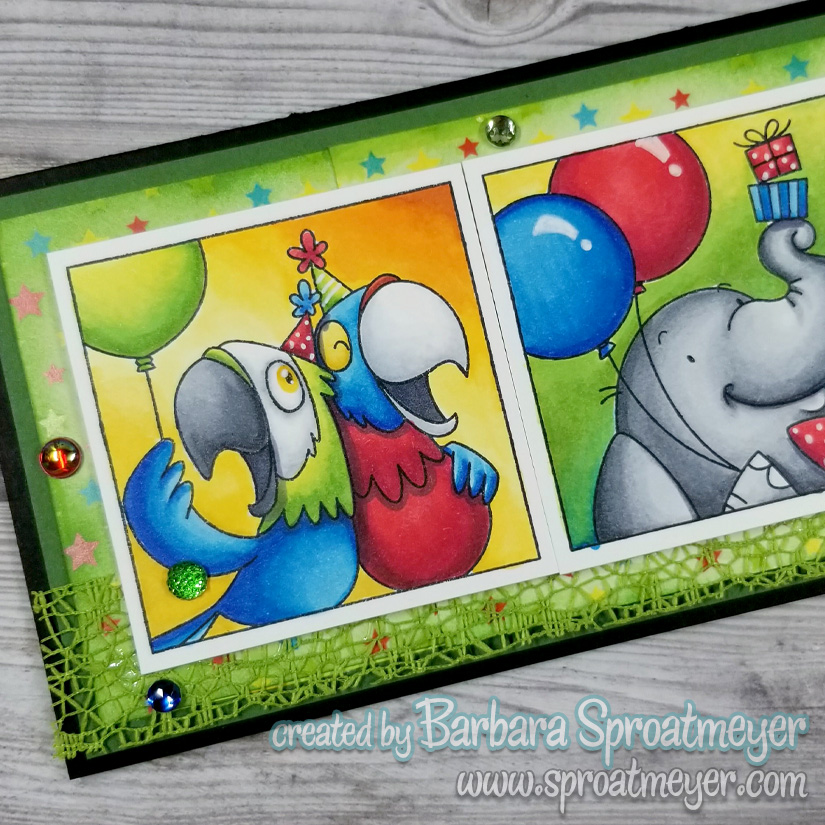
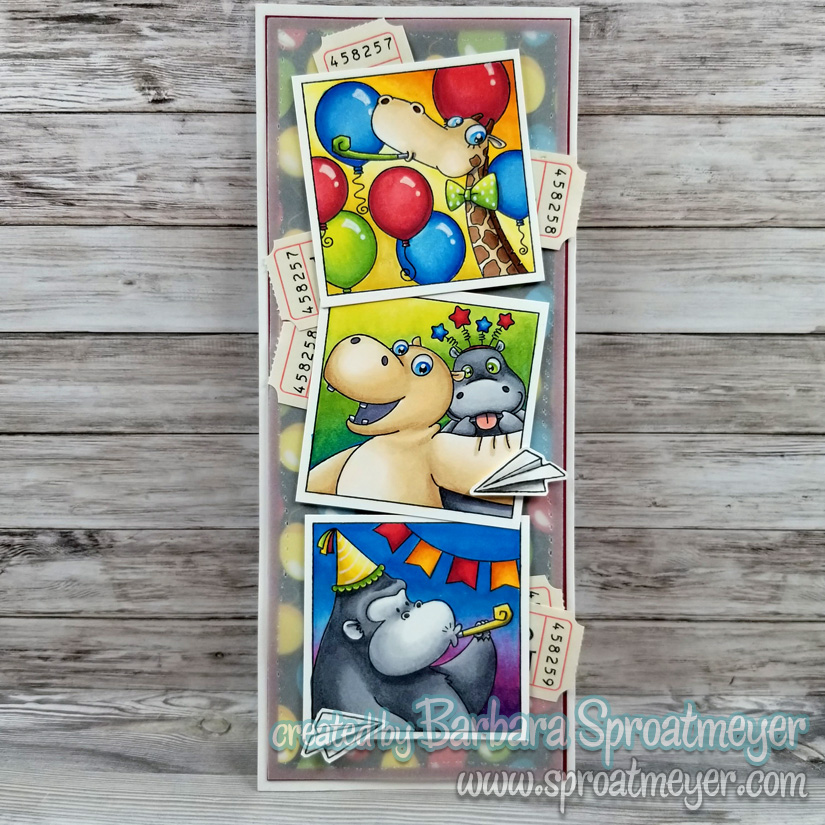
Welcome back! Last week I showed a slimline card I made using this same stamp set and this is the other half of the images that I colored at the same time. These made great birthday cards and I love how bright they turned out. Read below for more details on how this card was created using these featured products:

Picture Perfect Party Animals
Birthday Celebration Paper Pack
Polka Dot Pals Delia
Slimline Card Builder Die

There are six selfie stamps in this set and I colored them all using the same bright and bold colors. The three I didn’t use on my project last week were now used on this project to create a tall slimline card. This time, I used the Slimline Card Builder Die to cut out a vellum layer so the characters stood out more than the background.
The paper is from the Birthday Celebration Paper Pack which inspired the bold colors on this card and the balloons were the perfect theme to match the stamp set. For embellishments on this card, I went with some paper airplanes from the Polka Dot Pals Delia set and ticket stubs all around.

List of Common Supplies

Picture Perfect Party Animals
Birthday Celebration Paper Pack
Polka Dot Pals Delia
Slimline Card Builder Die

Copic Markers:
Y11, 15, 26
R21, 22
C1, 3, 5, 7
E000, 30, 31, 34, 25, 27, 29
V05, 06, 09
R35, 37, 39
B12, 16, 18
YG21, 17, 23
Y13, 17, YR15, 16, 18
BV23

Picture Perfect Party Animals from My Favorite Things

It’s a party! I couldn’t resist these animal characters to create a bright and cheery card on a slimline base. Sometimes the brighter the better and I purposefully chose bold colors for this one. Read below for more details on how I created this card using these key products:

Picture Perfect Party Animals
Birthday Celebration Paper Pack

I started this card by first stamping all the characters from the Picture Perfect Party Animals set from My Favorite Things. I then colored them using the same bold and bright colors throughout each panel. I made sure to color two with a yellow/orange background, two with yellow/green and the last two with a blue/purple background. This is the only time I used purple and I hope it gave the card a zany twist.
After the images were colored, I selected the sets of three I wanted to use on each card. I knew I was going to slimline cards and three would fit perfectly on each one. You don’t have to have a slimline die to make these cards – just cute the base at 8.5″ x 3.5″ and fold in half. Then I then cut my layered cardstock and used paper from the Birthday Celebration Paper Pack to build the card.
To finish off the card, I attached the colored images with foam tape and then added ribbon and gems as embellishments. That’s done! I’ll be showing the other card I made next week.

List of Common Supplies

Picture Perfect Party Animals
Birthday Celebration Paper Pack

Copic Markers:
Y11, 15, 26
R21, 22
C1, 3, 5, 7
E000, 30, 31, 34, 25, 27, 29
V05, 06, 09
R35, 37, 39
B12, 16, 18
YG21, 17, 23
Y13, 17, YR15, 16, 18
BV23

Strike Up the Band from My Favorite Things

The odd thing about this set was I thought those were mice. However, it wasn’t until after I colored the ears and started coloring the tails then did I realize they’re bunnies. Not mice! My eyes were deceiving me and I really wanted a mice band too. But I know how to fix that – through creative color placement – so you might soon be seeing another band marching down the path.

My Favorite Things Strike Up the Band
Peekaboo Backdrop Die
Everyday Sentiment Banners

The uniforms on these mice, er um bunnies, are simple and I knew I wanted to get more color on them. So I took a while to Google drum band uniforms and came up with this pattern… down to their striped pants, white gloves and shoes. Red and blue seem like natural color choices for a band but if I have to color these again, I’d like to try something different. Do you have any color suggestions?
I used a cloud stencil and distressed inks to color the background and all the die cuts using some greens and blues. I used a lot of dies on this project too. I think the trees (even the ones I used for bushes) are retired dies from Lawn Fawn. From them, I also used the Peekaboo Backdrop Die and Everyday Sentiment Banners. The fence, I think, is from Magnolia Stamps and the hill is one from Stitched Border Trio Die.

List of Common Supplies

My Favorite Things Strike Up the Band
Peekaboo Backdrop Die
Everyday Sentiment Banners
Stitched Border Trio Die

Copic Markers:
E40, 41, 42, 43, 44, 47, 49, R30
R32, 35, 37
T2, 3, 6
BV23
B12, 14, 16, 18
Y11, 15, 26

Snow Buddies

I’ve been wanting to do a snow scene for a while and figured I really didn’t have to wait until winter to do so… so I colored one. This uses Snow Buddies and I masked the images to add them all and create this scene. This was colored on Neenah Desert Storm card stock.

Other than adding white at the end with a gel pen, I wanted to work on shadows. Drop shadows on an image seems to be intuitive by now but the ones on the ground are ones that I still struggle with. It seems like such a permanent contrast to work with so that is my hesitation to lay down the colors. I’m working on it.
Adding the aspen trees in the background was fun and easy to do. I started with a light gray to put the trunks in then just added some lines on the truck for details.

Supplies Used:
Neenah Desert Storm 80# Cardstock
Sakura Gelly Roll White Pen

My Favorite Things Stamp:
Snow Buddies

Copic Markers:
E41, 43, 44
YG21, 23, 17
W3, 5, 7
E000, 21, 23, 25, 35, 49
E70, 71, 74, 77
T1, 3, 5, 7
C2, 3, B12
BV23, 25
E30, 32, 35, 37
Y11, 21, 26
BG11, 13, 49
YR30, 04, 09, 27