Across the Bridge

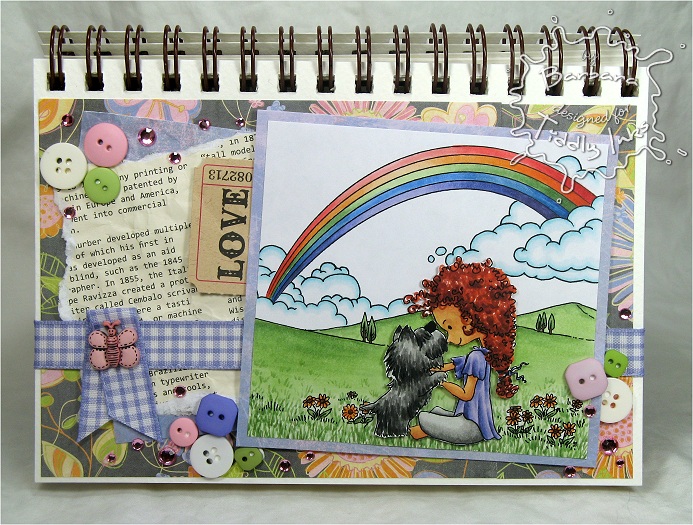
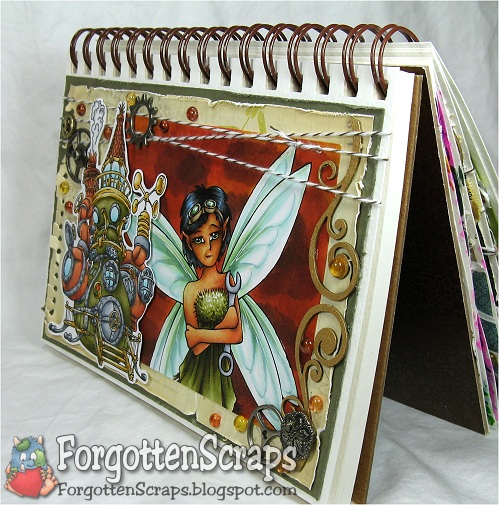
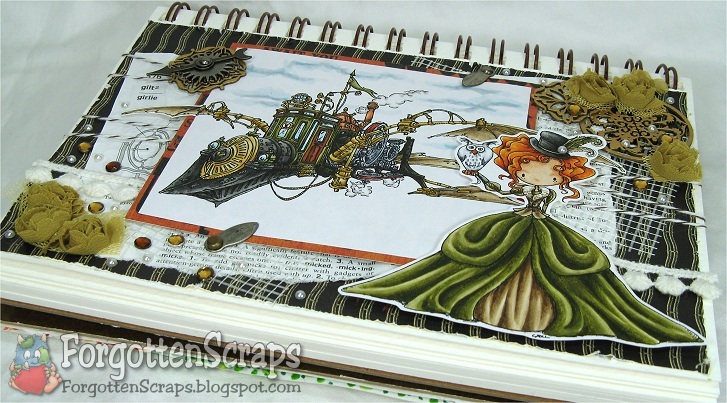
All good things come to an end and so sadly this is my last post as a Little Darlings Design Team member. I had such a wonderful time that I decided to go all out and created this summer scene! I used several images to create this page in my journal:


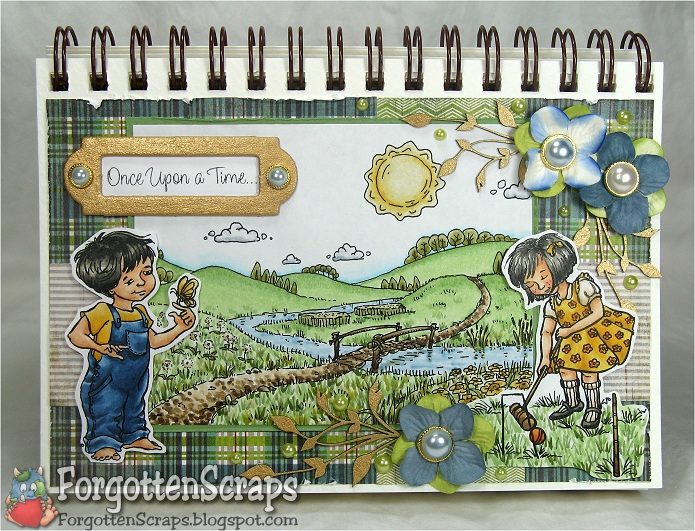
I used two images from Love to Stamp, Little Darlings Croquet and Nice to Meet You. In the background I used Across the Bridge plus some chippies from Make it Crafty. The paper is Oliver from Basic Gray and the pearl brads are from Whiff of Joy.


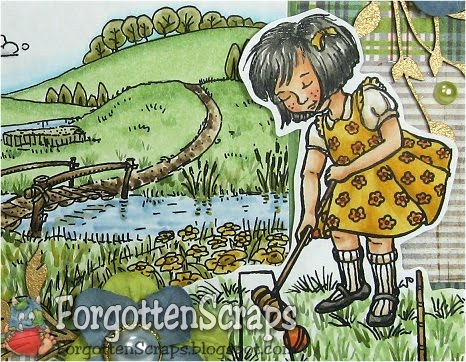
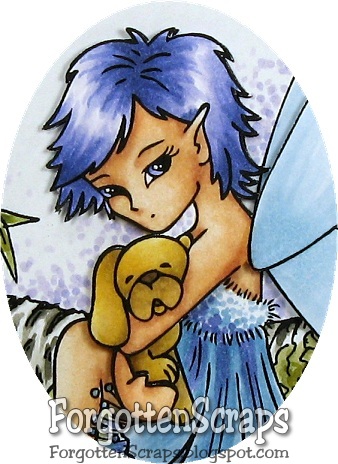
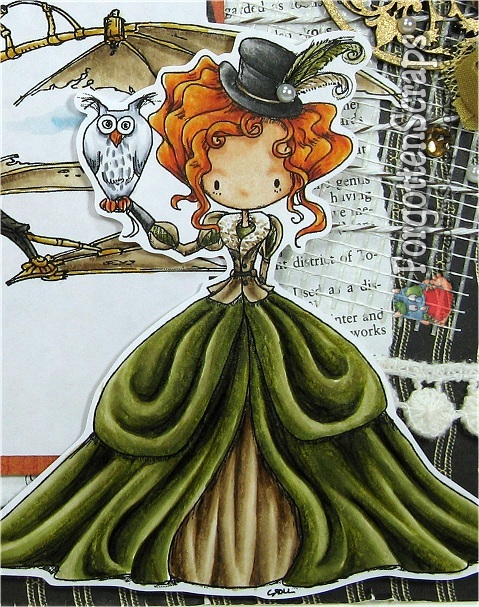
I started coloring in the background then worked on the two kids – and if you can believe it, I picked my paper *after* I colored! I’m usually the other way around so this was a new adventure. However, because it was a scene with lots of natural colors, I figured I was pretty safe in doing so. ;D


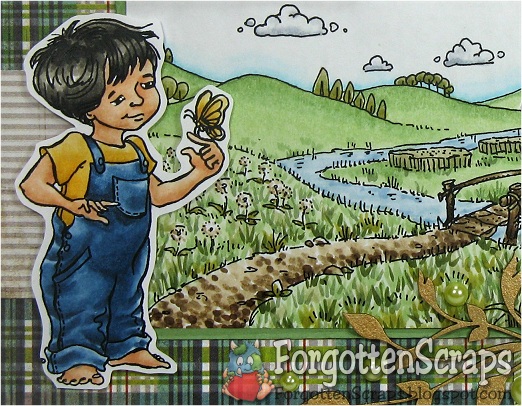
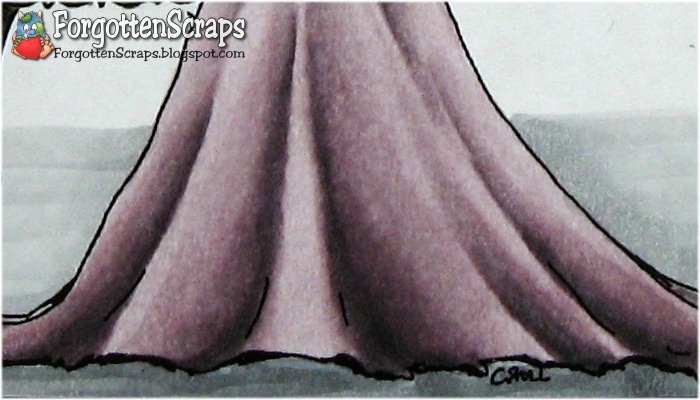
Here’s a better view of the background before it started to blend into the background of the project. LOL One of the clouds I had colored in blue but then changed my mind and wanted to go with gray. At that point, everything else was colored so I printed out a second copy and paper pieced in a new cloud colored gray! Works every time!


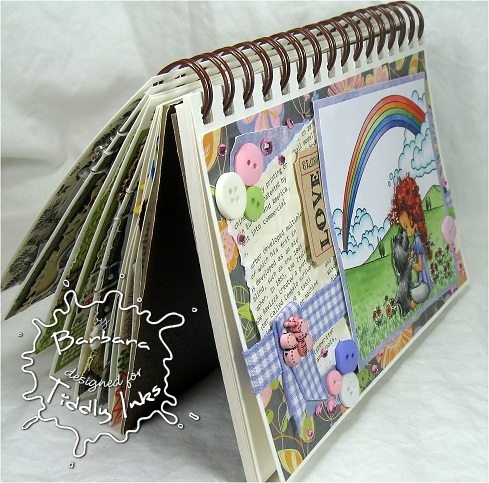
This is the eight page in my project journal and I’m starting to think I need to make a statement with each page! Ha ha… I’ll save that for the next book. ;D For those who want to start your own book… I found this spiral bound journal with watercolor paper. The paper is thicker and provides a great base to start building on.


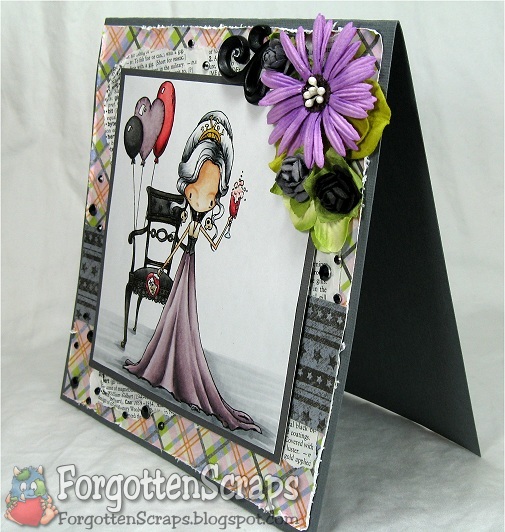
This was a fun summer time page and I like cool colors with a splash of yellow. It actually wasn’t planned that way but it turned out great – like a nice cool spring day. Hope you enjoyed this page and that you’re sufficiently inspired … for now! LOL

Girl’s Best Friend

Welcome to another Tiddly Ink Tuesday Challenge where the theme this week is to create a project inspired by a Nature Movie. My movie isn’t all about nature but it fit the images I wanted to use… “Must Love Dogs” and highlight the park scenes.


And speaking of movies, it’s not helping much to write this post while I’m watching Rango. I’m not sure about the plot yet but the textures on characters are amazing! Anyway, I decorated another page in the journal and this time I went with a very girlie pastel theme.


It’s been a long time since I’ve used my button stash so I grabbed a few coordinating colors and scattered them around with a few pearls. I also found some old ribbon that worked well and finally used another one of those Ranger tags.


The images I used was Girl’s Best Friend from Tiddly Inks and Rainbow Meadow from Make it Crafty. I think the paper I used was Sugar Rush from Basic Gray. Here’s a close up of the colored image… the girl was colored separate and then I used foam dots to give it dimension from the background.


Did you see the post from yesterday about the “green” faces? This is another one of my attempts and I’m not sure how it turned out – different. This time I had colored the all the skin areas with Y000 and G20 before applying any other color. I’m sure to try it again so we’ll see what comes around. ;D

Adela & Dida Inventing

This is my green face project. Green face you say? Well, ya, sort of. ;D It was a personal challenge among friends to color a face like Trev Murphy who often using a touch of green and yellow to create a glow to the skin. Some of his images reveal a little more green than others but it was our goal to give it a try!


I had watched his demo and recorded all the colors he used then gave it a go, however, my first attempt was too dark and it was difficult to blend the colors the way I had used them. So this is my next attempt where I integrated his style with my own. Some of the colors used was my typical set of skin tones (E000, E00, E21 and E13) but I also incorporated several of his own colors (G20, YR61, Y000, Y11, E95, E37, E19, E02).


At first it looked horrible – and I mean sickly horrible! But then I forced myself to finish the project and added colors that helped accent the skin tones. By just having all the white around on the unfinished project appeared to be the problem because it doesn’t look so bad now.


The images I used are Adela & Dida Inventing from Little Miss Muffet Stamps and Steampunk House from Make it Crafty. The funny thing is I used the background image in the foreground… it added a little humor to my day. ;D


As you can see this is another page in the summer journal. I embellished it with a few metal gears and added a compass arrow on one of them. Then some Baker’s twine and dew drops to finish it off … oh, and some Make it Crafty chippies and a button brad on the other side.

I’d like to enter this into the following challenges:
Make My Monday – torn or crumpled
Stamps + Fun = CREATIVITY – digital stamps
Lollipop Crafts – anything goes


Above is a close up of the Steampunk House – I’m happy with the steel and brass colors but I think the copper comes off a little too orange. Older copper starts to turn green to I had fun coloring some areas with green and gray to get that look. Hope you enjoy it and good luck if you choose to take this challenge… coloring a “green” face! 😀

Adela and Dida

Good morning and welcome to another challenge with Make it Colourful!! Are you ready for an easy one? For this challenge we want you to “Colouring Hair with any colours EXCEPT black/Brown/Red/Blonde.” So for my color of choice… I went with purples! (Specifically Copic markers BV000, BV02, BV04, and BV13). Hope you enjoy this project and come along and play this week. ;D


Our sponsor this week is Quixotic Paperie which stock many of Make it Crafty rubber stamps and chippies including the ones I used on the background of my project… Whimsical Log and Fine Swirls chippies. The fairy image on the card is Adela and Dida from Little Miss Muffet Stamps.


The other embellishments are baker’s twine, wide organdy ribbon, a Prima (I think) flower and plastic green leaves I found in the floral section of the craft store. I’m hoping to go find more because I like the frosty look and how they turned out on the card.


Here’s a close up of the fairy’s face and might I just add that I love digital image processing! After my project was finished, and sometime while I wasn’t looking, my daughter decided to get the red marker out and added a dot right at the center base of the wing!! It’s always red, isn’t it?! She said it looked pretty. 😀

I’d like to enter this into the following challenges:
My Sheri Crafts – faithful companions
Bling It On – anything goes
By the Cute and Girly – things with wings
Copic Creations #54 – pastel colors
The Emerald Faerie – all things nice

Update: I was the winner and selected guest designer at My Sheri Crafts for this challenge!

Mix ‘n Match with Tiddly Inks & Make it Crafty

Make it Crafty and Tiddly Inks presents… a Mix ‘n Match Release! I’m so excited about this joint release I’m almost paralyzed witting about it – I don’t even know where to start! LOL So there’s details over at Facebook and a Release Page that has everything you need to know plus more sneak peeks… and a fun game of I Spy!


“It’s finally time to release the big Mix n’ Match collection from Tiddly Inks and Make it Crafty! Together they have been craftily plotting behind the scenes for months (making us drool in anticipation) to bring you a fabulous collection of Steampunk creations with a Victorian theme! You’ll find little steampunk houses, bits and bobs background scenes, flying contraptions, gorgeous characters and the finest selection of digital papers!

We could send you on a little hop, but they are getting a bit boring… so we knocked our heads together and thought up a game to play instead! ‘I SPY’ with my little eye… … hmmm what do you spy?? Well to find out, head on over to the Release Page where it all begins!! (Plus 15% off new release images for a week!)”


Here’s my creation and another page in the summer journal. My journal is about 5″ x 8″ and has been an interesting size to create with – in some areas I have more room to play around and my style has certainly been leading towards the scrap side of decoupage.


In the background I used Steampunk Flying Machine from Make it Crafty and went with a color scheme I thought would be realistic for that time period – coloring metals such as black cast iron, copper, brass and steel. Then the paints and fabrics were more muted colors to coordinate with the metals. For the sky, I added just a few clouds.


In the foreground I used Owlette from Tiddly Inks and colored her with the same muted colors except for her hair. There is something about orange-red hair that goes perfectly with a green dress! On the dress, I created lots of folds and pleats and bult up the ink so much that I over saturated the paper – luckily for me, that ended up making it looked like crushed velvet, a happy mistake I can live with!


Update: I totally forgot to include a close up picture of the awesome Flying Machine!! … and I’d like to enter this project into the Simon Says Challenge – Anything Goes.


Hope you enjoyed the release and my inspriation for you today! Happy stamping and good luck with the I Spy game!! 😀

Toasting Properly

Remember all those hints I’ve given about coloring pleats and folds in clothing? Well, today’s the day! It’s another challenge with Make it Colourful and our theme this week is none other than to… create folds and pleats through coloring! 😀


Here’s a close up of some of the folds I created in the dress. I like to start with my darker colors and work towards the lighter ones. The darkest color I lay down serves as a guide for the fold – so I guess it’s kinda like cheating. LOL But give it a go and see how it turns out for you.


Our challenges is sponsored by Magnolia-Licious which also have lots of images to practice this technique with. 😀 The images I used on my project was Toasting Property from Tiddly Inks and Flying Balloon Chair from Make it Crafty. It’s an unusual combination, I think, but I like how it turned out.


I embellished with a few elements keeping with a black and lavender theme but also snuck in another page from the dictionary – this one was semi checked for bad words though I still didn’t take the time to *every* word. Ha. But I guess that is what would make it interesting – especially for this card!


I didn’t write down any details on the colors and papers this time around but I used the upper V’s for the lavender and the “N” Neutral colors. Here’s a closeup of the main image. I colored her with Gray hair thinking of my Mom – she’s on vacation right now and enjoying life, of course.


Hope you liked it and come on over to play in our challenge this round – it’s a fun technique to learn. Happy Stamping and stay tuned for next week’s combined release of Make it Crafty and Tiddly Inks!