Evelyn

Howdy! We have a gorgeous inspirational post for you over at the Little Miss Muffet Challenges blog with LOTS of projects to drool over!! So be sure to head on over there and check out what the design team has to show off today. ;D We’re have such fun with the Joint Release that we had to play some more – and here’s my project to share…


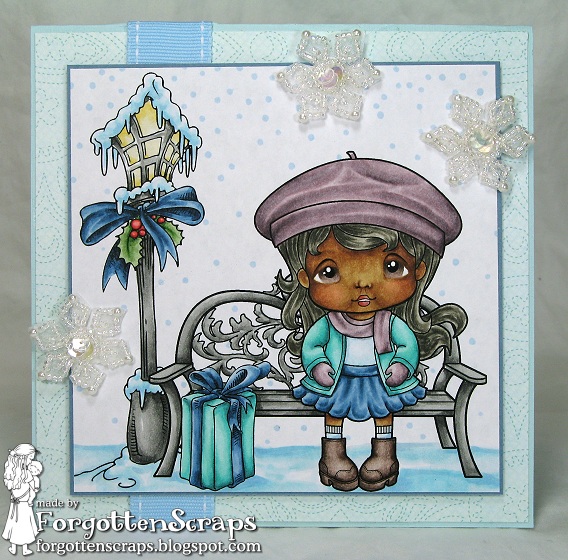
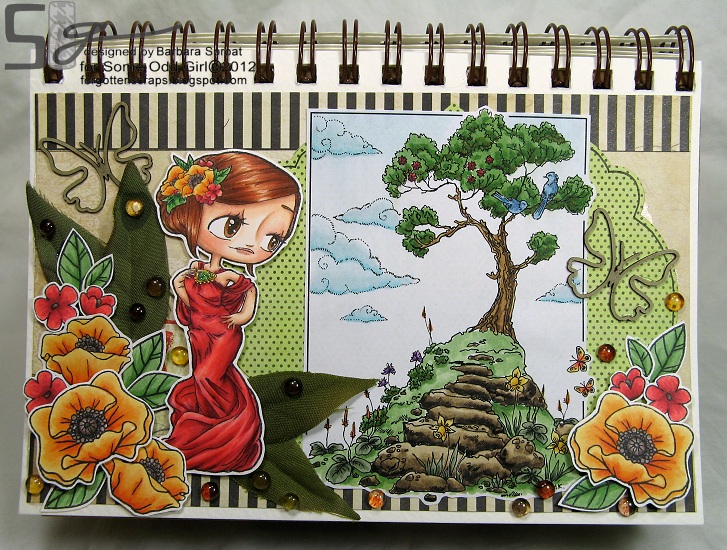
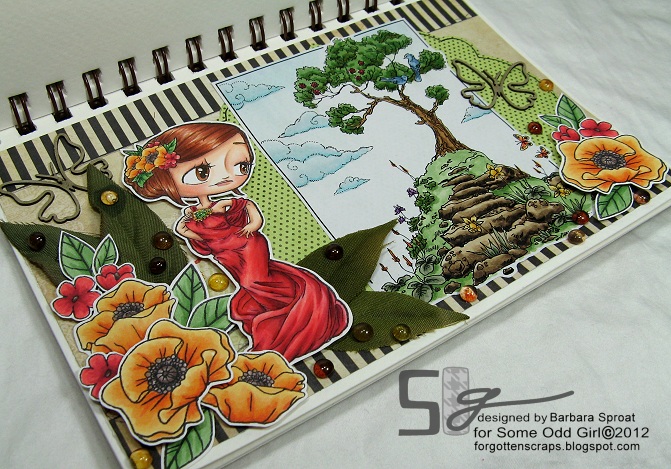
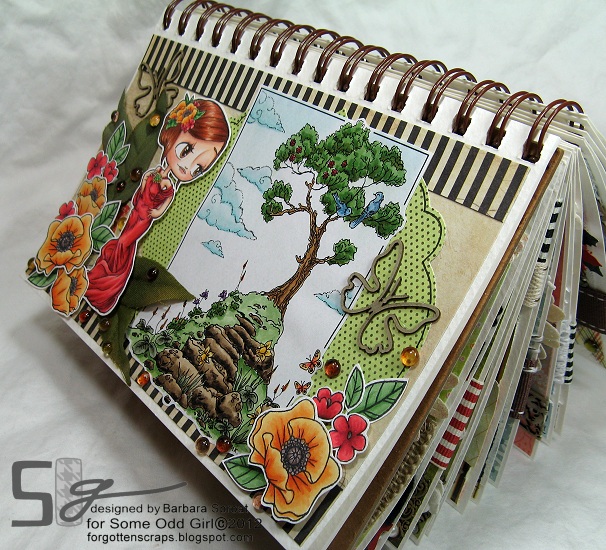
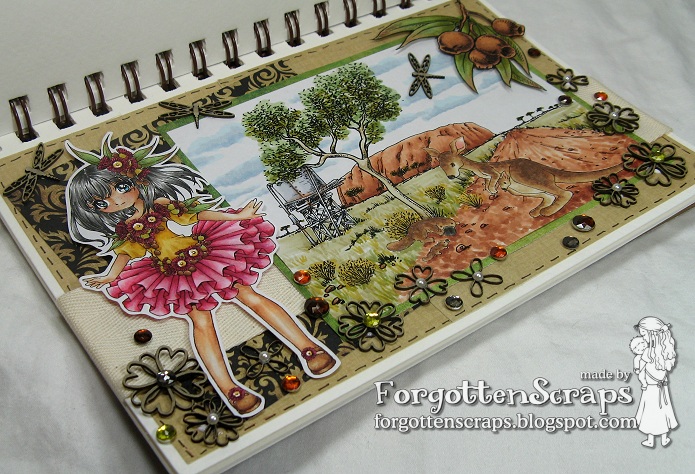
I used elements from all three companies and if you’re just joining in on the action make sure you head over to the Three Companies Team Up blog for the release details plus a challenge! On my project I used Evelyn from Little Miss Muffet Stamps, Paris Elements from Make it Crafty and I Heart You Tabs 2 from Whimsy. I also used the coordinating Tabs 2 die and N2 Fancy Frame chippie!


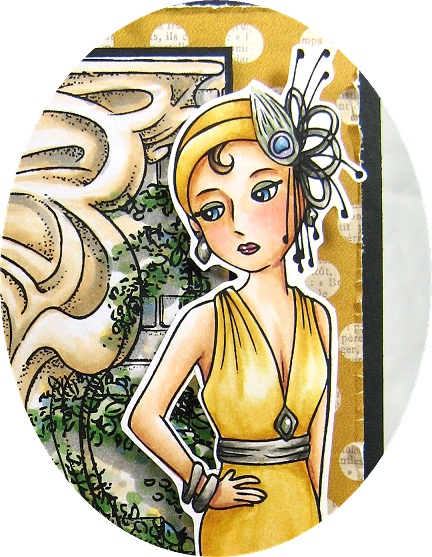
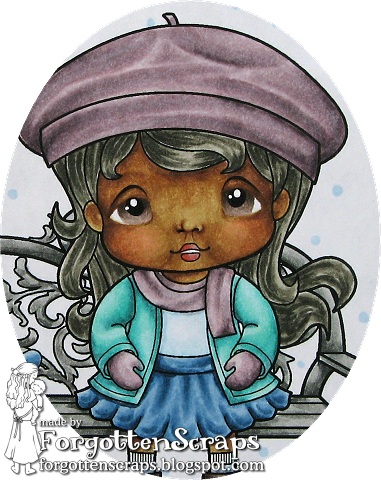
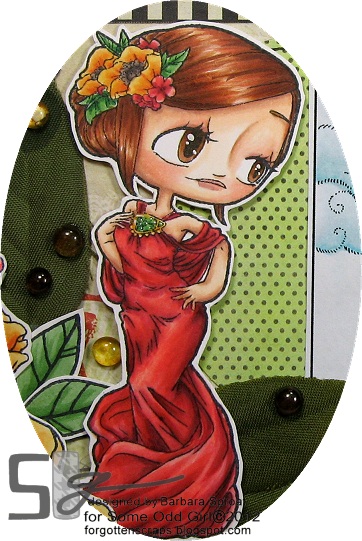
For Evelyn‘s dress color I was trying to go for a gold color and ended up using YR23, Y26, Y21, Y23 and YR30. It worked out better than I thought so I also colored her two sisters, Irene and Florence, in the same colors. After all, gold and art deco somehow just seem to go together, don’t they?


The building was colored following Zoe’s example in the store, Fancy Balcony. I put the computer up close to my coloring desk and tried to match the colors as best as possible – I loved how her’s turned out so I was aiming for the same feel. 😀 I think what really makes this scene shine is the blue glass door/window and the added greenery – to me it really says “Paris!”

I’d like to enter this into the following challenges:

Crafty Calender February Challenge – Love and Marriage
Little Claire’s Designs Challenge #18 – Romance
Totally Gorjuss Challenge #118 – “Lurve”
By the Cute and Girly February Challenge – Love is in the Air
Crafter’s Companion Challenge #21 – Anything Goes
I Break for Challenges #18 – I break for Love
Joanna Sheen February Challenge – Love is in the Air
The Pretty Little Ribbon Challenge #7 – Anything Goes

Autumn Marci

It’s “almost” winter here in Texas – at least, we had our first snow fall this week! It didn’t stick long and it was only a short time before it quickly turned to sleet. But that’s my excuse for this winter card and I’m sticking to it! LOL


For my project I used Autumn Marci and Garden Bench from La-La Land Crafts which I purchased back in January. I also used the Festive Lantern and Present in the Festive Elements Collection from Make it Crafty. Check out Marci’s face… isn’t it adorable! Out of all the ones I colored, so far this one turned out to be my favorite. 😀


I used all the cool colors on this project plus a few beaded snowflakes from my collection as embellishments. The rest of the card was simple enough and with the dots of snow falling it gave the perfect chilly feeling. Brrrr… time for some hot cocoa!

Copic Colors: V91, V93, V95, V99, R17, R46, YR30, YR31, YG61, YG63, YG67, BG18, BG15, BG13, BG11, BG10, B01, B00, B000, B0000, B91, B93, B95, B97, E34, E25, E27, E04, R11, R12, E70, E70, E74, E77, E79, W2, W4, W6, W8, C1, C3, C5, C7

I’d like to enter this into the following challenges:

iCopic Challenge #69 – Use BG color family
Make it Monday Challenge #76 – Anything Goes
Simon Says Stamp and Show Challenge – Anything Goes
Stamps R Us Challenge – Anything Goes
Craft a Scene Challenge #2 – Winter scenes
One Stitch at a Time Challenge #100 – Anything Goes
Robyn’s Fetish Challenge #94 – Square cards
Card Caravan Challenge #12 – Use ribbon

Update: I was a top three pick at iCopic for this challenge!

Update: I was a selected top pick winner at Robyn’s Fetish for this challenge!

Paris Relase with Whimsy, Make it Crafty and Little Miss Muffet Stamps

HAPPY VALENTINES DAY!!
Have we got some exciting news for you today!! Not only is today a release day, Little Miss Muffet Stamps is joining up with Make it Crafty and Whimsy to bring you a fantastic collection of images, sentiments and even matching embellishments to get your creative minds flowing with ideas! There is inspiration, a blog hop, challenge and HEAPS of prizes!!

And some big news of our own… we’re releasing RUBBER stamps! That’s right, I’ve made the leap from digi and will now bring you select images in rubber stamps for that tactile pleasure! Whoohoo!

PRIZES & SURPRISES & A CHALLENGE!!

The main event today is a release blog hop so to get started in the excitement,
the first stop on the hop is the inspirational ANN!

Make sure you comment along the way for a chance at winning a few extra goodies and once you reach the end, we’ll share all the details on the prizes you can win and we even have a fun challenge you can enter which could win you a feature in the upcoming Whimsy Magazine!

FOLLOWER’S FREEBIE

I did say freebie, right?! … Become a follower of THIS blog and you can get this Bicycle image! I thought this would be perfect with the Paris theme and even leaning up against a building wall. Also, don’t forget to visit the Little Miss Muffet Challenge blog for yet another freebie!

** NOTE: This freebie offer has expired, but you can purchase it HERE. **
Make sure to get your request in before Sunday evening at 8:00pm Central US time – just email me at my email address at…
Thanks for stopping by and have a great Valentine’s Day!

Believe

Are you ready to get your socks knocked off? No, I’m not bragging about my project – but I have some exciting news to share!! I’m now officially an odd girl! I’ve been asked to join the Some Odd Girls Nouveau Design Team and I’m so excited! You can visit their blog to read about the other girls on the team but first, take a look at my project…


I used Believe from Some Odd Girls and paired her with the Timber Top Ridge from Make it Crafty. Also, all thee orange and red flowers are accessory stamps that come with the Believe stamp – they made a perfect embellishment. ;D Check out how gorgeous she is colored up…


This is another project I did where I experimented with the reds. Over at Make it Colourful the challenge is to use different colors to blend in with your reds. Earlier today I showed what red would look like with turquoise (click HERE to see) but on this I used RV91, RV 93 and RV95 as the base tone.


After I colored her dress with the RV tones, I went back in and recolored on top of that with the reds. I think I used R11, R21, R14, R24, R37, R46 and R59. It has more of a pinkish highlight to it like the light is reflecting at a different angle off of the fabric. Other than that, I didn’t noticed much of a change… maybe it’s more deep in tone? Not sure, but it was good to experiment.


Hope you’ve enjoyed this journal page and you’ll be seeing the rest of the Nouveau Girls featured through out this month. ;D Have a great Thursday!

I’d like to enter this into the following challenge:

Flutter By Wednesday Challenge #188 – Open (plus butterflies)

On the Pot Girl

One thing I’ve learned while growing up is a saying on the wall is more nagging that a Mom could ever be!! I remember two in particular that my Mom would have hanging on the wall and everyt time I’d pass it I would read it. Even to this day, they still pop into my head!! So that’s why I decided to use the same tactics on my kids and created these signs…


The images I used are On the Pot Girl S and On the Pot girl C from Mo’s Digital Pencil which are unusual but perfect for the task. ;D I place them inside the parchment paper which is actually an altered version of the Treasure Map digi from Make it Crafty. On the first one, above, I thought it would be fun to draw in push pins only afterwords did I realize the paper curled at the top and it looked silly so I had to alter that corner a little. 😀 You can see the difference when you look at the second one below.


I’m sure your curious by now… what were the two saying that I remember from my childhood? The first one was in the kitchen and it said “You have two choices for dinner – take it or leave it.” The second one was in the family room or hallway and it said “Use it up, wear it out, make it do, or do without.” I’m lucky to have both of them hanging in my own hous today… only after I found out that my Mom hated the reminder just as much as us kids did. LOL


So this is just your friendly reminder… next time you find yourself in the bathroom, make sure you FLUSH the toilet and WASH your hands!! 😀

Gumnut Flower Girl

I had so much fun with my last Australian themed project that after I finished hopping I had to do another! This one take several of my favorite elements from all my hopping buddies and combines them all into one! If you missed the hop, just click HERE to start at the beginning for some fabulous Make it Crafty inspiration!


For this project I used several images from Make it Crafty including the adorable Gumnut Flower Girl! I was suppose to be coloring something else but she distracted me too much and I put my obligations aside and had a little fun. LOL The other images I also used are… Australian Outback Elements (for the road, horizon and shrubss), Outback Objects Elements (for the water tower, tree and Ayers rock), Platypus & Platypup, Kangaroo & Joey, and the Gumnut Elements. (However, if you have to have them all, like I did, then check out the Australian Outback Collection which has it all!)


The gumnut corner was directly inspired by Debbie from her blog hop project and I couldn’t think of a better way to color it so before I hopped to the next stop, I paused to color mine exactly the same way. 😀 I also colored a Kookaburra from Debbie‘s example, but decided to put it on another project. If you don’t want to merge your own corner of gumnuts and leaves then check out the premade Gumnet Small Corner.


This is the Gumnut Flower Girl and it was Ruby that inspired me to color her because of the way she shaded the skin, specifically the knees. I hadn’t done that before, so again, I stopped hopping for a moment and tried to copy hers. I decided to give her a pink skirt instead because it reminded me of the gumnut flowers – plus I haven’t colored with this tone of pink in a long time. I think I used RV00, RV11, RV14, RV19, RV29, RV34 and a little RV69.


The Kangaroo & Joey was colored using the store samples for inspiration, which Debbie also colored. She got the texture of the fur spot on and I wanted to see if I could do the same. I first started dotting on the darker colors but half way into the middle tones I started blending in circles. It was really done by accident becuase the dotting was looking terrible and I thought if anything, blending might help me recover. Little did I know… it’s eactly what I wanted!


The Platypus & Platypup was done the same way too (also inspired by Debbie) but they so small on the project that the texture didn’t work out as well. Seeing that I was helped by my two little misses on creating this project… I had to include two animals! Because of course, they wouldn’t agree on the same one. 😀


To me, nothing say Australian more than the Ayers Rock. I alway love how it looms in the background and the rich sandstone colors make for some lovely pictures! Finally, I scattered the journal page with Mix ‘n Match Centres and Mini Dragonflies chippies. It was a fun project to put together and I enjoyed merging all the Australian elements together. ;D


If you haven’t made it over to Zoe‘s blog yet, make sure you do so quickly! She has a huge blog candy offering that you don’t want to miss out on and it ends on January 31st!! She has not one, but THREE different lots in celebration of the Australian release. Good luck!