Ardelia

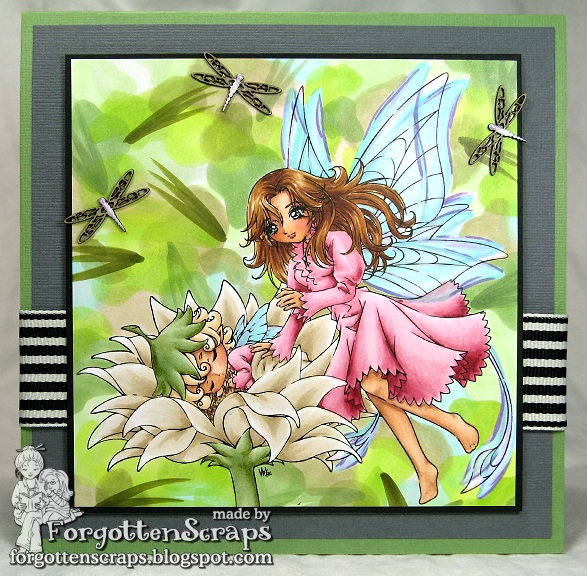
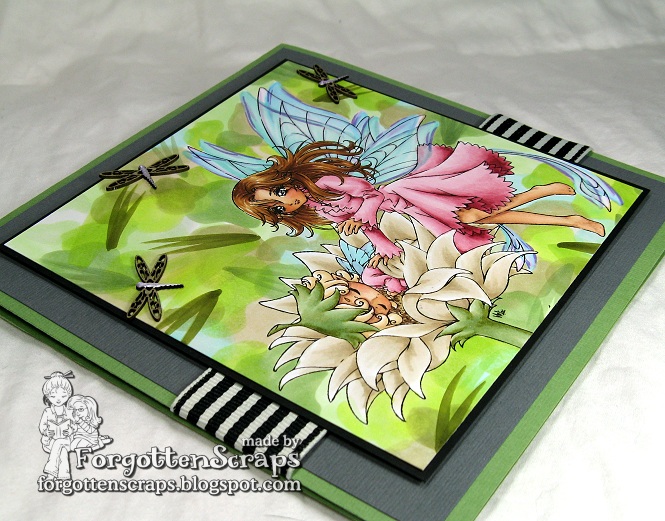
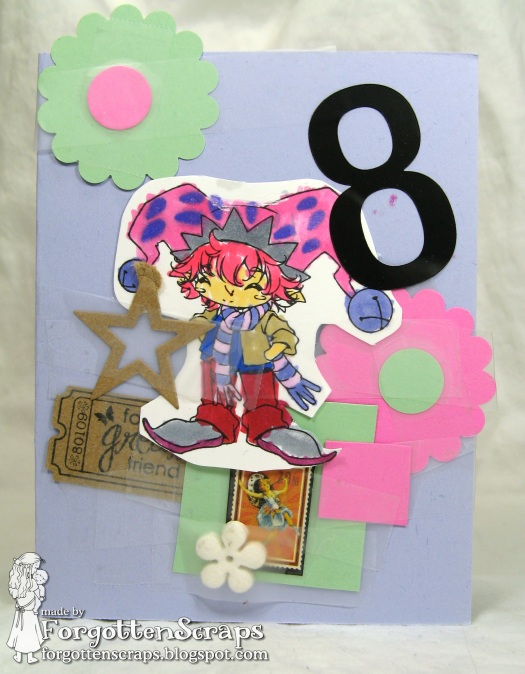
I’ve got to get these posted even though I’m not finished! But that means when I do get finished you’ll be able to enjoy them again. LOL I colored these images for the Good vs Bad challenge at Make it Colourful and even though it’s over, it’s still a great experiment and so much fun for the creative soul – honest!


The image I used is Ardelia from Make it Crafty and I printed her out rather large, about 4.5″x5.5″ or something like that. All I remember is it was too large to fit on the small standard size cards and too much of an awkward shape for a regular 6×6″ card. What to do? Alas… I have been given some suggestions and will ponder some more.


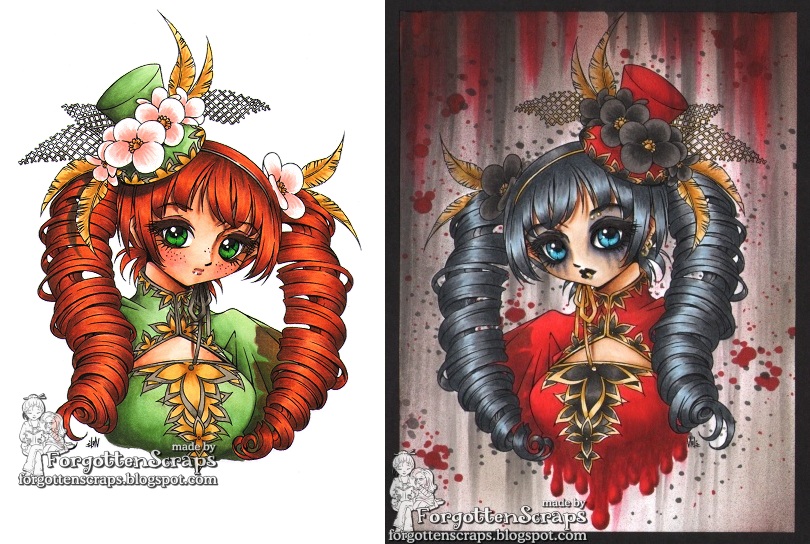
Here’s a side by side comparison of the good Ardelia and the evil Ardelia. 😀 Some tricks I used to convey both sides comes down to color, face makeup and background. For the good side I’ve left a clean white background, gave her spring colors for her clothes and fun reddish hair with freckles. Then for the darker side I used deep blood red, black hair and lots of Gothic-style makeup. Then I started having some fun… I added some piercing studs to her eyebrow and rings to her lips and ear; the dress I pulled down into some blood droplets and added lots of streaks and splatters in the background.


One thing I wanted to do was give them bright deep eyes so I used brighter colors and reduced the highlights down in size. With the good and the bad done I started thinking about the spaghetti Western movie called “The Good, The Bad and The Ugly” so someone dared me to color the Ugly version. Are you ready?….


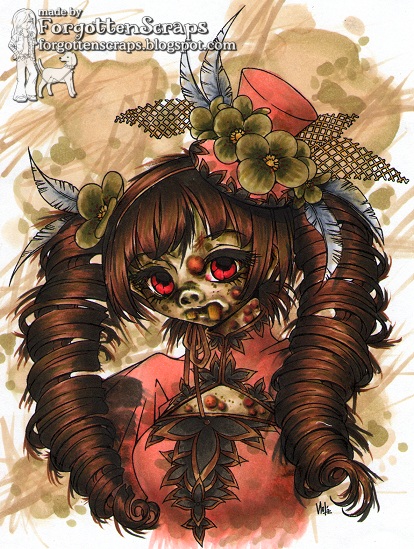
I kept with the same techniques as before but for the Ugly version I went with a dirty background, muddled colors and greenish skin with warts. And with that worked out, I also started to have fun and added decaying buck teeth, upturned pig’s snout, messy strands of hair witha bit of green, and took away all the highlights in her eyes and made them a little bloodshot.


My sister says she’s hard to look at so I take that as a complement! LOL After coloring this image three times I realize there were a few shadows I had forgotten here and there so I’ll be going back and touching up the portraits. Then once I figure out what to do with them I’ll post the finished projects. 😀 Hope you’ve enjoyed!!

I’ve added this project to this Monday’s linking party #85 at Make it Monday. 😀

Tweet Kaylee & Spring Pup

It’s been a while since I’ve done a full scene card and the new releases at Some Odd Girl gave me a little inspiration! Plus getting the whole card colored sure makes putting it together a cinch! LOL Here’s what I made…


The images I used are Tweet Kaylee and Spring Pup from Some Odd Girl (both new releases for this week) and I’ve combined them with Open Window, Pebblestone Patch and bricks from Paris Building Elements by Make it Crafty. As embellishments, I also used Mini Dragonflies chippes from Make it Crafty.


I colored Spring Pup to mostly look like my dog. My dog is probably a mutt but mainly has pinscher markings with a little white on the chest. She’s a tiny dog and super friendly so not really the scary kind of pinscher. LOL She was adopted last year so who knows what her background story is.


Tweet Kaylee fit perfectly in the window and it looks like she is leaning out to say good morning to the little bird. Reminded me a little of Snow White so I had to color her heir black with a little bit of a turquoise twist.


Thanks for dropping by and make sure you check out all the other awesome creations by the DT over on the SOG Blog! They’re fantastic! 😀

Mother & Baby Fairy

Are you ready for the next challenge at Make it Colourful? It’s all about movement and there are already some fantastic samples in the gallery to show off – especially Ruby! Make sure you check them all out. 😀 But don’t get discouraged, because there have been so many ways to show movement that I’m sure one will suit your creativity.


For my project I used Mother and Baby Fairy by Make it Crafty and also added a few Mini Dragonfly chippies in the scene. I wanted to try showing movement in the Mother’s wings, however, I’m not sure how it worked out. I colored the wings in a set of two and offset them a bit from the actual line art. I’m not sure if the color is too dark or the wings are too large but it kind of works and kinda doesn’t. LOL


I also colored the left offset wing in more of a green and the right offset wing in more of a blue. For the background I wanted to try coloring a blurry scene as if it was full of foliage that was too far in the distance to be in focus. But again, I’m not sure it turned out to my liking. It was a good try and as a last resort, I threw in some crazy brush strokes to distract you from the real mess in the background.


But the best part about the project is the adorable little baby sleeping on the flower – I mean, who wouldn’t love coloring that sweet pea?! My daughters love to curl up like that and they look so snugly! 😀


Speaking of which, here’s a project my oldest daughter make the other day. She loves to use my Copic markers and begs me every chance she gets so we often color side by side – elbow to elbow more like it – as we share the desk with the markers on it. I love the crazy color combinations she comes up wth!


For her project, she used Zippy from Make it Crafty and Frienship Ticket Sentiments and ticket die from Whimsy. (She also likes to use tape instead of glue – can’t believe it!)

Thanks for stopping by and hope you have a great weekend planned with lots of creativity!

Hot Air Balloon

Here’s another mid-challenge inspiration reminder and this one is for Make it Colourful where the them is to “Colour with Green!” You’ll have to check out the blog and gallery for more projects as the design team has done an awesome job!!


For my project I used Hot Air Balloon and Valley Above from Make it Crafty plus a few chippies from the N1 Fancy Collection. The chippies coordinate well with the new Whimsy sentiments so I took advantage of that and stamped one from Stylized Notables 1. The rest of the journal page was put together with odds and ends found around my crafting space.


The Valley Above was a fun image to color and I used three different combinations of green for all the greenery. YG90’s was used for the tree and BG90’s was used for the evergreen trees. Then the grass and fields are basically colored with the G20’s. With the three different tones of green it helps to define the scene.


I used a little green in the Hot Air Balloon but the rest was colored with contrasting rusts and tans to help set it off. The balloon was fun to color and I even got to add a few pleats. 😀 Hope you’ve enjoyed this journal page and thanks for stopping by!


If you’re interested in being on the design team, then now is your chance! Zoe is having her first ever DT Call and this will be your once in a blue moon opportunity… perhaps an orange moon opportunity. ;D Good Luck!

Emily Rose Hatter

We have a fantastic challenge for you over at Little Miss Muffet Challenges and this time our theme is “Fancy or Lacy!” I know we all love to dress up our projects with lace and lots of embellishments – at least for me, it’s hard not to! So to celebrate this compulsive habit, I’ve decided to make a challenge of it – so the fancier or the lacier the better!! 😀


For my project I used Emily Rose Hatter from Little Miss Muffet Stamps and placed her in front of Ivy Window Wall the from Make it Crafty. Then I used the coordinating chippies and diecuts to create the sentiment (N3 Swirl Frame chippie from Make it Crafty and N3 Notables Die from Whimsy). I had to chop the frame a little and move around a couple swirls to get it to fit in the corner but it’s still just as fancy and elegant. 😀 The sentiment is also from Whimsy and is from Birthday Letter Seals.


The fancy part comes from the wide lace ribbon and all the pearls scattered around the card. Plus I was able to use two of my pearl brads from Whiff of Joy at the top corner…. and of course, the frame/sentiment helps. The papers are new and something I picked up at the scrapbook store the other day – I’ve noticed that yellow is coming back into season! So many to choose from and they’re all perfect for spring.


Thanks for stopping by and I hope you’ve enjoyed my card. Don’t miss out visiting the Little Miss Muffet Challenges for more inspiration and also the current Paris Blog Hop – which only goes until Sunday to be eligible for the prizes!

I’d like to ener this into the following challenges:

Craft Us Crazy Challenge #21 – Favorites (chippies embellishments)
Sarah Hurley Challenge #60 – Diecuts
Willow Sketchie Challenge – Anything Goes

Julia & Taylor

To keep up the celebrations – we’re having another blog hop!! Come hop around with us “in Paris” this week with a New Release Blog Hop!! Check out the Little Miss Muffet Challenges Little Miss Muffet Challenge blog for all the details and prizes!!

You should have arrived here from the talented SHIRLEY!
However, if you get lost along the way you can see the complete list HERE.


Have you heard the big news? Whimsy, Make it Crafty and Little Miss Muffet Stamps have come together to give you a little romance in Paris this Valentine season! You can join the festivities and read all about it on the ThreeCompaniesTeamUp blog. But wait… have you heard the really big news?! Little Miss Muffet Stamps has now released images in RUBBER! That’s right – so pop on over HERE to get your rubber fix. 😀


My project uses several images from this release to create this scene. From Little Miss Muffet Stamps, I have used Julia, Taylor, Agent Éclair Dropping and Naw the Gargoyle. Then from Make it Crafty I used a bridge scene that Zoe put together using Paris Elements and Eiffel Tower, plus a whole bunch of chippies, N3 Rustic Frame, Flower Leaf Swirls and Swirly Corners.


The sentiment stamp is Élégance Élémentaire frm Stampin’ Up! and translated would be “Happy Birthday.” I used Whimsy’s cordinating Shapeology Die, Notables 3, which coordinates with the chippie so nicely! The rest of the journal page is deocrated with oddds and ends from my stash – pearls, rhinestones and various ribbons.


Check out all the Paris themed New Releases at:
Whimsy, Make it Crafty and Little Miss Muffet Stamps

Lastly, before you leave to your next hop… don’t forget to check out the Joint Release challenge at ThreeCompaniesTeamUp and submit your enteries using any of the products form any of the three companies. It’s an easy theme too … “LOVE!”

Your next stop on the hop is the fabulous VICKY!

I’d like to enter this into the following challenges:

iCopic Weekly Challenge #70 – coloring animals
Make it Monday Linking Party #77 – Anything goes
Simon Says Stamp and Show Challenge – Paris, London or New York
There She Goes Challenge #144 – Animal theme


Update: I was in the Top 3 at Simon Says Stamp and Show for this challenge!!