Snail Mail

This guy is Snail Mail rubber stamp by Little Miss Muffet Stamps. The sentiment is from the Merry & Bright Ornament Kit from Queen and Company.  The background is Candy Canes and Lights from Whimsy Stamps. The snowflakes are Chipboard Embellishments from Make it Crafty.

This guy was slow going and was very appropriately sitting on my work desk for over a week. He really is snail mail!  LOL 

These are the Copic markers I used:
B52, 00, 0000
R59, 37, 08, 05, 12
BG18, 49, 13, 11
VB23, 20, T4, 6, 9, C2, 3
G99, YG63, 61, 67
E41, 43, 44
B97, 95, 93, 91
Y19, 04

Polka Dot Pals Brianna

I am joining Ute at Bastel-Traum on this Advent day.  I have used Polka Dot Pals Brianna and Polka Dot Pals Add-on Faces from Little Miss Muffet Stamps.  Below you’ll find a quick guide on how to mask and stamp a Polka Dot Pals Add-on Face for this Pal.  I have also used the sentiment stamp from the Merry and Bright kit from Queen and Company.

When adding a face to the stamp, occasionally something blocks part of the face so creating a mask is needed.  To do this, after I stamped the main Polka Dot Pal, I stamped again on a scratch paper.  Because I was using grey, it was barely noticeable but that was all I needed to cut around the packages. Then I stamped the Polka Dot Pals Add-on Face with the masking in place. I removed the mask and then I could start to color.

I should have known better than to use a scratch paper for this demonstration… because it wasn’t long after that I was tempted to color.  I ended up coloring her anyway and then created this card. I should have also stamped the whole image… but it made for a nice change.

Girl Sitting

I’ve been wanting to try out the Polka Dot Pals Add-on Faces with other stamps and so for this project I pulled out some stamps by hÄnglar and stÄnglar.  I don’t know the name of their stamp and they are rare on the internet that I wasn’t able to Google it.  It might be called “Friendship” or simply “Girl Sitting” but I have no clue.  (If you do, leave a comment and I can update the name.)

Here’s a close up of the face.  To get the face stamped, I inked up the hAnglar girl then used a cotton swab to remove ink from the eye dots.  Then I selected a Polka Dot Pals Add-on Faces stamp that I thought would work best.  Some looked too large but this one fit nicely.

The sentiment I used is a Kid’s Quote by Inkadinkado.  I thought the “smile” worked to draw attention to the face.  😀  Hope you like it and thanks for dropping by today.

Dexter Gives

It’s Day 14 of my Advent Calendar and on sale is Dexter Gives and Dexter Ice Cream – each rubber stamp is only $2.50.  While supplies last and for today only! All the digital Dexter stamps are also on sale.  🙂

For my project today, I’m sharing a card using Dexter Gives.

Here are the Copic marks that I used:
YR23, Y21, 11
E43, 41, 40, R11
T8, 6, 4, 2
C6, 4, 3, 2, 1
YG63, 23, 01
B97, BG15, 53, 11, 000
R59, 37, 17
BV23

Little Houses

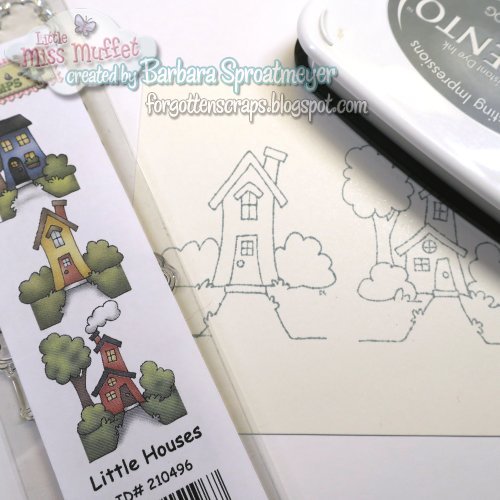
Welcome to Day 7 of my Advent calendar!  Today I’m joining with Ute at Bastel-Traum on their Advent calendar.  I’m sharing a tutorial on how to add snow to an every-day image.  For this project, I’ve used Little Houses clear stamp by Little Miss Muffet Stamps. 

For today only – you can get this stamp at 50% OFF!  WOW!
Add Little Houses to your shopping cart. 
(Offer expires at midnight, Central Texas time.)

For each of the images below, you can click on them to make them larger.
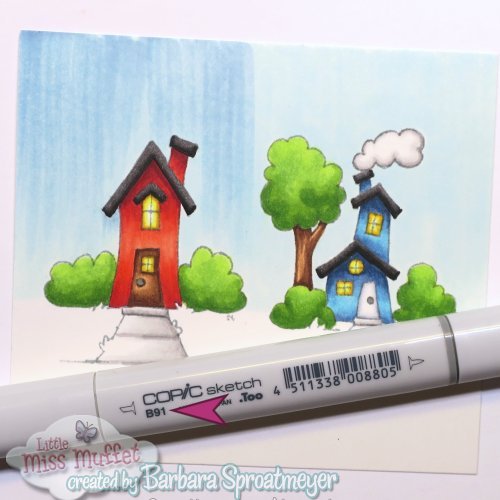
First, I stamped the image in gray. It makes it dark enough that I can see the lines really well but also light enough that I get a good no-line coloring effect.  I used Memento London Fog ink.
 
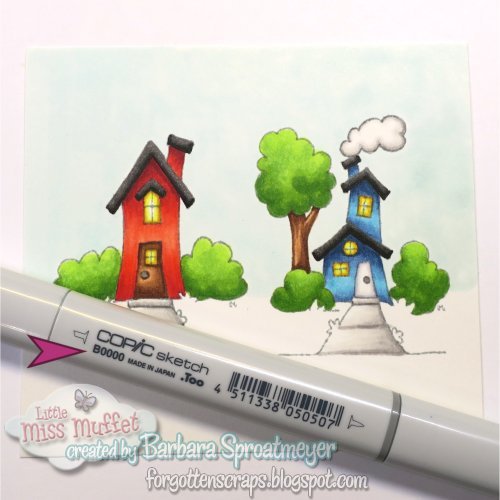
I then colored the houses as I normally would except I didn’t color the green grass. That part will be colored later as snow by adding a little grays.

Here’s where I start on the sky. I put down a solid layer of B0000 to get the paper wet.
 

Then I used B000, B91 and B93 to gradually make it darker. I swiped the brush tip from the top down, making sure I didn’t go all the way down. For each color the strokes got smaller. I had planned to go as dark as B99 but the paper had some oils on it which I could see as I was using B91.  I then decided to stop at B93 and go for a light colored sky.
 

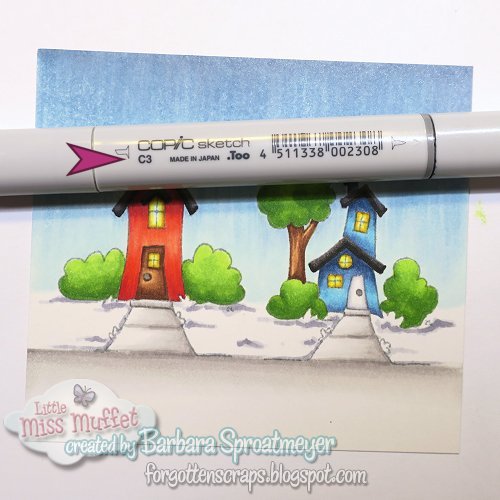
After all the colors were down, then I used the lightest color, B0000 to swipe up from the bottom to help blend in some more.
 

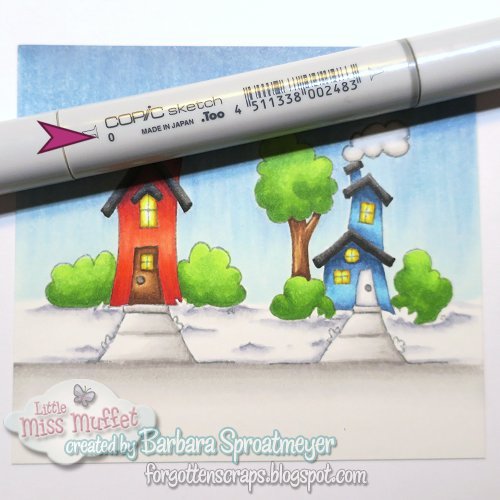
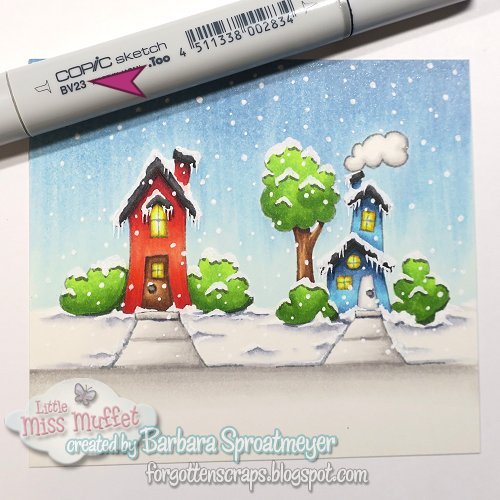
My next strategy is to work on the snow instead of the grass. I used C2, C3, C1 and 0 to create some depth and shadows.
 

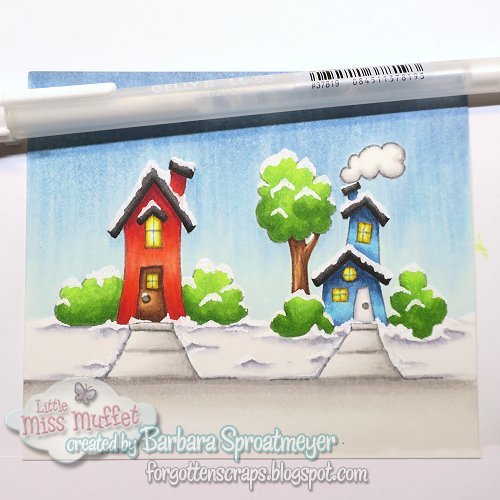
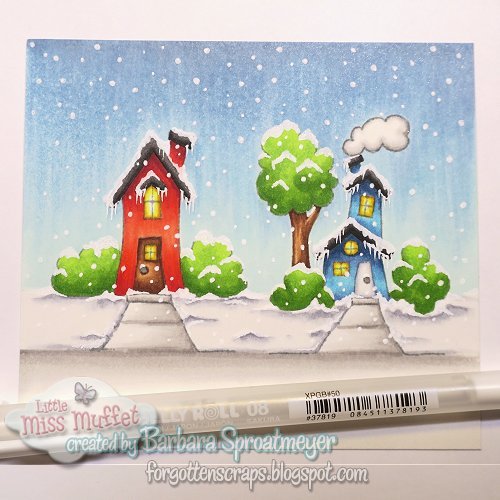
This is where the fun part starts with the White Gel pen. I first added snow to the red house, then the blue house. Then I added icicles on the roof and finally snow flakes across the entire image. Remember to add snow flakes in front of the image too. This is a good way to hide some blunders.  LOL 

My last step is to add drop shadows or cast shadows.  I do this with BV23. Be careful not to color the white snow or the snowflakes. I added shadows under the snow on the bushes and tree, under the roof line and a little on the ground under the bushes. I also added some for the icicles. If you really want them to stand out, you can use BV25; or a mixture of both.

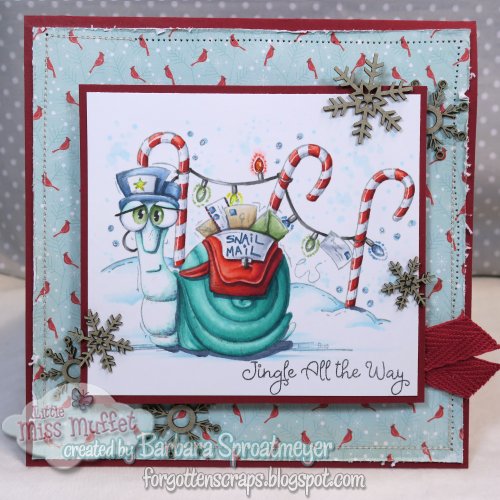
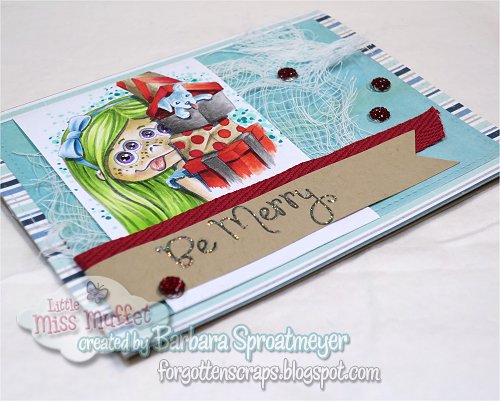
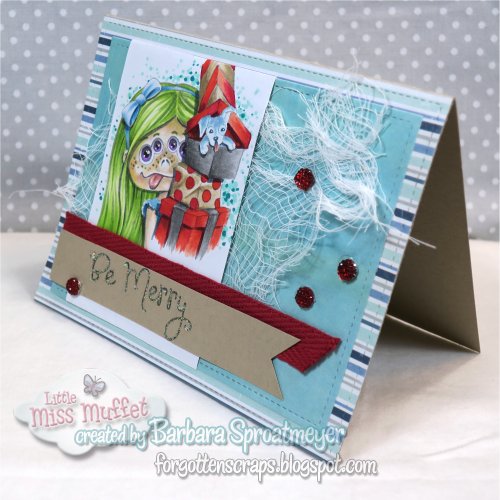
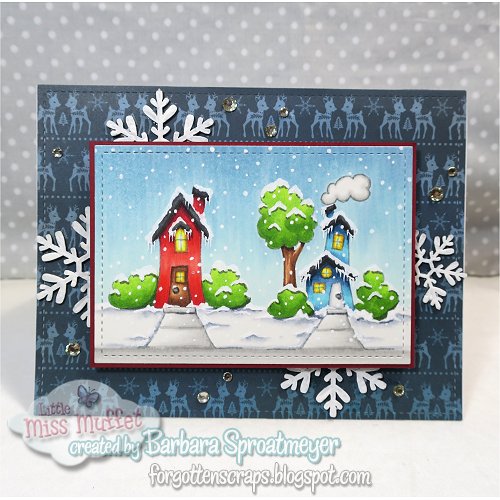
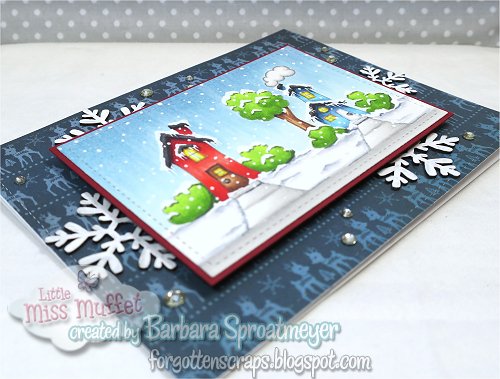
For the final product, I cut out the paper with some dies and layered the card. I added snowflake chipboard from Make it Crafty and some white gems for a sparkle.  
Hope you’ve enjoyed this tutorial on adding snows and thanks for stopping by.
Fröhliche Weihnachten!

Pluto

On this Day 6 of the Advent, I have a card featuring Pluto from Little Miss Muffet Stamps. I colored the bird as a Great Green Macaw.  I tried to add more yellow to the feathers since the belly and inside feathers are lighter than the back.

The paper I found had the Christmas tree and pressies and I decided that would be fun to use. So I fussy cut around the bird and ribbons to use the package on the paper instead. This allowed me use pop-up foam to give the card some dimension.  It turned out better than I expected.