12 Days of Halloween

Get ready for some more 12 Days of Halloween projects as I’ve got three more for you today! I worked on day five, ten and twelve which means I only have three more days left to finish for the ultimate prize. Whoohoo! For each of my projects I’m still using the same paper – Matilda from Cosmo Cricket.

On the fifth day of Halloween
My true love gave to me…
Five scary spooks!

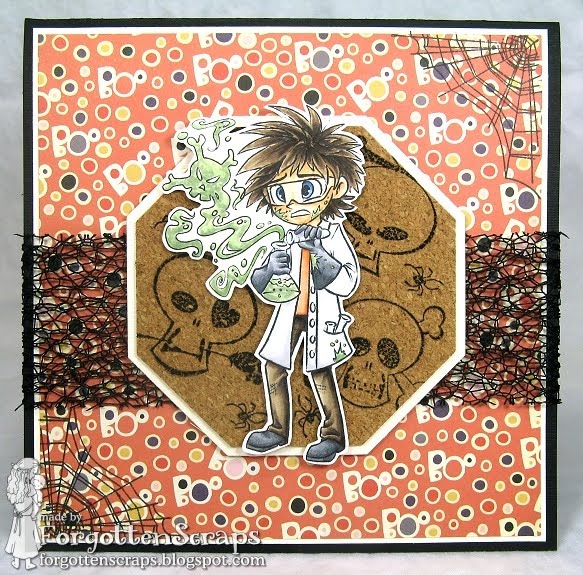
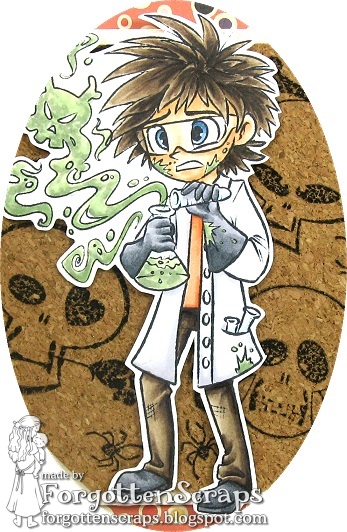
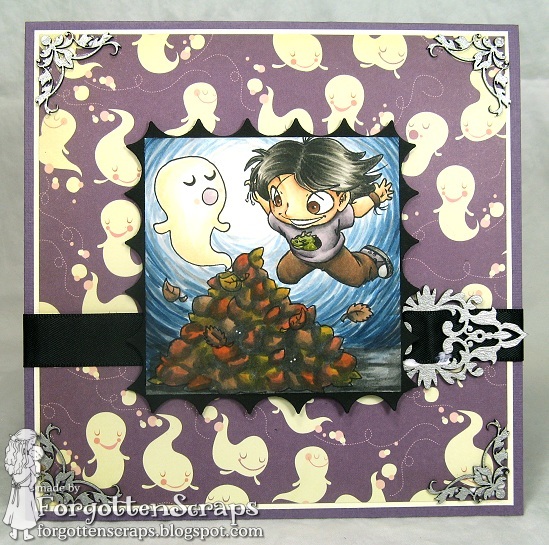
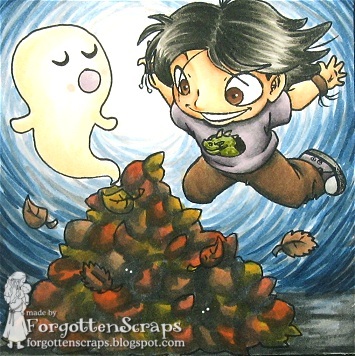
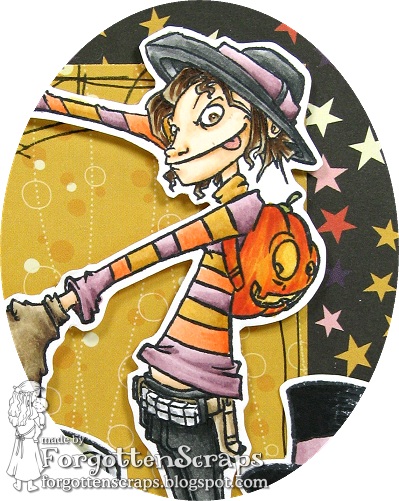
Incorporating spooks in this project was an easy task – along with the main image, Freddie Kruger Boy from Simply Betty Stamps; I used a tombstone in Epitaphs, spiderweb and skull, all from Inkadinkado, and the fifth element is the scared kitty charm.


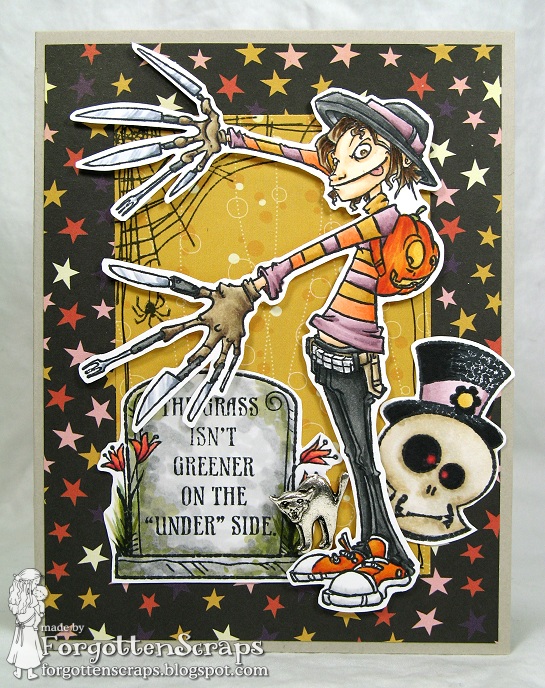
I’ve enjoyed using these tombstones today, and as far as sentiments go, they strike a chord in my funny bone. 😀 This one in particular says “The grass isn’t greener on the ‘under’ side.” As I was coloring Freddie, it was intriguing to discover little bits of details – for example, it took me a while to figure out hes belt was a personal knife sharpener complete with side pockets for more knives – well, at least that’s how I colored it. He he!

On the tenth day of Halloween
My true love gave to me…
Ten ghouls a-groaning

This one was a little more challenging to figure out how to fit ten ghouls onto a card but after some creative thinking and stretching of definitions, here’s how I counted them up… five are under the tombstones, both bats, the girl and yes, the crow AND spider!


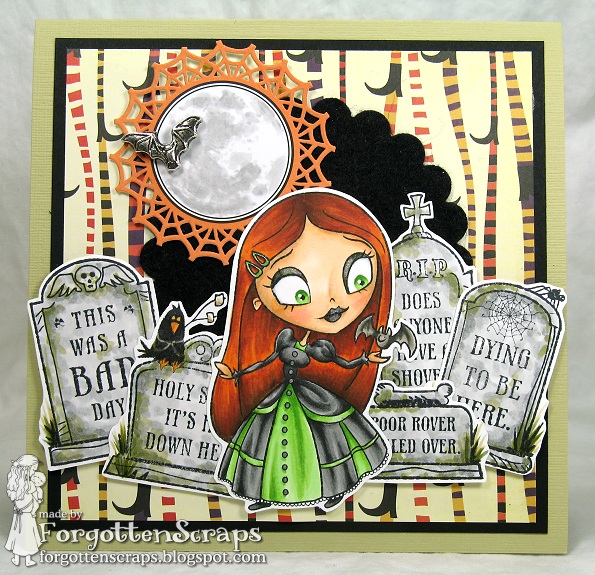
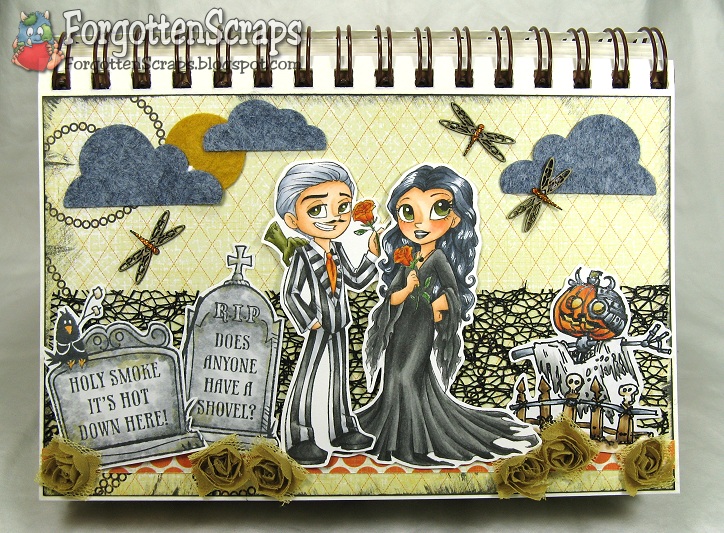
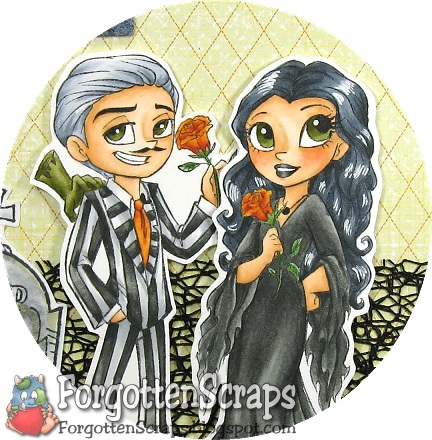
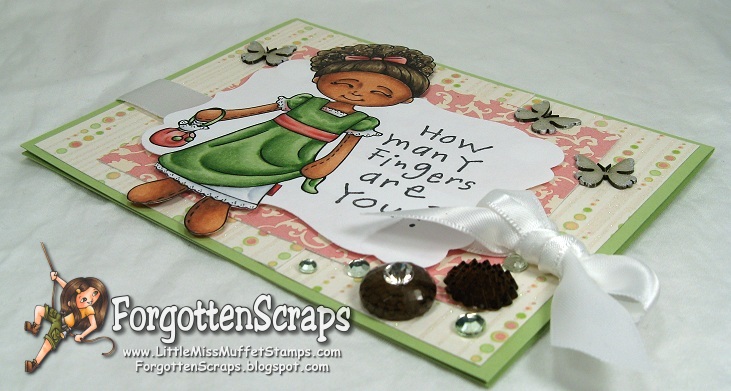
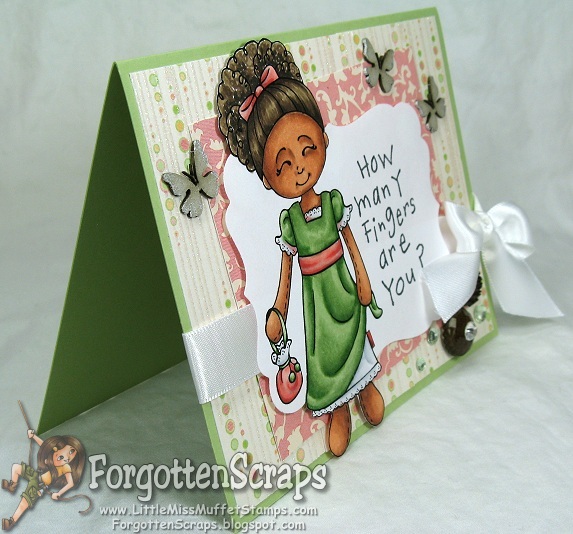
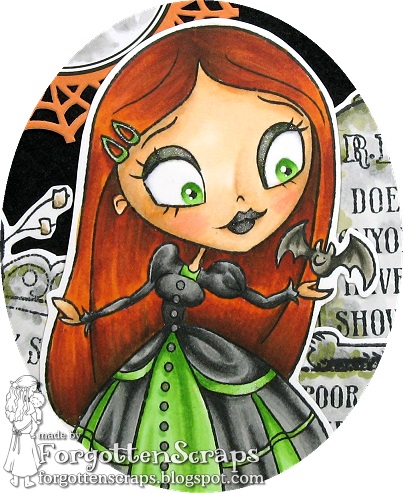
On this card I used Miss Betty Burton Chibi from Simply Betty Stamp and I colored a few feature with the Atou Spica glitter pen. (Don’t we all wish glitter showed up better in the photograpsh!) I also used more tombstones (Epitaphs from Inkadinkado). These ones say “It was a bad day,” “Holy smokes it’s hot down here,” “Poor rover rolled over,” “Does anyone have a shovel,” and my favorite “dying to be here.”

On the twelfth day of Halloween
My true love gave to me…
Twelve bats a-flying

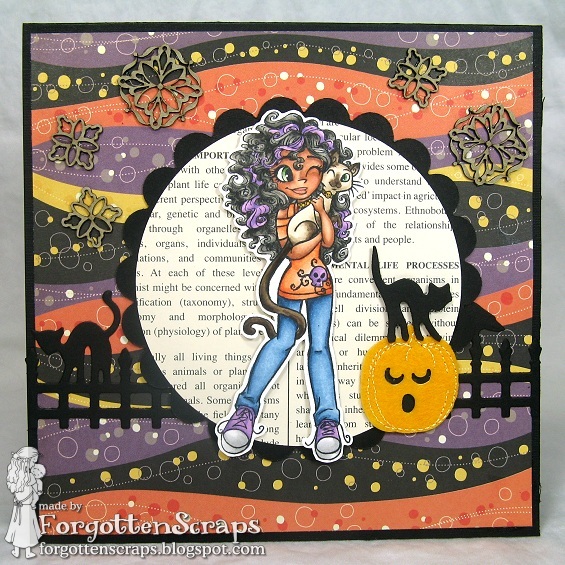
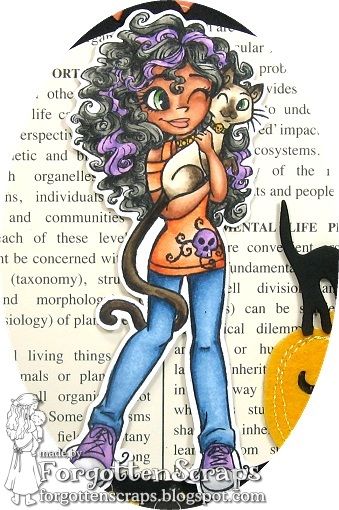
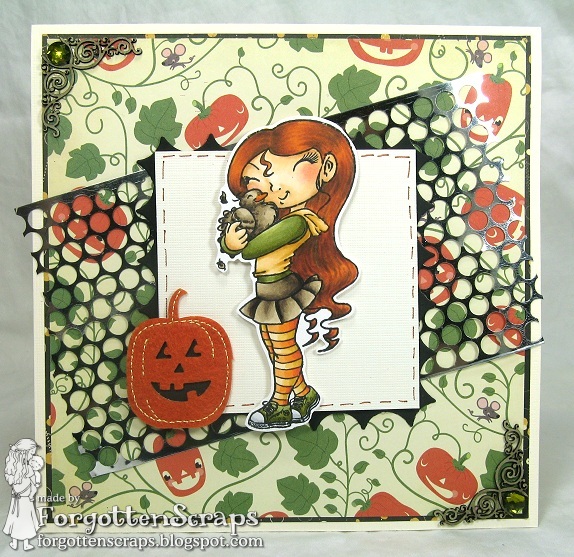
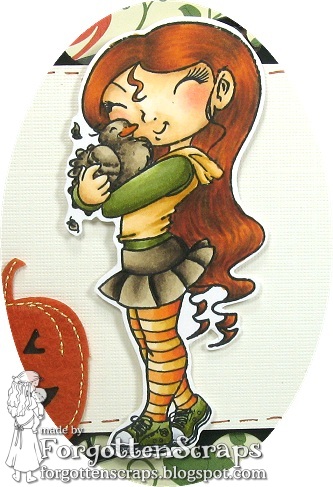
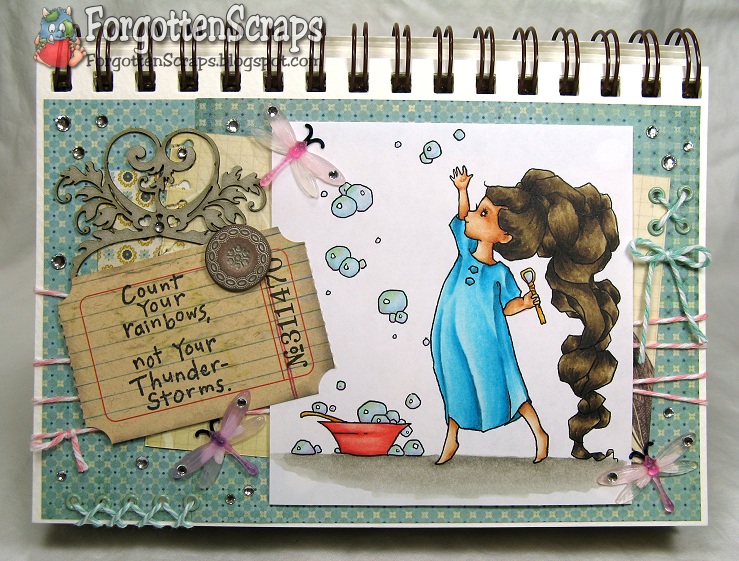
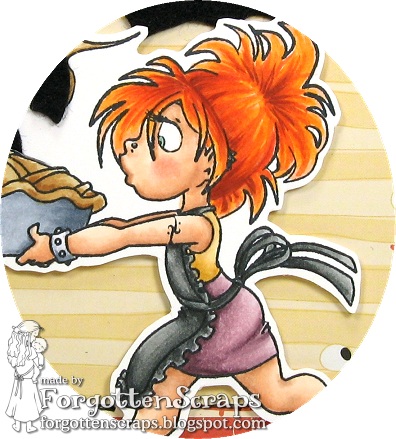
One bonus about these challenges is that I’m trying to use every Simply Betty Stamp that I have so I can officially declare them inked up! As a result, I’ve had to get a little creative with a few of my projects as I try to incorporate non-traditional Halloween images… this one included. This is Lilly Pie and to fit the them I have a baker’s dozen of bats that have burst out of that fresh hot pie!


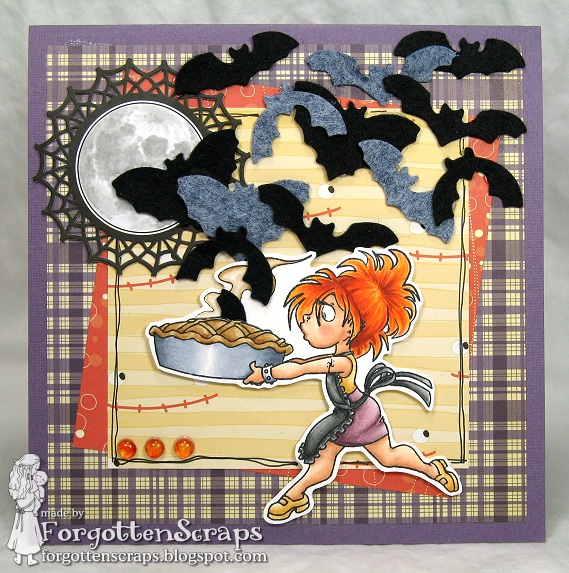
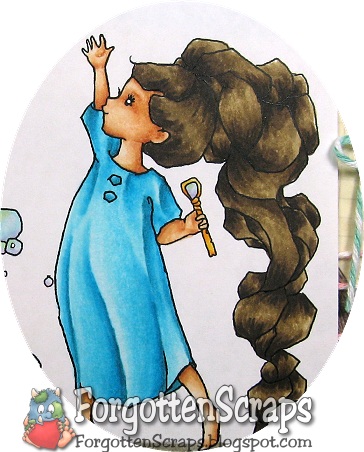
This image was really fun to color and her hair really was a puzzle at first – however, I loved how it turned out to look like a ponytail – gosh I wish my hair was that thick! In this project, and the one before, the “moons” are really blank Halloween labels from Martha Stewert that I colored using T0, T1 and T3.


That’s all for today and hope you enjoyed them! 😀 Tomorrow is a busy Saturday but I hope to get a few more projects done – we’ll see. LOL

Update: I’m the 2012 DT winner of the 12 Days of Halloween at Simply Betty Stamps!

12 Days of Halloween

I’m excited to show four more projects for the 12 Days of Halloween at Simply Betty Stamps. The ultimate prize, if you enter all 12 days, is a chance at a DT spot for 2012! After mulling it over… I decided to go for it! 😀 So here are four days, plus the one from yesterday, leaves me seven more days to work on – I’m keeping my fingers crossed.

On the third day of Halloween
My true love gave to me…
Three black cats

I needed a couple cards for school this week so that’s what I focused my efforts on. Each of them uses paper that I had stashed from last year which is Matilda from Cosmo Cricket. Where are the three cats? Two of the cats are from a die cut so I put one in the background and one on top of a jack-o-lantern; the third cat, of course, is Lynx.


The image is Lynx & London from Simply Betty Stamps and I used Filigree Jewels chippies from Make it Crafty. I had colored Lynx yesterday as a black cat so today I wanted to give him some color and went for a Siamese look in tribute to my college feline friend. I’m submitting this card into the Third Day of Halloween challenge.

On the fourth day of Halloween
My true love gave to me…
Four skeletons

On this next card I have a cork sheet for the center and cut it out with my diecuts. Then I stamped four skulls on it with images from Inkadinkado, however, you can only see three of them in the end – so it was a good thing that the image had one which makes the fourth.


The spiderwebs are also from Inkadinkado and instead of using chippies in the corners I stamped two of them in black. The main image is Mad Scientist Christian from Simply Betty Stamps and is actually a school themed image! I’m submitting this one into the Fourth Day of Halloween challenge.

My true love gave to me…
Seven pumpkins glowing

This one turned out to be my favorite out of the set and actually started out being my least favorite, go figure. The challenge is seven pumpkins and I’m sure if you count the half pumpkin images in the decorative paper then I have more than enough. LOL However, there are six mostly complete ones that are visable and the felt pumpkin embellishment makes the seventh – as I count them.


I used Ali & Snuggles from Simply Betty Stamps and corner chippes in Love Heart Swirls from Make it Crafty with gems on them. I also dug out my punchinella ribbon (can’t remember how to spell it) and added a strip to break up the busy decorative paper. Finially I used my marker to draw a dashed line on the white and assembled it all together. I’m submitting this one into the Seventh Day of Halloween challenge.

My true love gave to me…
Nine ghosts a-booing

This last card has plenty of ghosts to count but I couldn’t resist drawing one more in the image as well. I used a ghost on the paper as a guide and thought it would be fun to have it coming out of the pile of leaves. Since the leaves were already haunted at this point, I also added a few eyes burried in the pile – oh, what a surprise Oscar will be getting! LOL


The main image is Oscar Pile of Leaves from Simply Betty Stamps and I used chippies from Fancy Ribbon Slider and Filigree Borders from Make it Crafty (covered with silver acrylic paint). I had fun coloring this image and ended up coloring from edge to edge! This is the last one and will be entered into the Ninth Day of Halloween challenge. Hope you liked them and got some ideas to inspire you with. ;D

Update: I’m the 2012 DT winner of the 12 Days of Halloween at Simply Betty Stamps!

Betty & Christian Addams

It’s Saturday and we’ve got another challenge for you over at Make it Colourful – this week we’re challenging you to color with Blacks & Oranges! So what was the challenge again? I seriously had to look it up several time *while* making my journal page – I just couldn’t remember! So alas, I have a lot of blacks and some oranges in my coloring. LOL


On my page I used the pumpkin scarecrow portion of Haunted Halloween House from Make it Crafty (plus some Mini Dragonflies chippies), Betty Addams and Christian Addams from Simply Betty Stamps, and two tombstones in Epitaphs from Inkadinkado.


I decorated the rest of the page with a graveyard theme and used muted colors for a drab and dreary feel. Isn’t it romantic!? The felt was cut with dies from My Favorite Things and the roses are part of a ribbon that was cut into section.


The orange is YR18, YR14, YR12 and YR21 and I used all four shades of black on the project. The clothes were done in Neutral and Toner shades, the hair in Cool and the tombstones in the Warm shades. I had colored the pumpkin scarecrow so long ago that I don’t remember the colors – however, the blacks/grays and oranges are in there too!

Rupunzel Playing

I’ve had this page on the docket for a while and finally finished it this week. ;D The image is “Rupunzel Playing” from A Day for Daisies and she was so fun to color – just look at all that hair! My kids have been enamored with the movie Tangled so I’ve been getting my weekly dose on a daily basis. LOL So that’s one of the reasons I went with brown hair.

I created this for the “It’s a TWINE Thing” challenge at A Day for Daisies and used Baker’s twine in three different areas. First is a general wrap around the base then two areas I have used eyelets and threaded the twine in a crossing stitch.

I went to add a lot of texture to her hair but ended up getting a blending effect. I think next time I’ll work on the lightest colors and build up to the darkest. However, I was able to create creases in her nightgown without too many problems so I’d still call it a success.

The rest of the page was decorated with gems, dragonflies, brads and chippies. The sentiment stamp is a Kid’s Quote from Inkadinkado which are always fun to use. ;D

Sugar

It’s another challenge at Little Miss Muffet Challenges and this week we have an interesting challenge for you – we want to have your image go “outside the diecut!” What does that mean? Well, if you read my post from yesterday then you got a sneak peek! ;D


On this project I used Sugar from Little Miss Muffet Stamps and Spellbinders Nestabilities Labels Seventeen for the die. I stamped and colored my image first then placed my diecut on top to get the position. Then before sending it through the cutting press I cut around the parts I wanted to keep and flipped them on the top.


I love this technique and I think it fills out the card nicely without taking up the whole front. We have lots of inspiration to look at so make sure you head on over to the Little Miss Muffet Challenge blog and take a gander! 😀 Happy Coloring!

I’d like to enter this into the following challenge:

Craft Your Passion Away Challenge #69 – anything goes
Crafty Cardmaking Challenge #50 – use butterflies
iCopic Challenge Week #41 – skin tones
Make it Monday #48 – anything goes
Woodware USA Challenge #37 – anything goes

Catch a Falling Star

Is this song stuck in your head yet? All I had to do was look at the image and I’ve been singing “Catch a falling star and put it in your pocket, save it for a rainy day” all week! LOL The image is “Little Darlings: Catch a Falling Star” sold by Love to Stamp and was a fun image to work with.


I created another one-layer card with inspiration from Jen on the borders. I also colored this one with Prismacolor Pencils on Kraft cardstock and it’s getting easier for me. Now I just need to get familiar with the colors so I know what I’m mixing together.

Have a great weekend!