Claudia’s Tutu

I’ve reached back into my scraps of papers and pulled out a few odds and ends to make this card. I have a couple paper pads that have only a few papers left so I try to use them up.  For this project, I’ve used Claudia’s Tutu from Little Miss Muffet Stamps.  I went with a green outfit instead of pink or purple to help with the shabby chic feels on the card.  I then distressed the edges of the paper, sewed them and added some lacy elements and sparkling gems.

Here are the Copic markers I used on Claudia’s Tutu:
BG70, 72, G40, 21, YG63
C0, 1, 3, 5
R05, 11
E43, 42, 41, 49, BV23

Fairy and Her Bunny

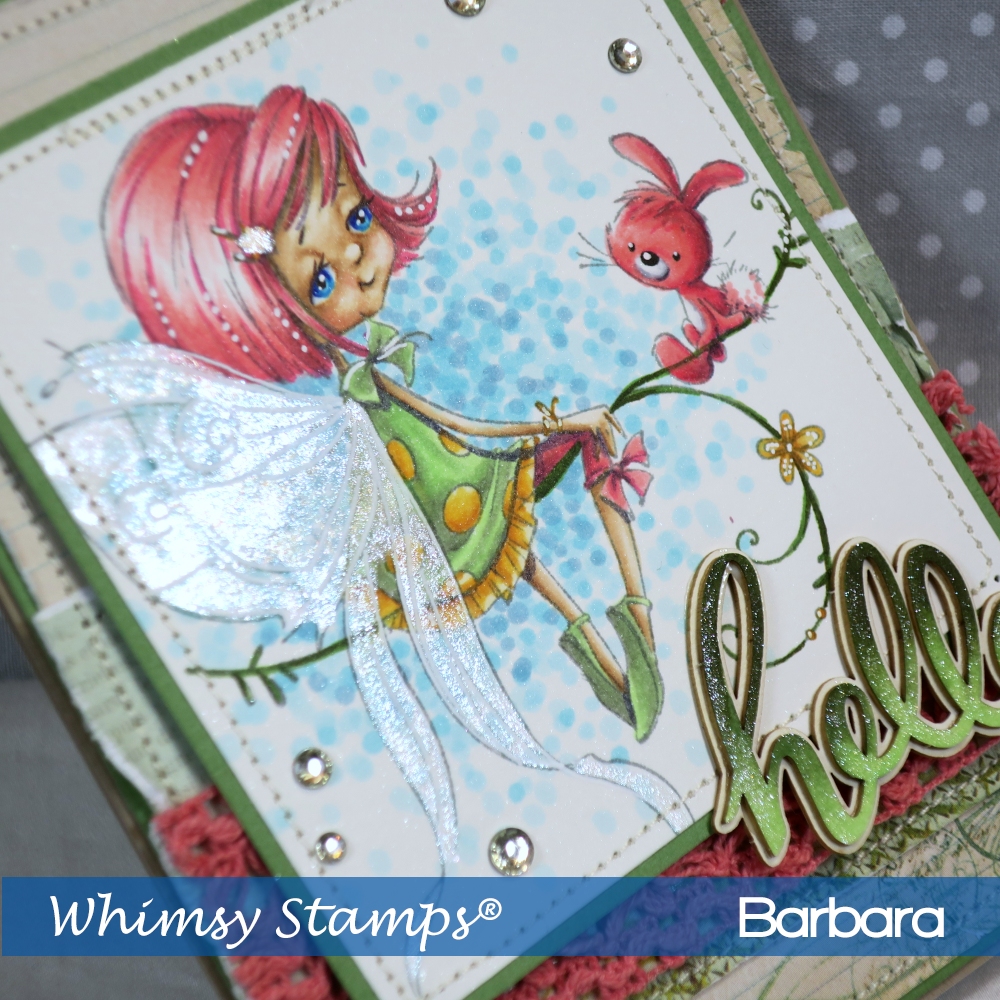
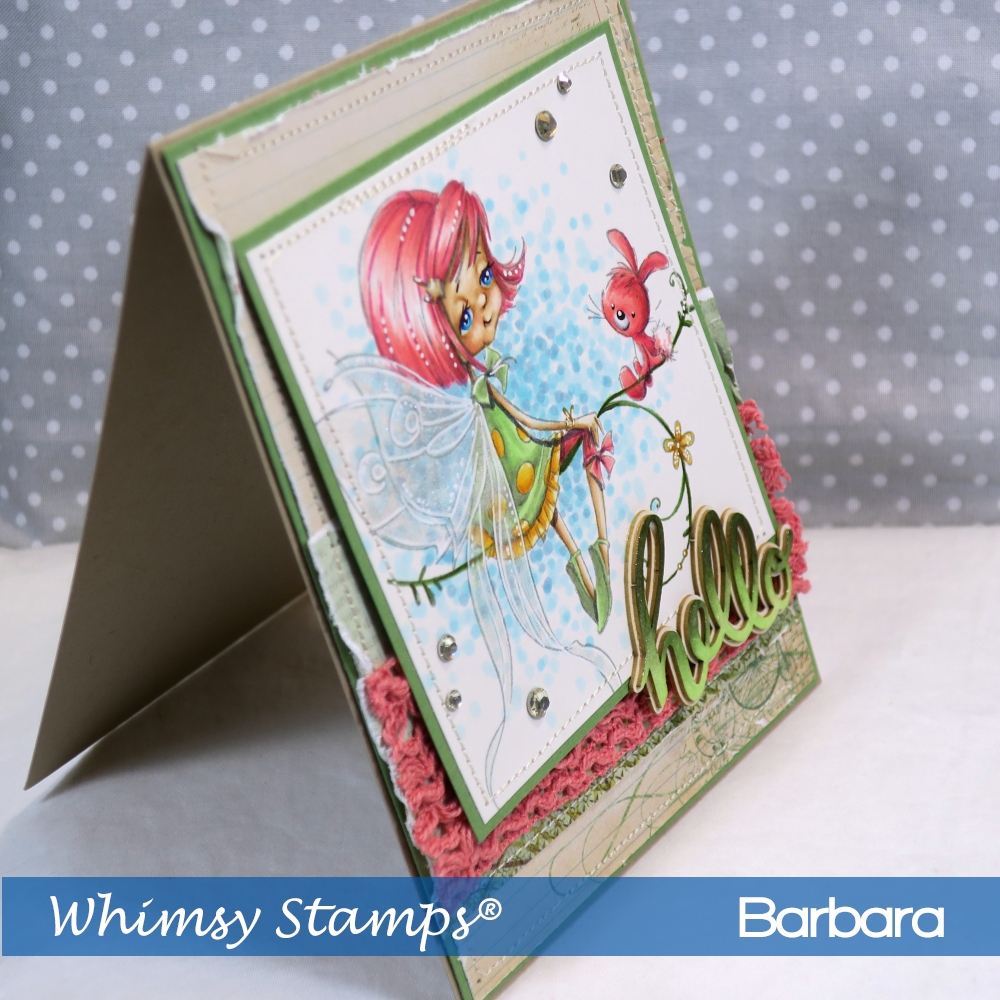
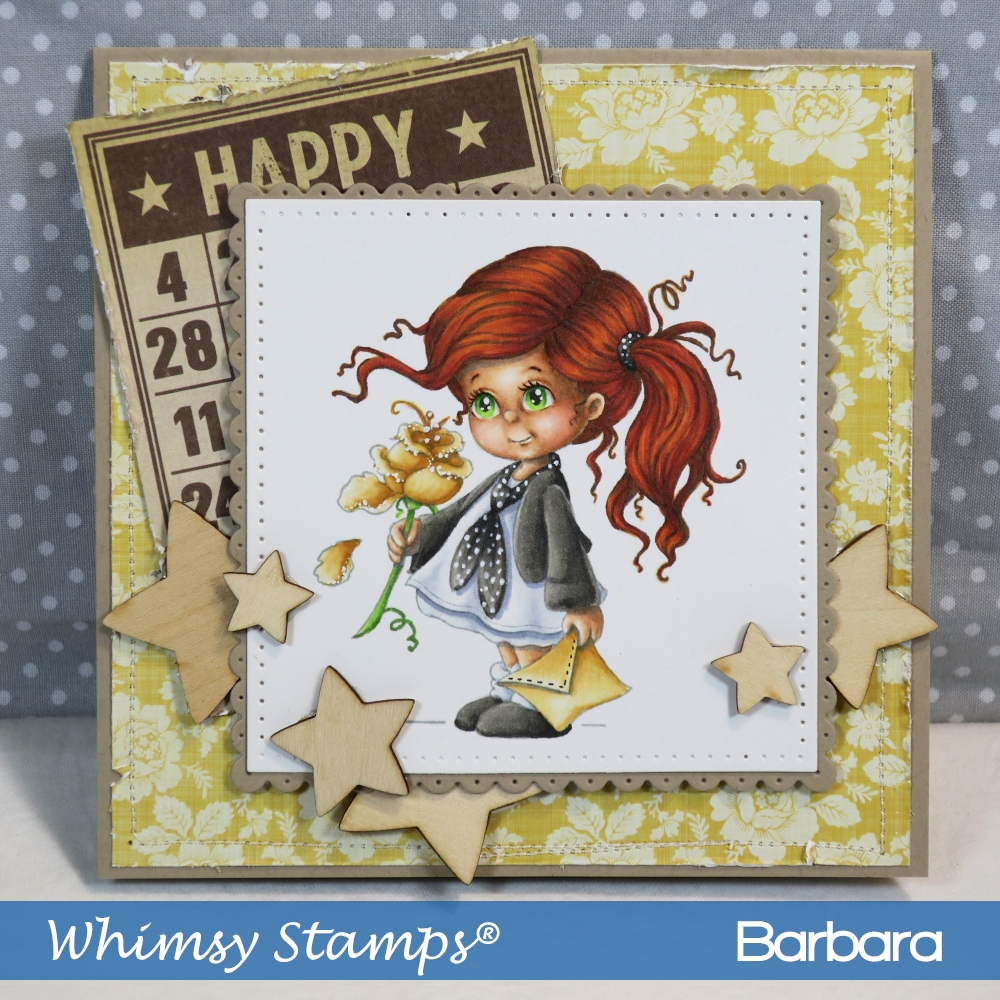
This is Fairy and Her Bunny from Whimsy Stamps and I have a picture tutorial on how I colored her face. This fairy has been colored wonderfully in so many ways that I had a little trepidation starting. But I thought some pink hair would help me out and decided to get started nonetheless. The tutorial shows how I colored this fairy and I use the same techniques on all the faces that I color in this way. Hope you enjoy it.

Thanks for those asking for a tutorial. It’s nice to know what is helpful to show and what isn’t. 😀 So this is how I color a face when I give it larger eyes. I first define the features with the skin tones, then add the pupil, shading and finish up with a white gel pen. The face doesn’t really sparkle until the white is added so keep pressing forward to the end.
(Click on the photo for a larger view.)

These are the Copic markers I used on Fairy and Her Bunny:
E30, 31, 35, 0000, R12, B01, 69, 05, C3, C1, E49, W8, BV23
E04, RV14, R21
BG93, YG11, G21
YR30, 23, Y35
B52, 01, 00, 000
YG63, 17, 99

For the wings, I didn’t color them and made sure to color the clothes and hair under them. Then I used a glitter pen to color the wings and the white gel pen to make some highlights. I also used the glitter pen on the “Hello” sentiment, which is a Make it Crafty chipboard embellishment.

Birthday Memories – Fox

If you haven’t noticed, I’m posting SU cards on Monday. I feel like I never have enough birthday cards so I got this pack to get me into high gear.  I’ve used the Birthday Memories designer series papers from Stampin’ Up! to create this project and followed another great card design by Carolyn King.  I also added star gems for sparkle. This is another one of my favorites from this series.

Polly

For my project today, I’ve used Polly rubber stamp from Whimsy Stamps.  I did a little creative color placement on her face to define it more and give her larger eyes.  The paper I selected only had yellow so I tried not to pull in too many other colors.  Making her outfit black and white helps draw attention to her head, rose and envelope.  Then I also kept the accessories and paper toned down.

These are the Copic markers I used on Polly:
E0000, 000, 21, 33, 35, BV20, R11
YG01, 23, 97
C1, 3, W8
E47, 08, 19, YR14
YR24, 23, 31, 30, Y23, E23
W9, 6, 5, 3
BV23
This and other Whimsy Stamps are also available at Little Miss Muffet Stamps

I’ve added details to the face and gave her larger eyes. 
As a comparison you can see the before and after of her face. 
These characters are adorable and I love the added color in the eyes.

Snail Mail

I was inspired by the way Annabel colored Belated Birthday Snails with all the texture that I knew I had to try.  So I picked up Snail Mail rubber stamp by Little Miss Muffet Stamps.  However, instead of using pencils, I gave it a go with markers so my details isn’t as controlled.  But hay, he turned out okie dokie in my book.

I didn’t really have a good sentiment that I liked so I used the background decorative paper and wrote in my own. It’s a word search paper and I used a black pen to write in my sentiment and blue to circle it.  After all… I found it!

These are the Copic markers used on Snail Mail:
R05, 46, 59, BV23
E41, 42, 43, 49
C0, 3, 5, W9
Y11, 35, YR15, 21, 24, E31, 33, 35
B000, 45, 39, 93
G28, YG63, 21

Upon a Star

I’m working on background and this is another technique I’ve tried out.  I smudged Distress Ink on a non-stick craft mat and then pressed the paper into the ink. I think it’s suppose to blend and mix up but this particular paper soaked it up immediately. I repeated a couple times then realizing it wasn’t going to do what I wanted, I sponged around the outside with black soot and called it quits.

Here are the Copic marks I used on Upon a Star:
E13, 09, 08, 0000
W8, 0
C5, 3, 0
Y11, 26
I also used the glow in the dark embossing powder, also from Lawn Fawn.