Galaxy Galore Background

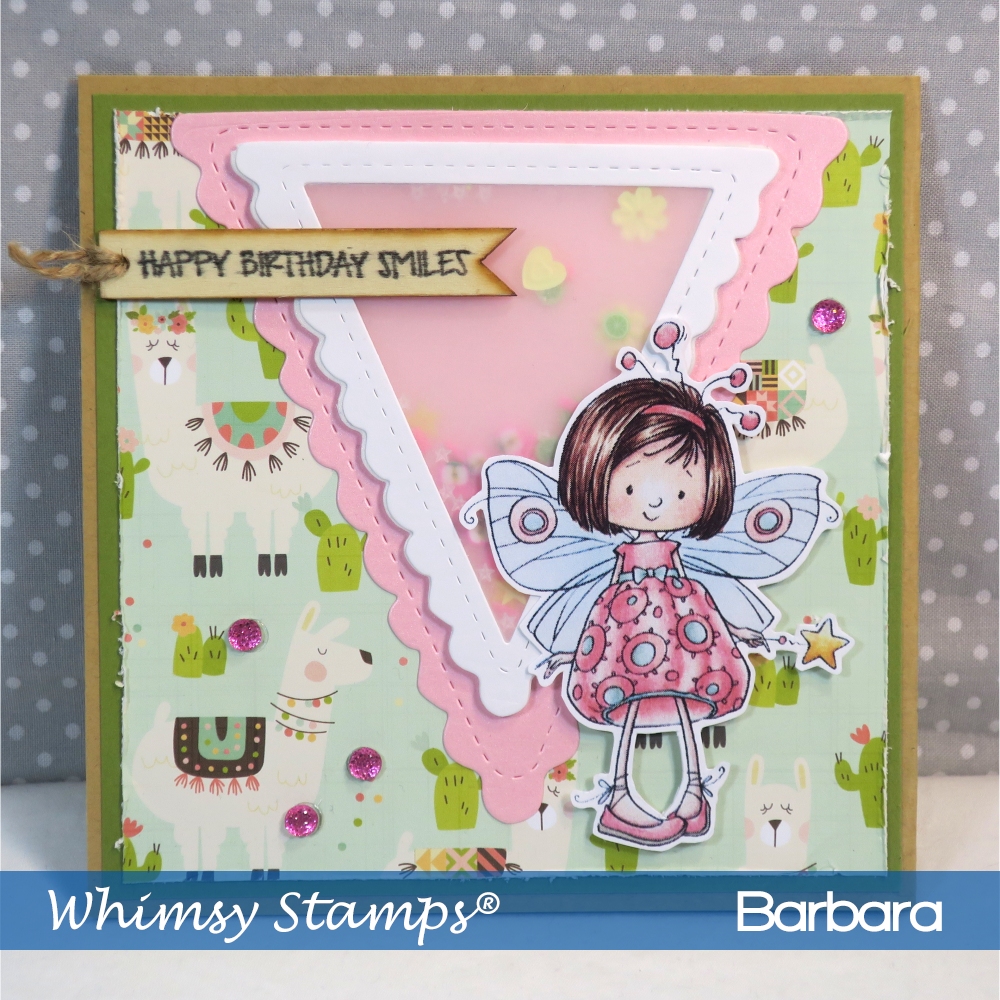
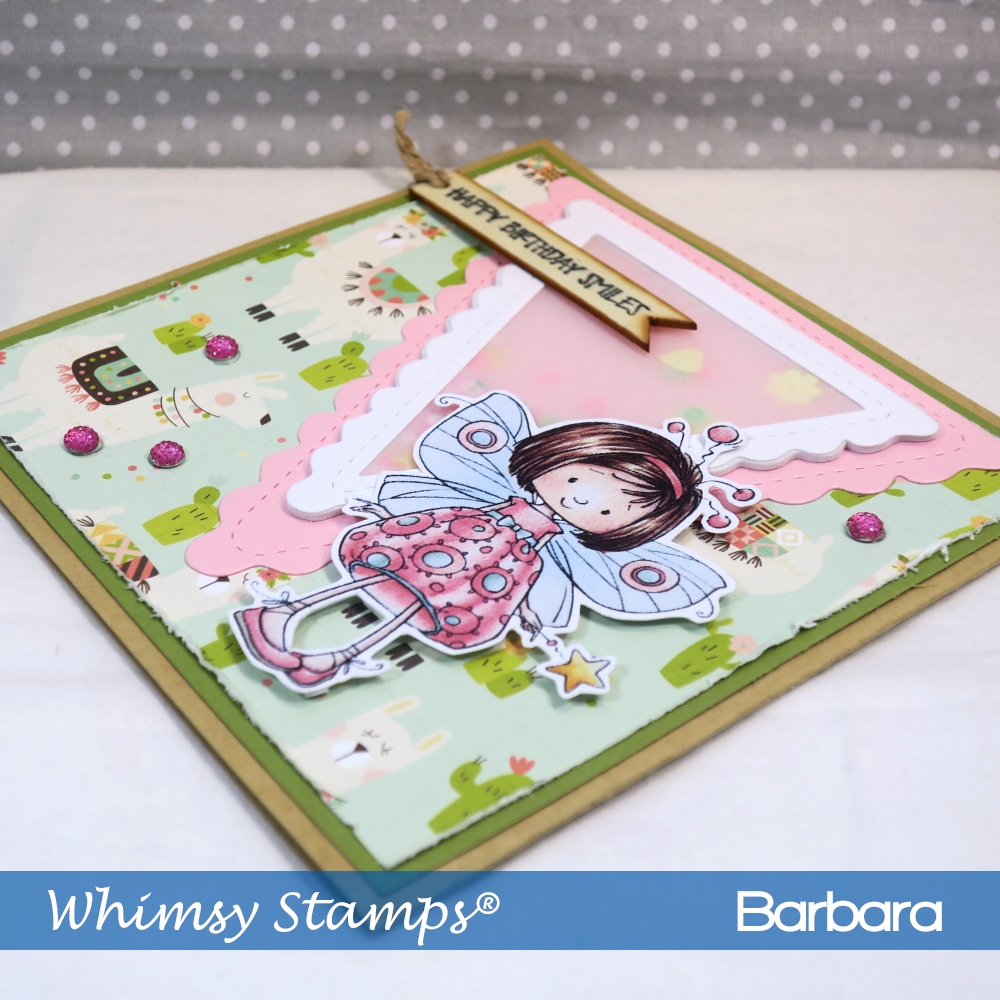
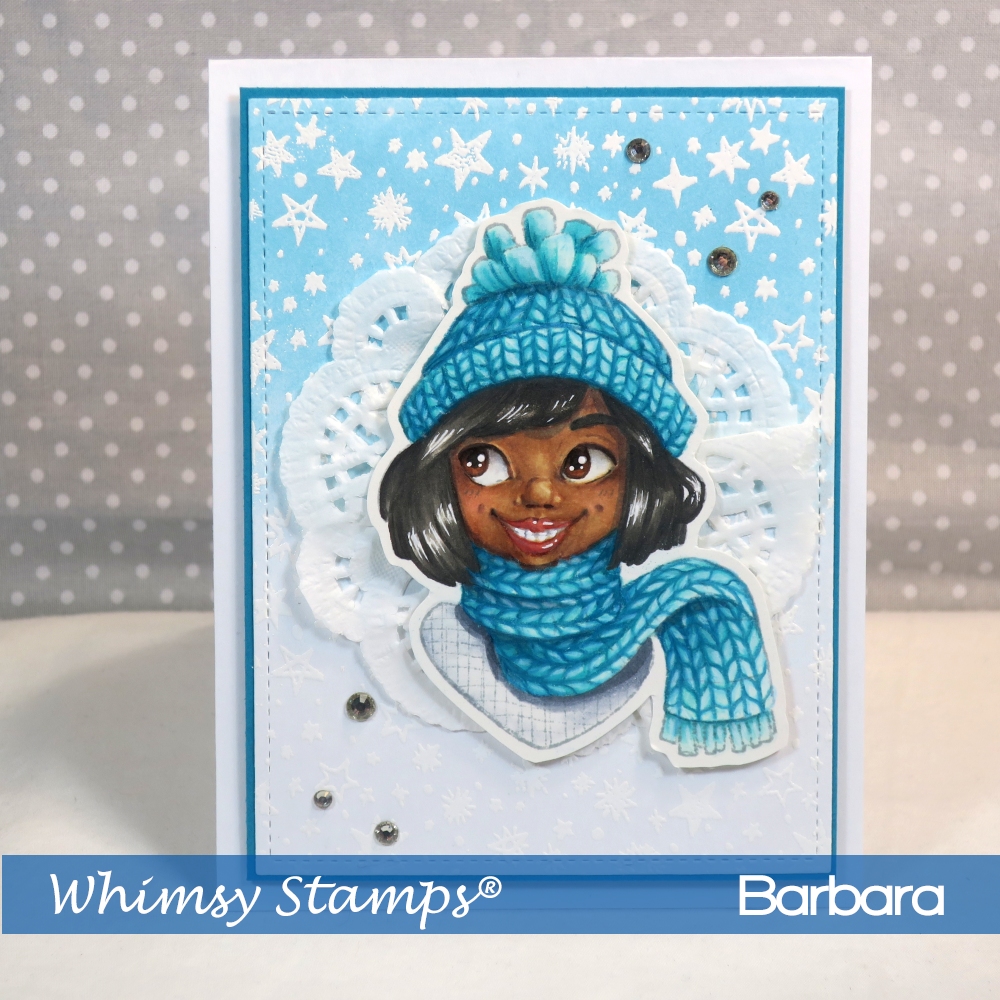
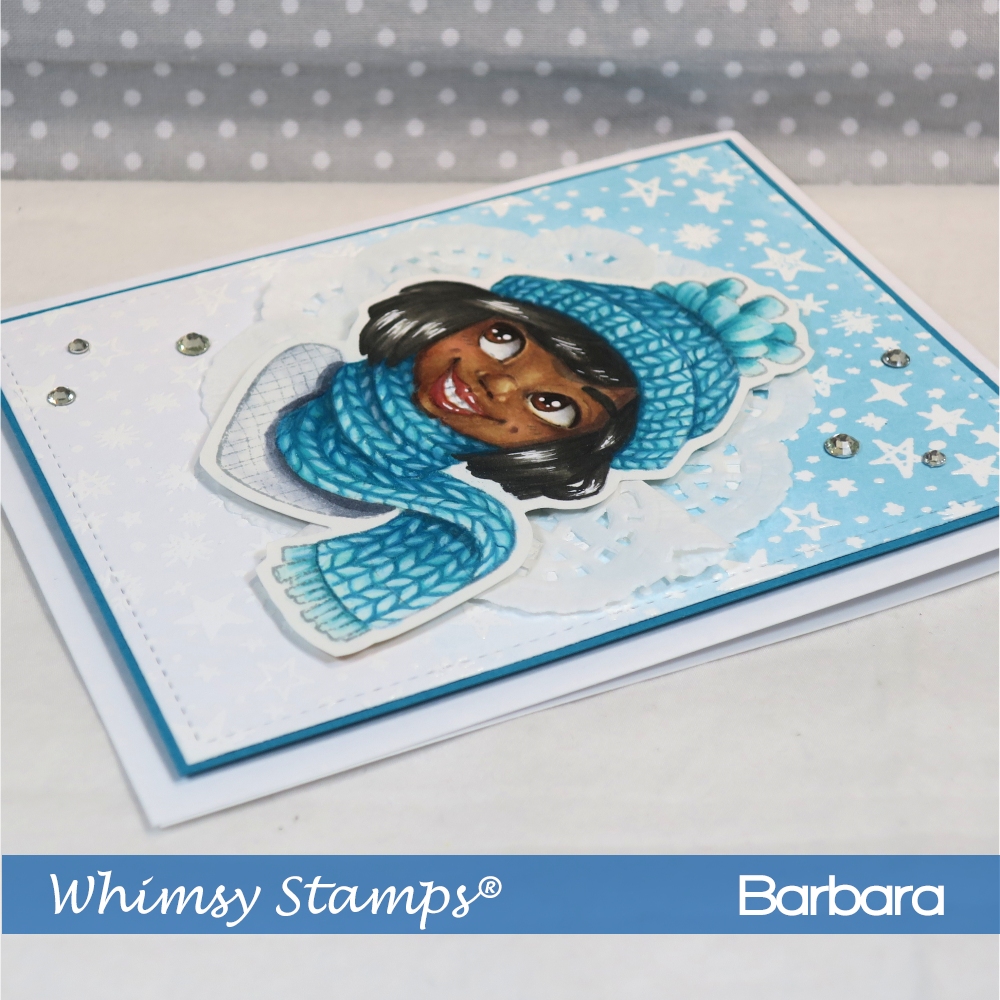
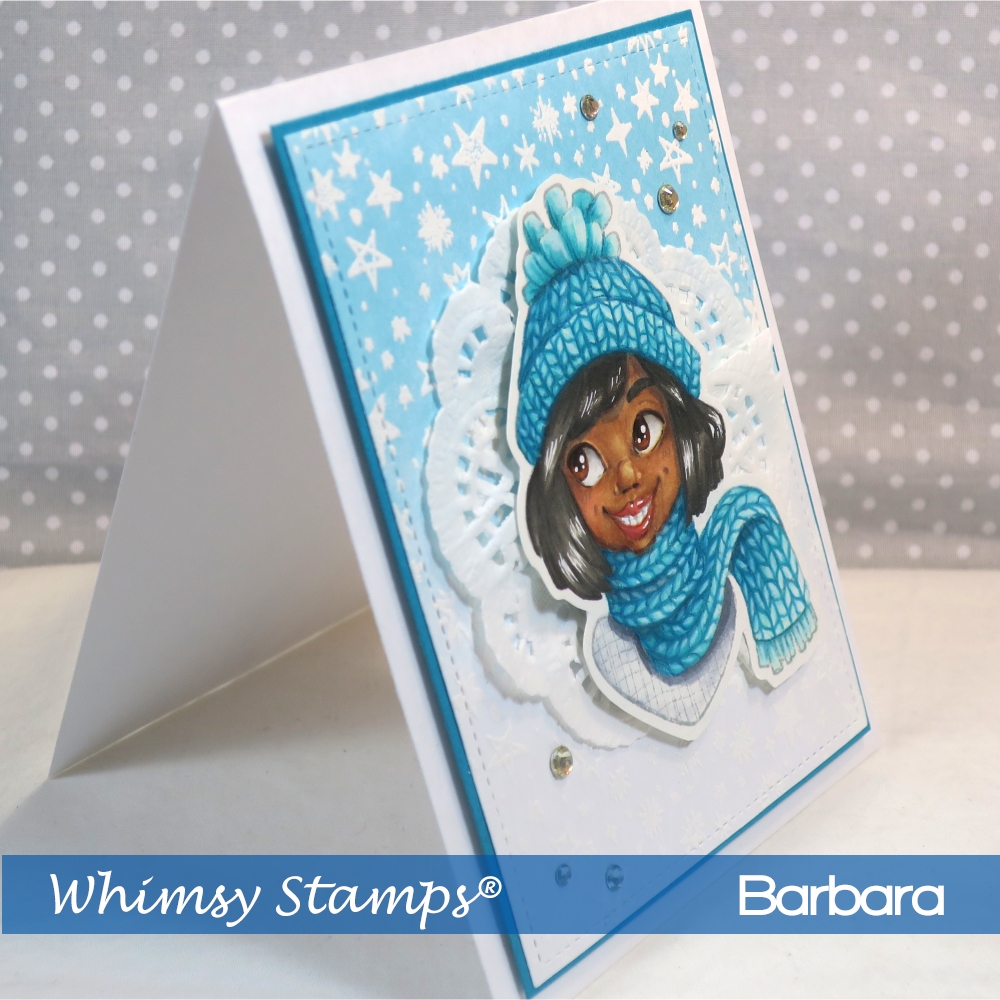
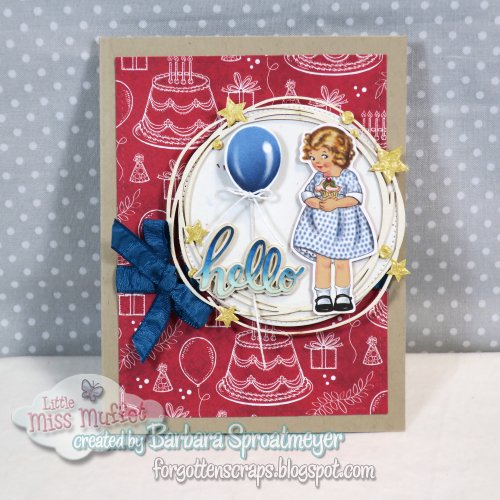
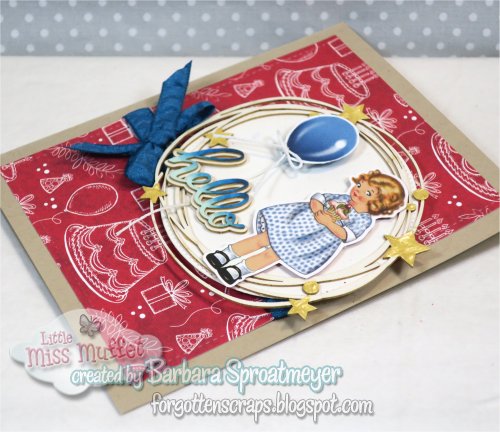
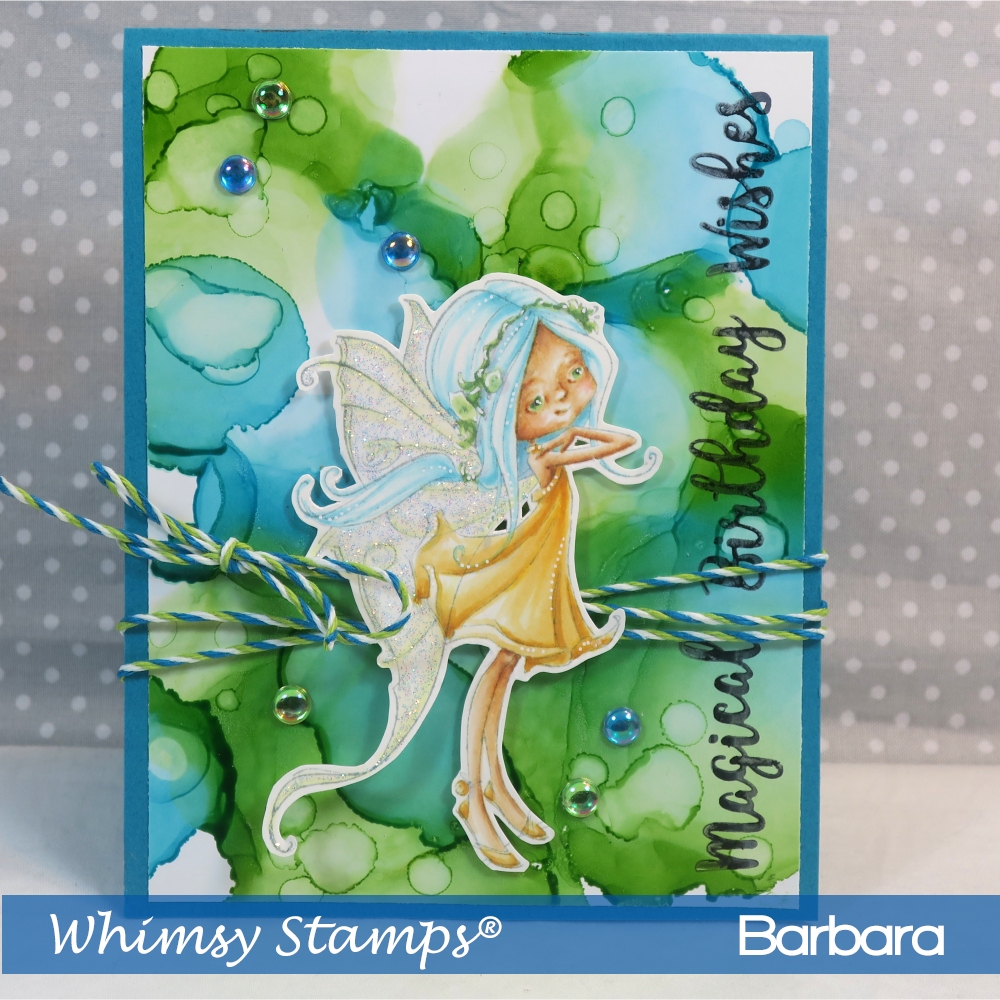
It’s a new release at Whimsy Stamps and I’ve created a card using the new Galaxy Galore Background along with the Bundled Up stamp in the foreground. There are loads of other inspiration from the Whimsy DT this week.

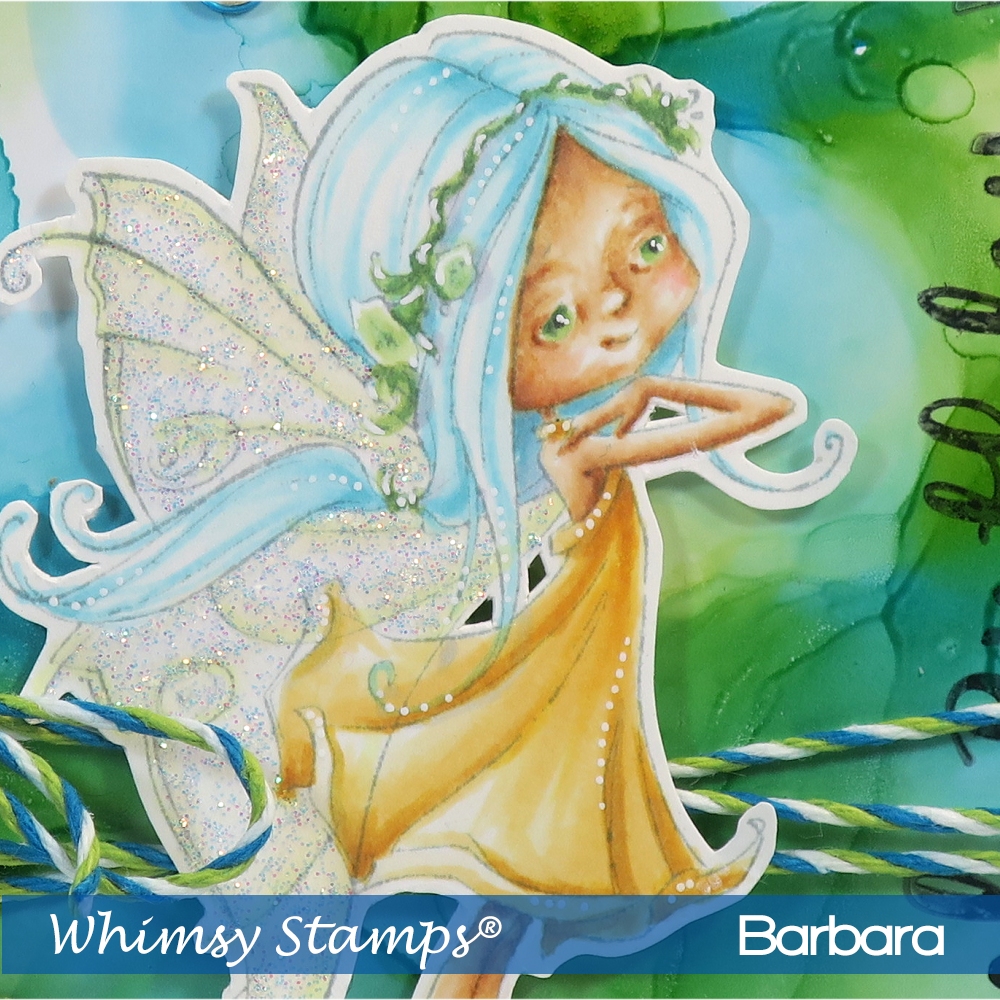
I started with embossing the background in white then used my sponge to ink on the blue and faded it towards the bottom. For the girl, I colored her with markers first and then used the pencils to create the knitting. I’ll be forever grateful to Annabel for enlightening my world with this texture. I love it!

These are the Copic Markers that I used:
W10, E49, 47, 33
E31, 33, 35, 23, 27
W5, 7, 9, C3, 5
E04, 02, R05, 12
BG49, 45, 53, 10
Here are Prismacolor Pencils used:
1027, 1015, 992, 938, 105
Distressed Ink: Tumbled Glass

This and other Whimsy Stamps are available at Little Miss Muffet Stamps.

Stained Glass Mosaic

Whimsy Blog and Glue Dots Inspirations Hop 
Join us from August 27h through August 31st for a fun joint blog hop between Whimsy Blog and Glue Dots. Our teams will be sharing lots of beautiful projects featuring products from both of these companies. 

We will have lots of prizes hidden along the hop as well as a grand prize valued at $100! To enter into the giveaways, you just need to comment on EACH blog throughout the hop. Then for the grand prize after you have commented on all stops along the hop, enter your name and email in the linky tool at the last stop. Winners will be randomly selected and announced on Monday, September 3rd. Good luck and have fun! 

For my project, I used the Stained Glass Mosaic stamp and All Purpose Glue Dots.

These are the Copic Markers I used on Stained Glass Mosaic:
W10, N1
YG99, 97, 67, 63, 61, 11
G43

Blog Hop Link List: Full Hop Link List

Birthday Memories – Girl

I’ve used the Birthday Memories designer series papers from Stampin’ Up! to create this project and followed another great card design by Stamps to Die For.  I also used some Make it Crafty chipboard embellishments for the sentiment and border around the image; which has some yellow Liquid Pearls.  So far this is the only girl project that I’ve created.  I think she’s a bit small but maybe I’ll be able to come up with another one that I like.

Faye the Fairy

Remember the last project I did trying out a new technique by Sue?  After getting some tips from Sue, I used a glossy paper and tried it again. It made a world of difference and the colors are so much more vibrant. It was easy too and now my girls have been having fun creating their own papers. 😀  For this project I used Faye the Fairy as well as the Magical Birthday Wishes Sentiment stamps, both from Whimsy Stamps.

These are the Copic Markers I used on Faye the Fairy 
E0000, 30, 33, 35, R12
YR30, 23, Y23, 35, 11
BG000, 01, 53
G43, 46, 20
T7, BV20
This and other Whimsy Stamps are available at Little Miss Muffet Stamps.

Fireworks Stencil

For my project today, I decided to try a technique from Sue. I wasn’t sure what paper to use and didn’t have what she suggested so I just grabbed what paper I had. However, the paper absorbed the ink refills too quickly. But I’m not one to waste so I made a card with it anyway and used the Fireworks Stencil (from Whimsy Stamps) to add some texture.