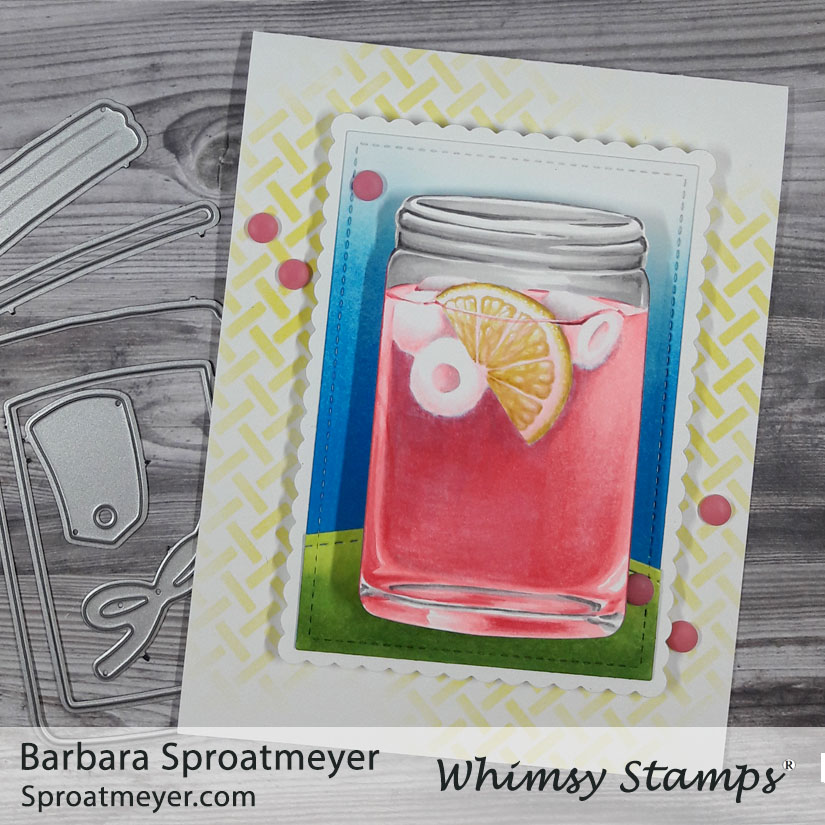
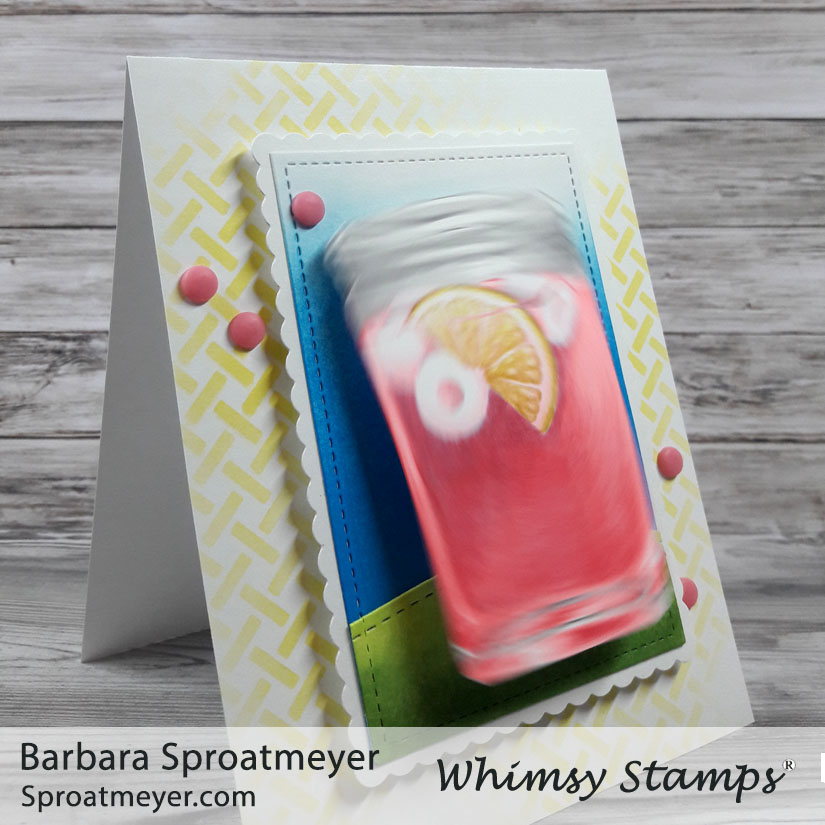
Could this be pink lemonade or watermelon juice? Either way, it looks refreshing. This is yet another project done with the Mason Atlas Jar die set – I really need to put it away but it’s so fun to use! For this one, I just used the die and colored the diecut. The inspiration came directly from my new toy in the office – an ice maker.
For coloring, I started at the bottom and tried to focus on the various shapes and colors. I colored a little at a time and sometime changing between the gray and pink if I had one spot figured out over another. Once that was done, my confidence increased and I was able to do the rest rather quickly. The lemon was actually the fun part.
This is a work in progress photo with the inspiration photo in the background.
I didn’t think there was much to this card so for added measure, I mounted the jar on a Wobble Action spring. This is the largest piece I’ve had on a wobble so it was surprising how much it actually wobbled.
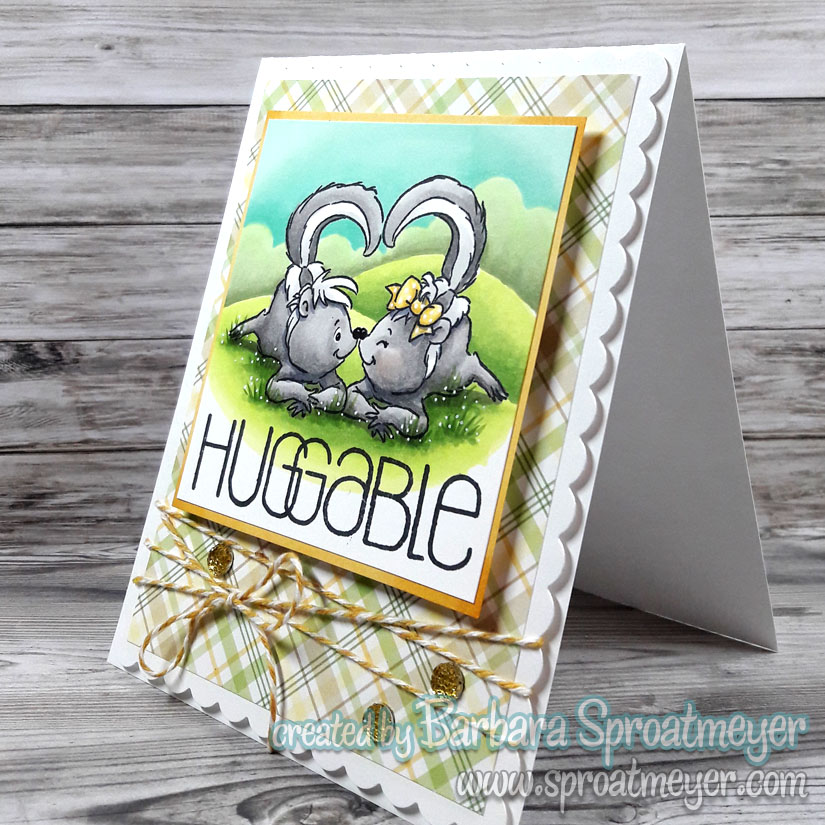
I jumped… into videos and I have no clue on what I’m doing. I’m sure I’ll be making all the same mistakes that any noob does so bare with me. For this project, I’m coloring Valentine Stripes by Art Impressions and the video is of the hillside background. This background technique can be used for any stamp that you want to have an outdoor scene.
For the YouTube video of the background, click HERE.
The video goes over the hill, far shrubs and the sky. At that point,m you can stop but I decided to go back in and add some grass. I also added some white dots to make it look like tiny flowers. The huggable sentiment is from Polka Dot Pals Atlas and fit just right.
Don’t forget to check out the video. There was a lot of work that went into it – obviously since it was my first with many failed attempts to get there. But I’ve saved templates for everything and hope the next time will be a breeze. For the YouTube video of the background, click HERE.
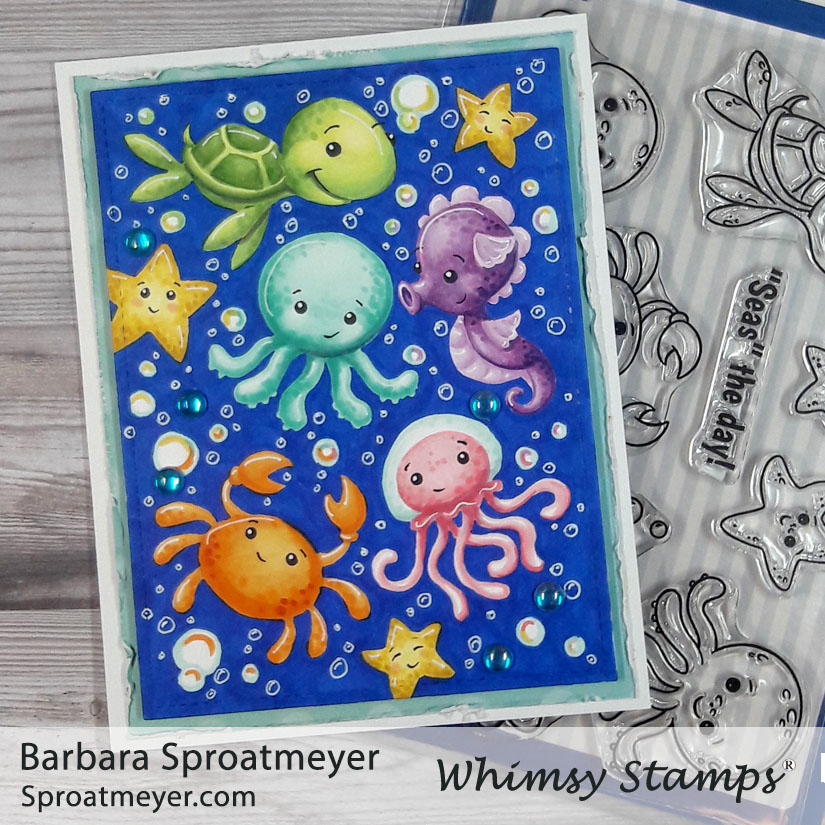
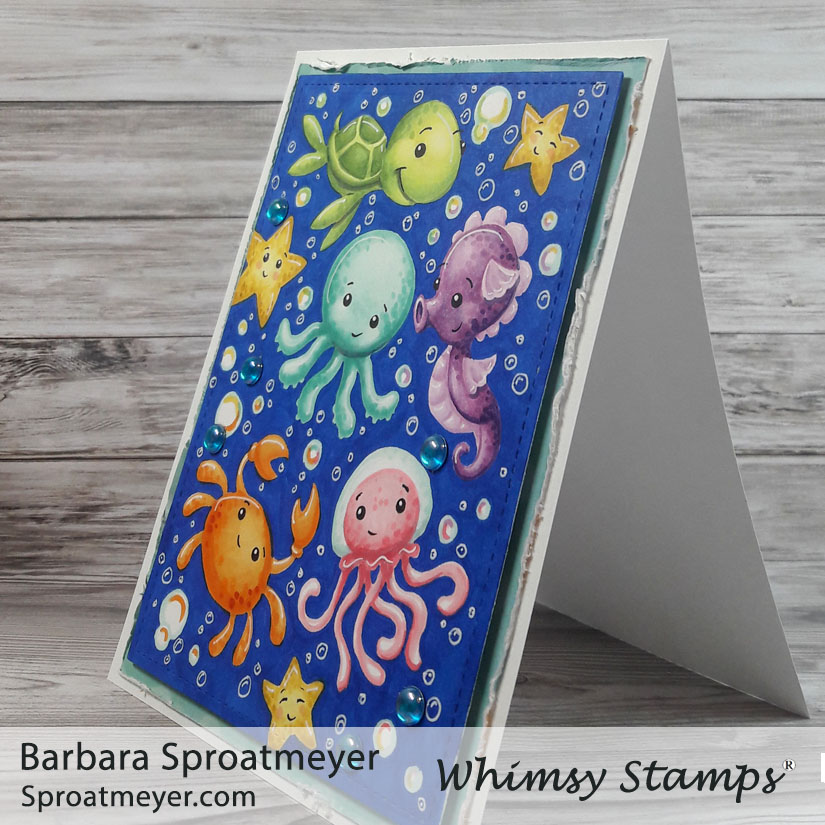
I’ve been waiting to color these cute Baby Sea Creatures again and this time decided to put them all on the same card and do a sea collage. I went with no-line ink but I regretted it half way through and wished I went with a blue or black. Ah well, maybe next time.
For most of the critters, I kept the coloring simple to three colors – a light, medium and dark. I used a black marker for the eyes to stand out and then a white marker to add some more bubbles.
Here’s a work in progress photo which shows the colors that were added to the bubbles. That details kind of got lost when all the blue was added unless you look for it. I think it looks completely different with a white background.
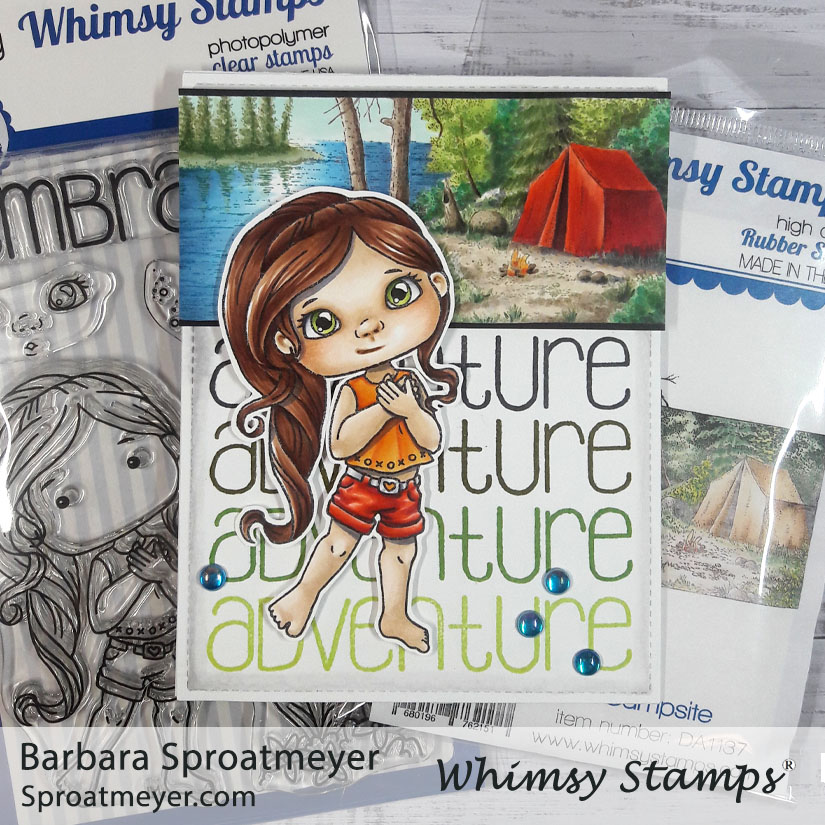
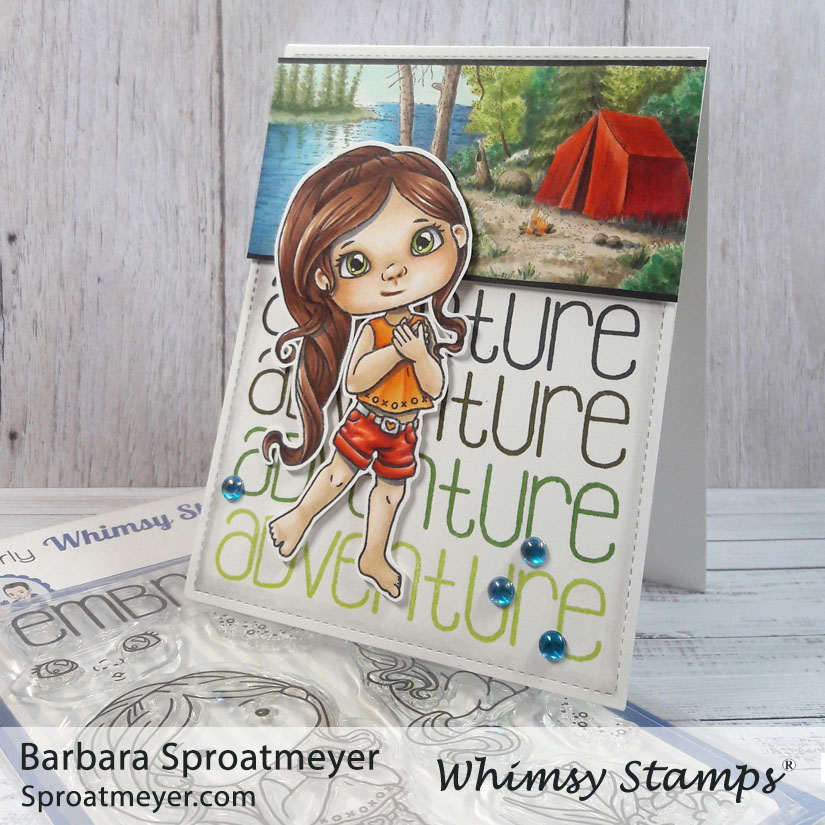
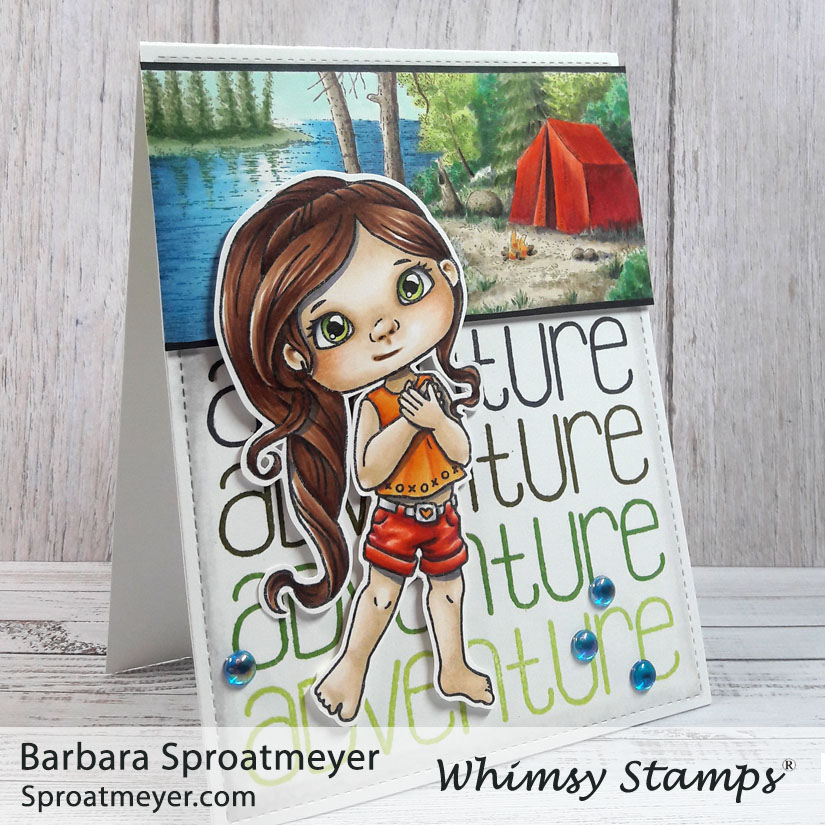
I want to go camping! So coloring this project was therapeutic for my stay-at-home office blues. It started with the DoveArt Campsite rubber stamp. I was originally going to pair it with another Pal (where I decided to get the sentiment from) but chose to go with Polka Dot Pals Mason. I think it turned out awesome.
To make these, I stamped the background with multiple colors by using the ink pad directly to the stamps and inking just portions – Blue for the water, green for the trees and brown for the tent, ground and trunks. To help the character standout, I stamped her in black.
The “adventure” sentiment was from the Polka Dot Pals Raden set and I used Distressed Ink to stamp it in various colors. I had done this on a previous card and liked the outcome so it was fun to be able to do it again.
Supplies Used: Hammermill Premium Color Copy 100lb Memento Ink – London Fog, Tuxedo Black, Bamboo Leaves, Bahama Blue, Rich Cocoa Distressed Ink – Forest Moss, Mowed Lawn, Old Paper self-stick gems
It’s not much of a secret to know that my kids inspire my drawings of the Polka Dot Pals and I think Polka Dot Pals Atlas is inspired most by my Amelia. Everyone she meets becomes her best friend and so is this happy girl ready to share her love. This is Polka Dot Pals Raden and Polka Dot Pals Atlas together.
I’ve been working up the courage to do more adventurous backgrounds. However, I seem to default to the simply sky with grass and hills. It feels like such a big jump but I’ll take it slow and easy and a little at a time.
Here’s a progression photo. I stamped the characters in a light ink so I didn’t have to worry about masking. These two fit together but I need to be careful of the arm placement. When they were colored up it looked like they shared an arm. So next time I’ll stamp Polka Dot Pals Atlas a bit higher. For this one, I did some doctoring and tried to fix my mistake.
The flowers are from the Polka Dot Pals Syeda stamp which makes for a nice ground. I added some “magic” with the white gel pen and also some smaller red dots for flowers on the background hills with Liquid Pearls.
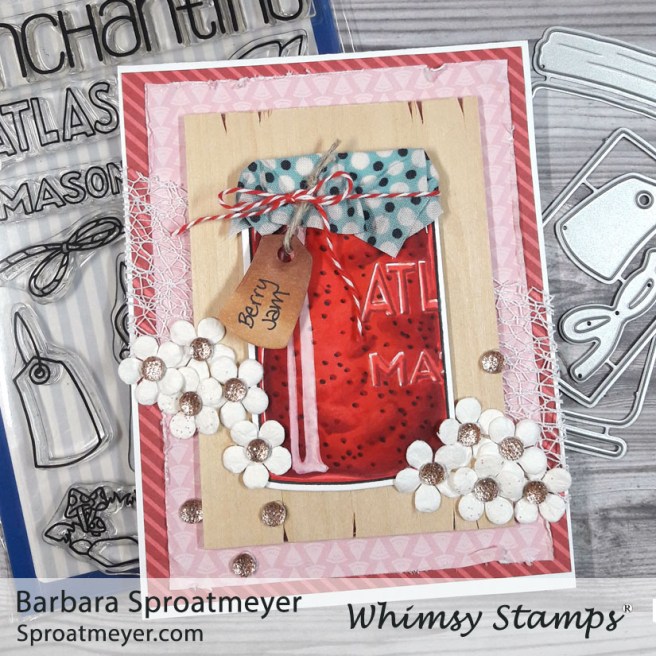
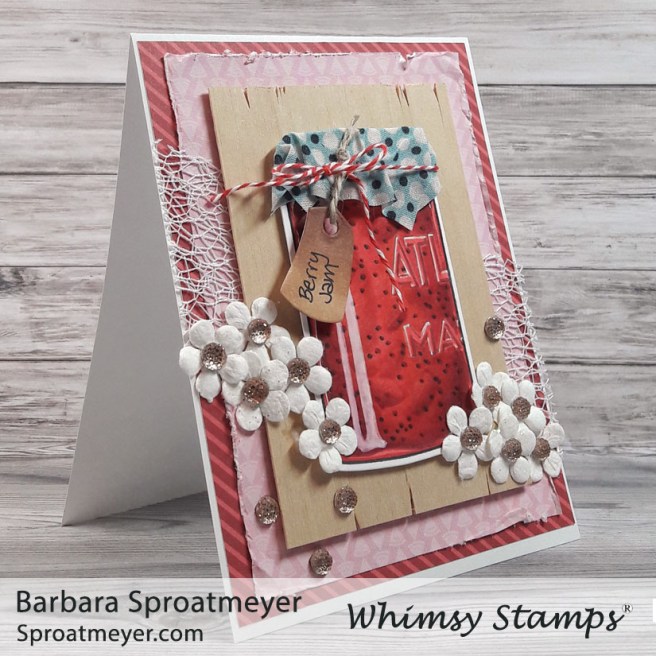
I absolutely love homemade strawberry jam. I usually make the no-freezer kind because we go through it so fast. It’s a cherished childhood memory so whenever I make it, I usually share it with my family too. A bit on the chunky side is best.
The idea started with the fabric and the Mason Atlas Jar die set. When I saw it, I thought of the jam and then the rest of it came together naturally. I colored the jar red with darker shadows on the edges. Then I added the chunks and then the seeds. The highlight was added last but I wish I had planned that beforehand because adding the white after wasn’t as bright.
From the die set, I cut out the jar, lid and tag. I took the fabric and draped it around the lid and taped it down. I then placed that on the jar with foam tape and then added twine and the tag.