Whimsy Blog and Glue Dots Inspirations Hop
Join us from August 27h through August 31st for a fun joint blog hop between Whimsy Blog and Glue Dots. Our teams will be sharing lots of beautiful projects featuring products from both of these companies.

We will have lots of prizes hidden along the hop as well as a grand prize valued at $100! To enter into the giveaways, you just need to comment on EACH blog throughout the hop. Then for the grand prize after you have commented on all stops along the hop, enter your name and email in the linky tool at the last stop. Winners will be randomly selected and announced on Monday, September 3rd. Good luck and have fun!
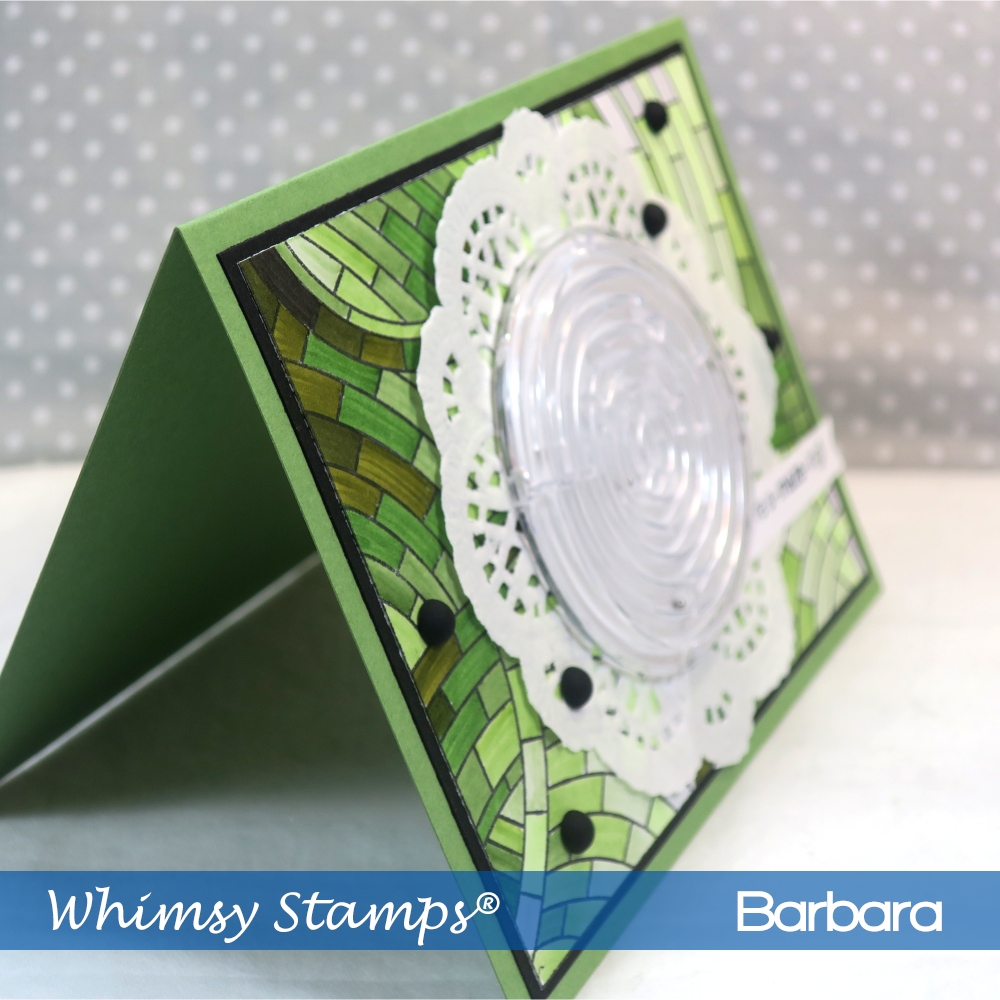
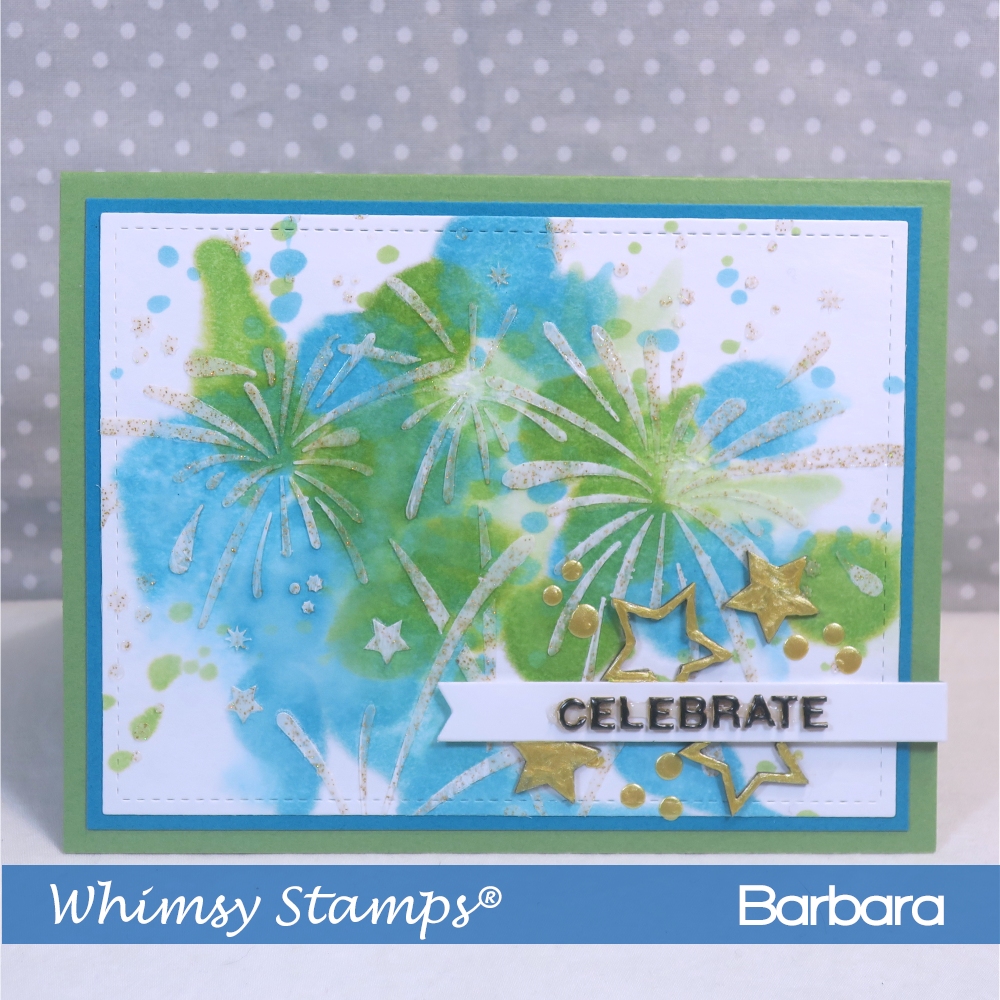
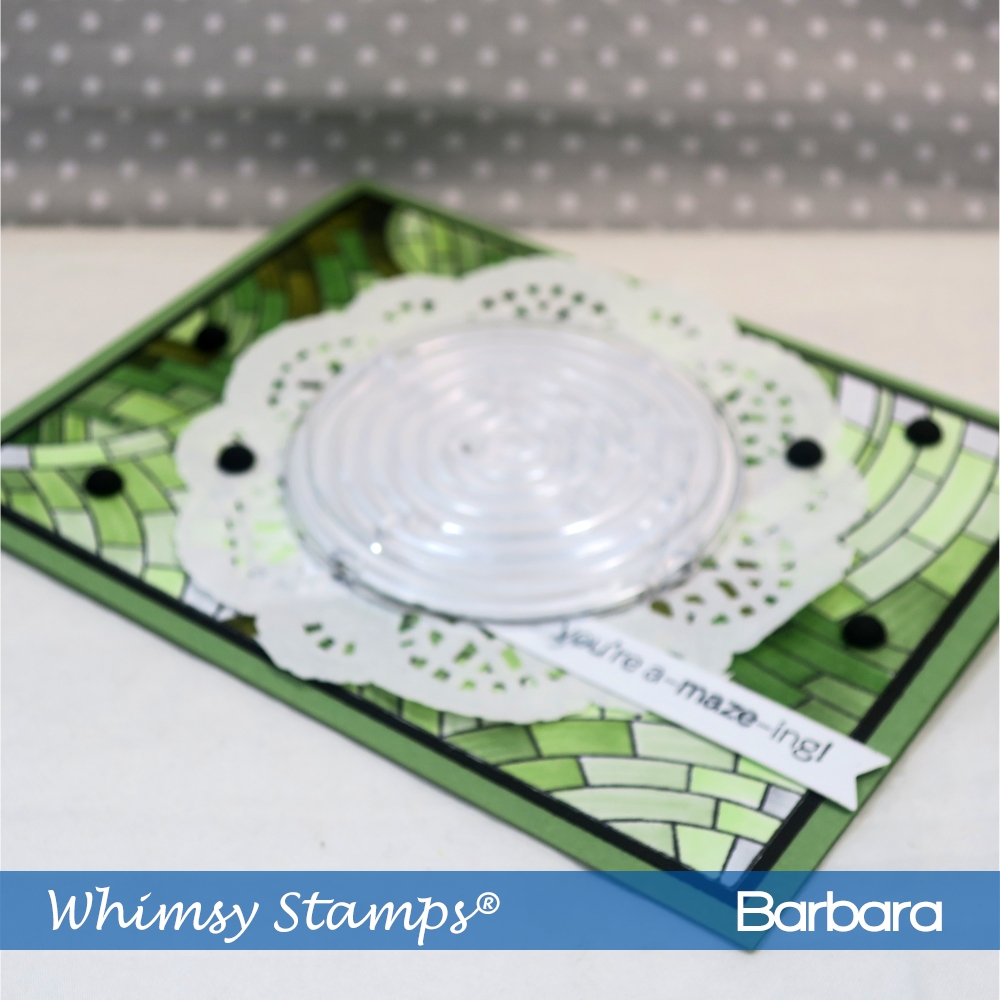
For my project, I used the Stained Glass Mosaic stamp and

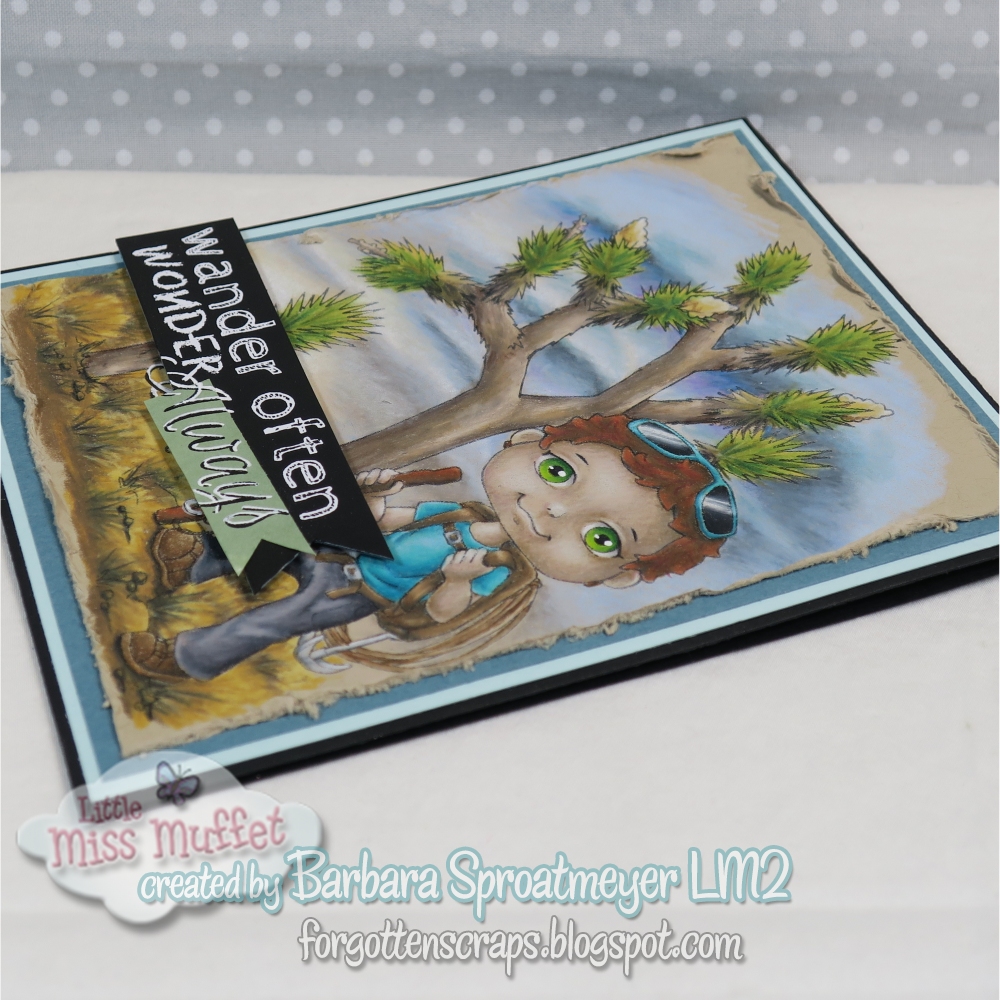
These are the Copic Markers I used on Stained Glass Mosaic:
W10, N1
YG99, 97, 67, 63, 61, 11
G43
YG99, 97, 67, 63, 61, 11
G43
Blog Hop Link List: Full Hop Link List